
The default configuration for XenMobile is user name and password authentication. To add another layer of security for enrollment and access to XenMobile environment, consider using certificate-based authentication.
In the XenMobile environment, this configuration is the best combination of security and user experience. Certificate plus domain authentication has the best SSO possibilities coupled with security provided by two-factor authentication at NetScaler.
For optimal usability, you can combine certificate plus domain authentication with Citrix PIN and Active Directory password caching. As a result, users don’t have to enter their LDAP user names and passwords repeatedly. Users enter user names and passwords for enrollment, password expiration, and account lockout.
Important:
XenMobile doesn’t support changing the authentication mode from domain authentication to some other authentication mode after users enroll devices in XenMobile.
Here after you will find a detailed guide to implement Certificate Based Authentication for Citrix Endpoint Management for on-premise configuration.
We will assume that CA is currently installed and configured.
Microsoft CA Server
Template creation
- Open Certificate Templates mmc

- Select User, make a right click and click on Duplicate Template

- Click on General tab
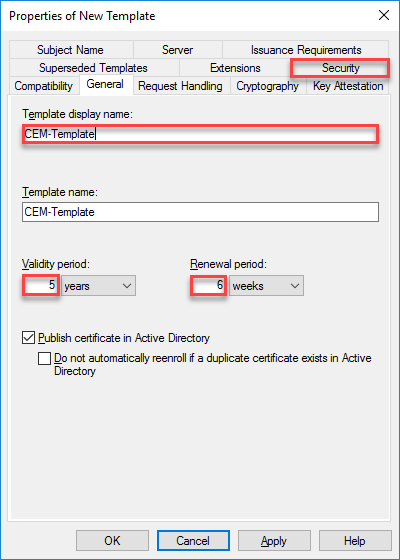
- Provide a name for the Template, keep or change the default Validity period and Renewal period, then click on Security tab
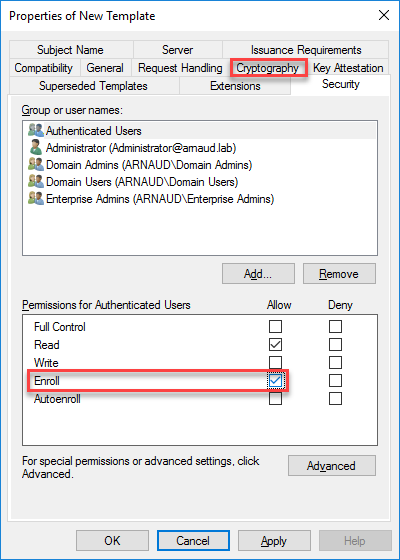
- For Authenticated Users, check the box Enroll and click on Cryptography tab
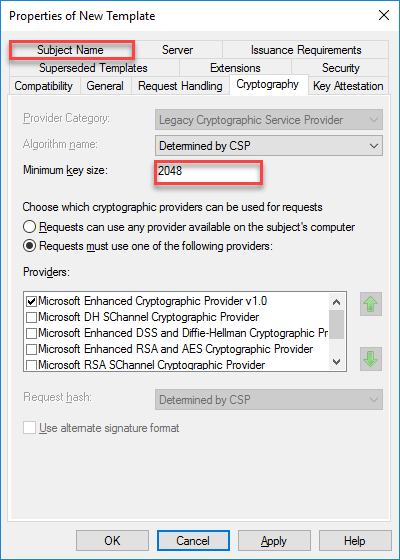
- Take note of the Minimum key size (as it will be used within CEM configuration) and click on Subject Name tab
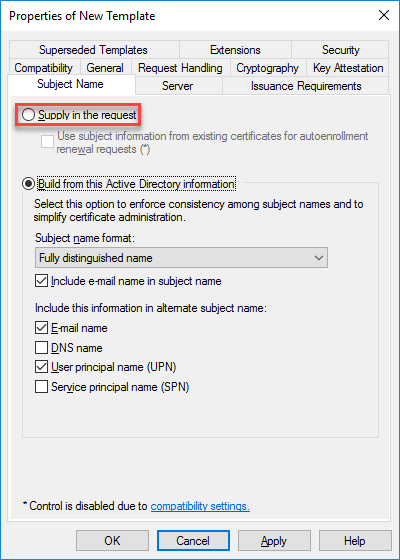
- Select the radio button Supply in the request
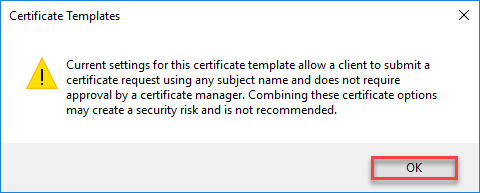
- On the warning message, click on OK
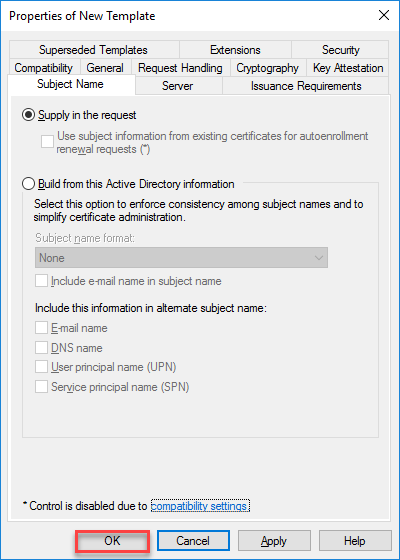
- Click on OK to validate Template creation
Certificate Authority Template integration

- Open Certificate Authority mmc

- Make a right click and select New -> Certificate Template to Issue
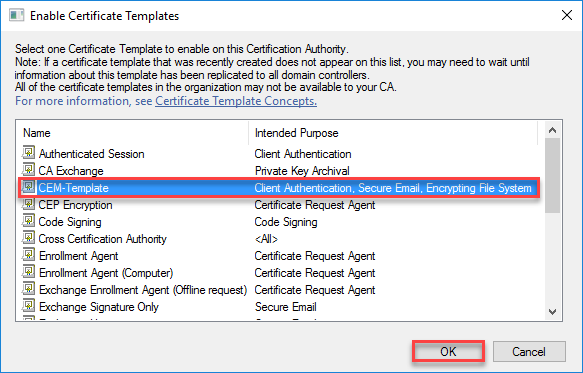
- Select the previously created Template and click on OK
Create a PFX from CA Server
Note: we need to create a service account and log with this service account before creating the user .pfx cert. The .pfx will be uploaded to CEM, which then requests a user certificate on behalf of the users who enroll their devices.
- After logged with service account, open mmc

- add snap-in Certificates for Current User

- Go to Certificates – Current User -> Personal, make a right click and select All tasks -> Request New Certificate…
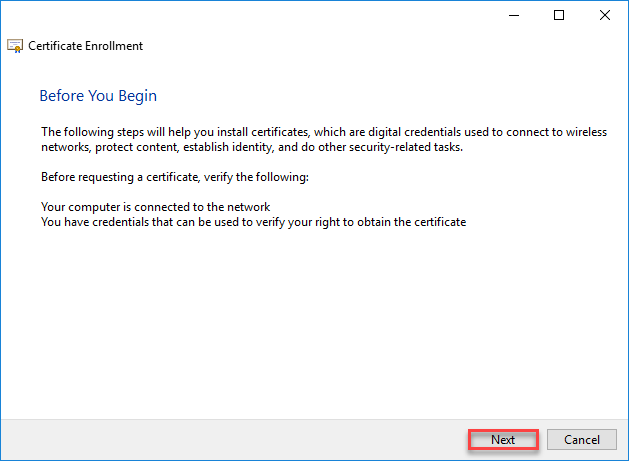
- Click on Next
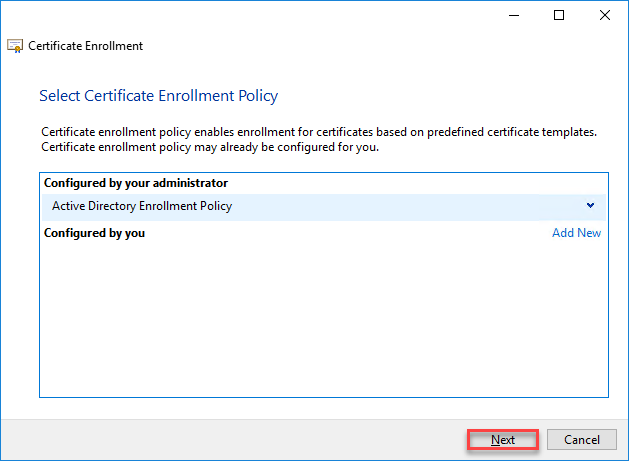
- Click on Next

- Select User and click on Enroll
Note: Even if this could appear strange, you need to select User and not the created Template.
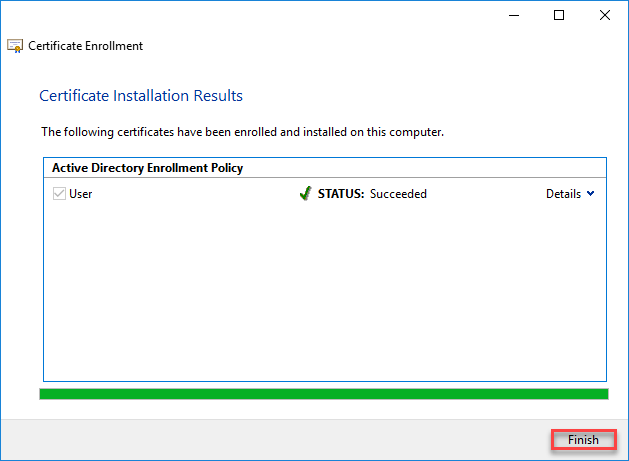
- Click on Finish

- Select the certificate, make a right click and select All Tasks -> Export…

- Click on Next
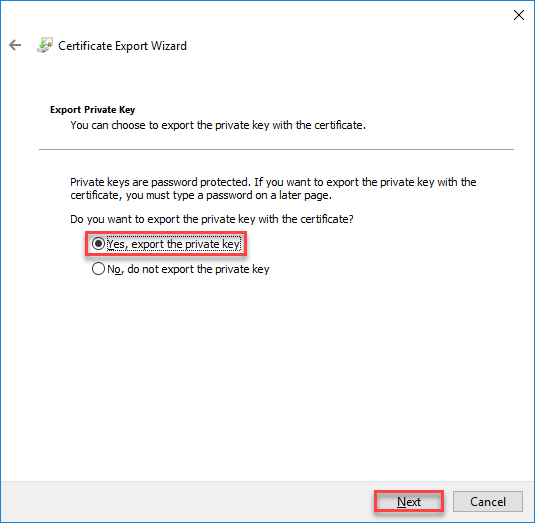
- Select the radio button Yes, export the private key and click on Next
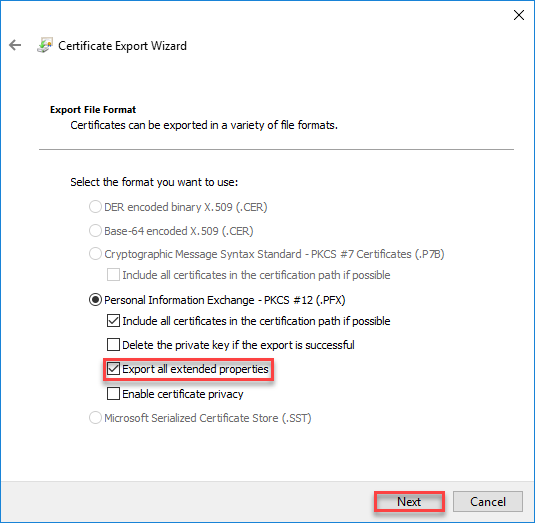
- Select the radio button Export all extended properties and click on Next
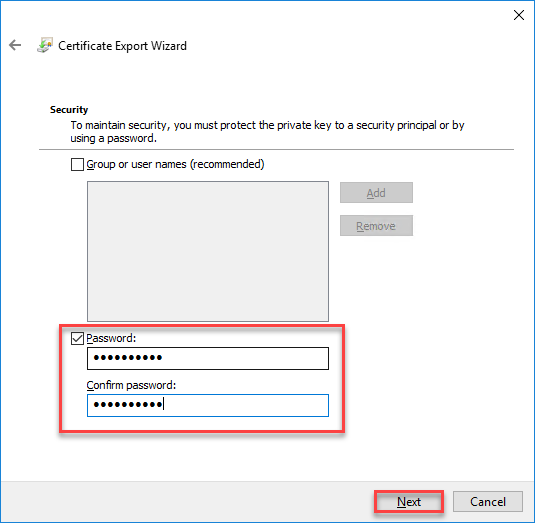
- Mark the Password check, provide password and click on Next
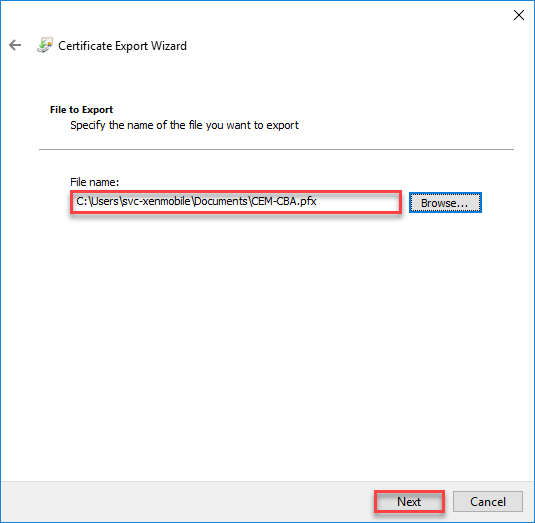
- Provide a name for the .pfx and click on Next
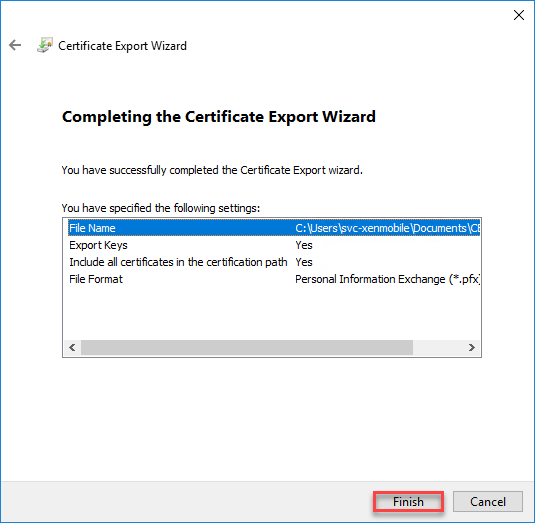
- Click on Finish
Citrix Endpoint Management
Upload Certificate on CEM

- Connect to CEM Management Console

- Click on the gear icon in the up right corner button

- Click on Certificates

- Click on Import
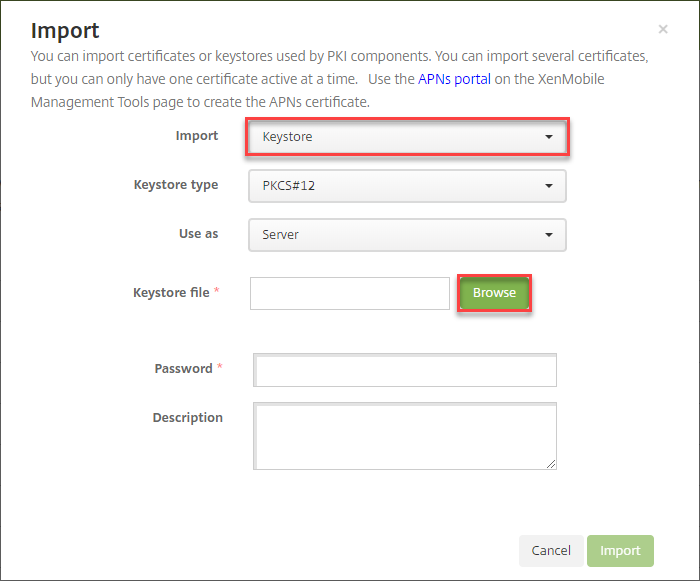
- Select Keystore and click on Browse and select the previously created .pfx

- Provide the password for the .pfx certificate, an optional Description and click on Import

- Verify that the certificate is correctly imported and click on Settings

- Click on PKI Entities

- Click on Add -> Microsoft Certificate Services Entity

- Provide a Name, the URL of the CA Web Enrollment service, under Authentication type select Client Certificate, validate that the imported certificate is listed and click on Test Connection

- Verify that connection is successful and click on Next

- Click on Add

- Provide the name defined during the Template creation and click on Save

- Click on Next

- Click on Next

- Select the check box and click on Save
Configure credentials providers

- Click on Settings

- Click on Credential Providers

- Click on Add

- Provide the Name, an optional Description, validate the fulfilled information and click on Next

- Provide Key Size (need to match the Template created previously), select Signature algorithm. Provide Subject name, add Subject alternative name and click on Save

- Select the Issuing CA certificate and click on Next

- Select the required option for Revocation XenMobile and click on Next (here above are mine own example)

- Select the required option for Revocation PKI and click on Next
(here above are mine own example)

- Select the required option for Renewal and click on Save
Configuring Secure Mail to use certificate-based authentication
When you add Secure Mail to Citrix Endpoint Management, be sure to configure the Exchange settings with your own configuration under App Settings.

Configure NetScaler certificate delivery in XenMobile
- Log on to the CEM console and click the gear icon in the upper-right corner. The Settings screen appears.

- Click on NetScaler Gateway

- If the NetScaler Gateway already exists (as the above example), select it and click on Edit

- Under Logon Type, select Certificate and Domain. Click on Save

- Select Deliver user certificate for authentication, verify the Credential provider and click on Save
Note: To use sAMAccount attributes in the user certificates as an alternative to User Principal Name (UPN), we need to configure the LDAP connector in XenMobile as follows:
- Go to Settings

- Click on LDAP

- Select your current configuration if it exists and click on Edit

- Under User search by, select sAMAccountName and click on Save
Enable Citrix PIN and user password caching
- Go to Settings

- Click on Client Properties

- Change values for Enable Citrix PIN Authentication and Enable User Password Caching from False to True
NetScaler Configuration
- Connect to your NetScaler

- Click on Citrix Gateway / Virtual Servers

- Click on your CEM Virtual Server to edit the configuration
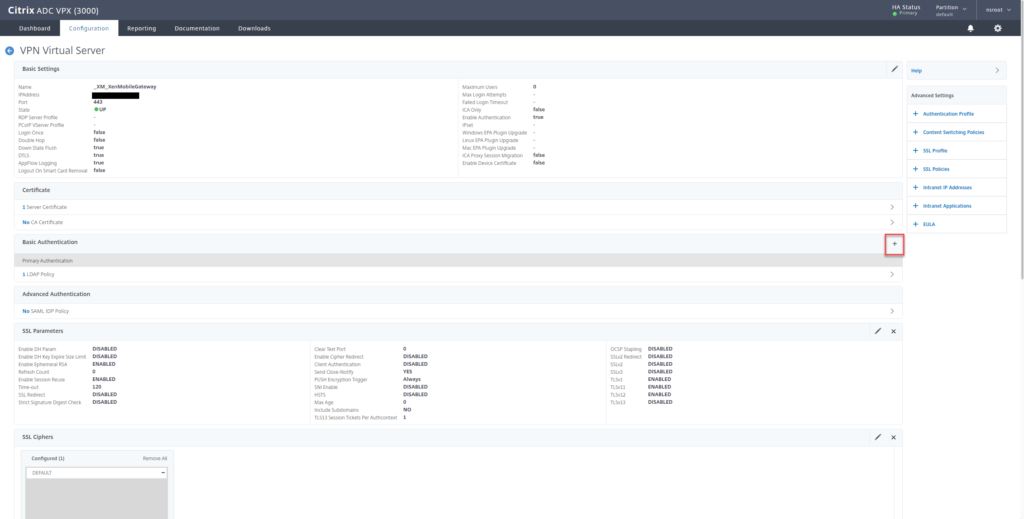
- Under Basic Authentication, click on the + sign

- Select CERTIFICATE as Primary and click on Continue

- Click on Add

- Provide a Name and click on Add
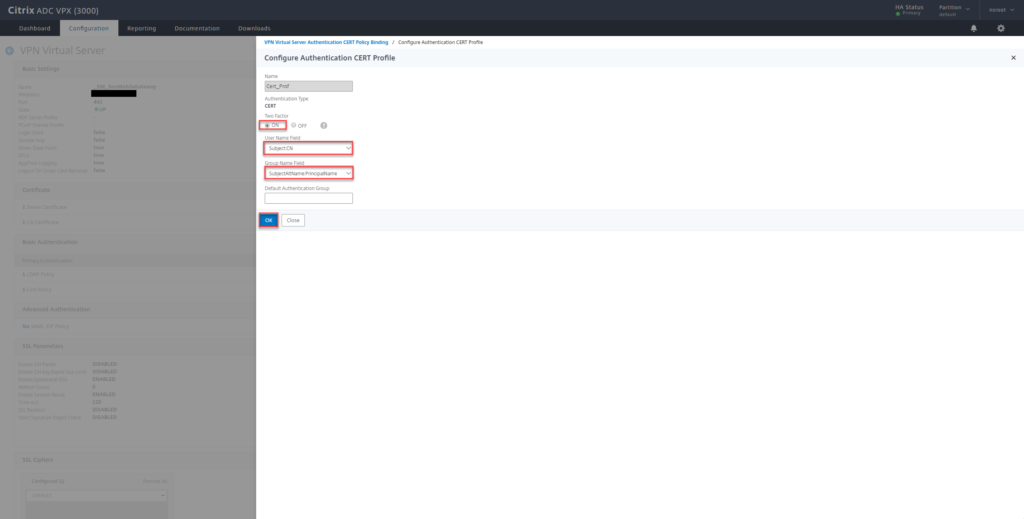
- Select Two Factor ON, for User Name Field select Subject:CN, for Group Name Field select SubjectAltName:PrincipalName and click on Create

- Provide expression ns_true and click on Create

- Click on Bind

- Edit the SSL Parameters by clicking on the pen in the top right corner

- Check the box Client Authentication, verify that Client Certificate is set to MANDATORY and click on OK

- Under Certificate, click on CA Certificate

- Click on Add

- Provide a Name, select your Root CA and click on Install

- Select OCSP Optional under CRL and OCSP Check and click on Bind
Validation
Here after is a video of a successful enrollment with Certificate Based Authentication configured
Feedback
I really like this type of configuration as:
- It will increase security
- When a user will be asked to change his AD password, nothing will be needed within Secure Hub (no need to update AD password)
- The Secure Mail configuration and authentication is transparent for endusers
Feedback
Troubleshooting points can be found here
Thanks Saadallah 😉
Stay Tuned
My next article will be on how to configure Certificate Based Authentication (CBA) for Citrix Endpoint Management Services (in the cloud)