In a previous post I explained how I discovered Microsoft Intune.

In this new one, I will explain the integration between Citrix Endpoint Management and Microsoft Intune.
The purpose of the integration between both product is to deliver applications securely from Azure to any device.

What is Citrix Endpoint Management integration with Microsoft Intune/EMS?
Citrix Endpoint Management integration with Microsoft Intune/EMS is a feature of Citrix Endpoint Management Service that adds value to Microsoft EMS + Intune by providing secure access to on-premises resources for Intune and EMS-enabled apps, such as Office365 and other line-of-business apps. It also provides security and productivity benefits to Intune and Citrix Endpoint Management customers.
Prerequisites
Citrix Cloud requirements
If you donʼt already have a Citrix Cloud account, request one here: https://onboarding.cloud.com/
TIP: Use an email address not associated with a Microsoft Azure Active Directory (Azure AD) account to request your Citrix Cloud account.
Microsoft requirements
Citrix Endpoint Management integration with Microsoft Intune/EMS extends the capability of Intune, Azure AD for identification and access management, so you need:
- Azure Premium P1/P2 subscription to EMS. This includes Azure AD and Intune.
- Microsoft Office 365 enterprise licenses to publish app.
- An active Intune instance in Azure.
For information from Microsoft about EMS, Azure, Azure AD, Intune, and Microsoft Office 365, see the Enterprise Mobility + Security Documentation.
NetScaler requirements
You can use the NetScaler VPX included with Citrix Endpoint Management integration with Microsoft Intune/EMS or use your existing NetScaler and configure it for Citrix Endpoint Management integration with Microsoft Intune/EMS. Citrix Endpoint Management integration with Microsoft Intune/EMS includes NetScaler VPX licenses.
Cloud Connector requirements
The Citrix Cloud Connector is required to use Citrix Endpoint Management integration with Microsoft Intune/EMS to manage devices, but is not required to use Citrix Endpoint Management Connector for managing apps only. For more information on Cloud Connector and its requirements, see Citrix Cloud Connector.
Request a trial of Citrix Endpoint Management Services and Citrix Endpoint Management integration with Microsoft Intune/EMS
After you’ve completed the prerequisites, if you do not already have a trial of Citrix Endpoint Management Services and Citrix Endpoint Management integration with Microsoft Intune/EMS, you can request one from Citrix. Your trial might take two or three days to be approved.

- Go to https://us.cloud.com and sign in with your Citrix Cloud account credentials
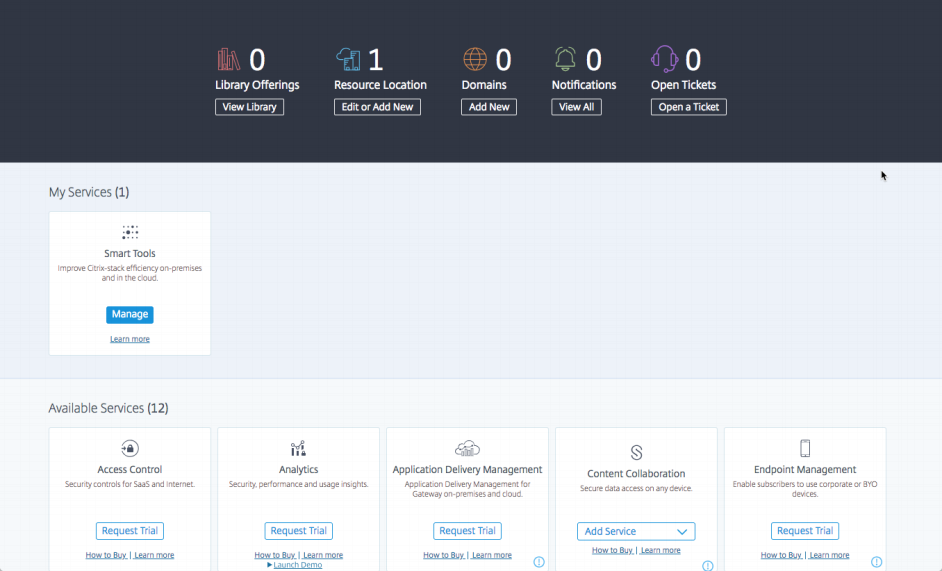
- Under Endpoint Management, click on Request Trial
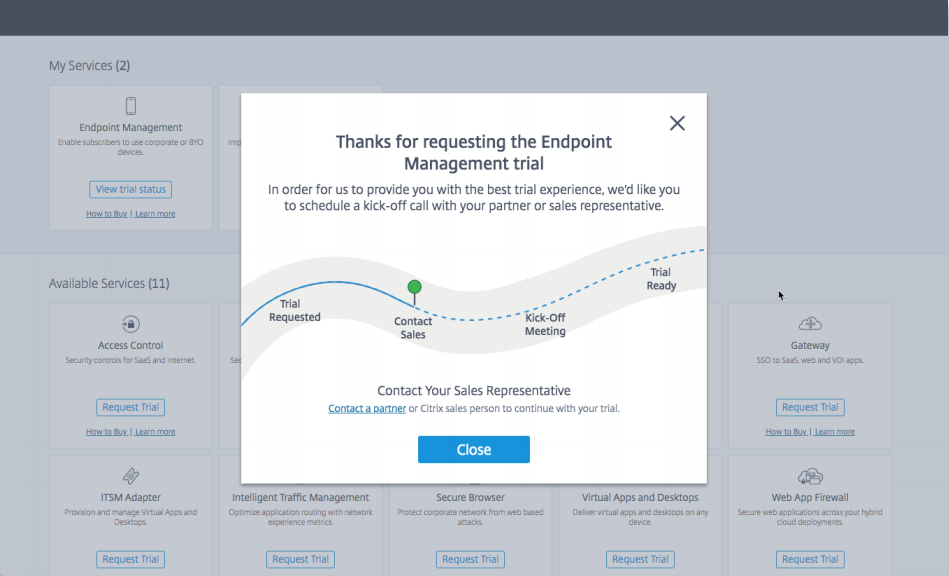
- When the above windows prompts, click on Contact a partner
- When you finish filling in your information, click Close

- When your trial is approved, the Citrix Endpoint Management Service tile appears with a Manage button. Click on Manage.

- When the next screen appears, click Get Started to begin configuring your Citrix Endpoint Management Connector for EMS/Intune.
Connect CEM integration with Microsoft Intunes/EMS to Azure AD

- Click on Configure Site

- Click on Go to Identity and Access Management

- Click on Connect to add Azure AD as your identity access management provider

- Type your URL-friendly identifier and click Confirm

- Sign in with your Azure credentials

- Check the box and click on Accept

- The green light with Enabled indicate that connection is successful
Add your Azure AD administrators to your Citrix Cloud account
Connecting Citrix Cloud to Azure AD allows identity to flow between Azure and Citrix Cloud, but to make use of that, you must grant access to those identities.

- Click on Administrators

- From the drop-down list, select the company identifier you created

- In the search box provide name of a user. When you find your user name, click Invite. This will add you as an administrator of your Citrix Cloud account.

- Select the type of access and click on Send Invite

- The Status is Invite Sent

- On the received email click on Accept Invitation

- Click on Sign In

- As soon as you have signed with your Azure AD account, the status will change to Active
Sign in to Citrix Cloud using Azure AD
To complete the connection of the Azure AD with Citrix Cloud sign in using the credentials of the administrator you added. This connects the Azure AD administrator account to Citrix Cloud.

- Click on Sign in with my company credentials

- Provide the URL-friendly identifier created previously and click on Continue

- Click on Manage
Set up a Citrix micro-VPN
Citrix Endpoint Management Connector for EMS/Intune uses a micro-VPN SDK to provide secure, managed access to applications. The micro-VPN provides this access through an on-premises NetScaler Gateway.
To complete this task, be prepared to provide:
- A name you choose to identify your micro VPN service
- Your on-premises NetScaler Gateway’s external URL. This URL is sometimes called the based URL

- Click on the gear icon to get to Citrix Endpoint Management Connector for EMS/Intune settings page

- Click on Configure Micro VPN

- Provide a name and your on-premises NetScaler Gateway’s base URL and click on Next

- Click on Download Script
Edit and upload the script to your NetScaler
- Ppen an Administrator PoSH command line
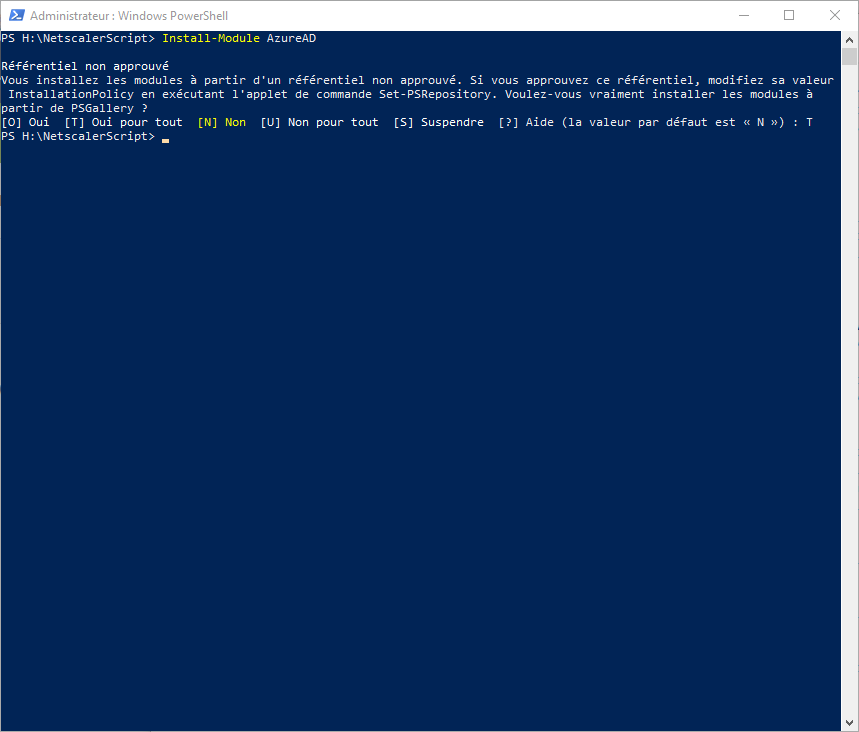
- Install Azure Module
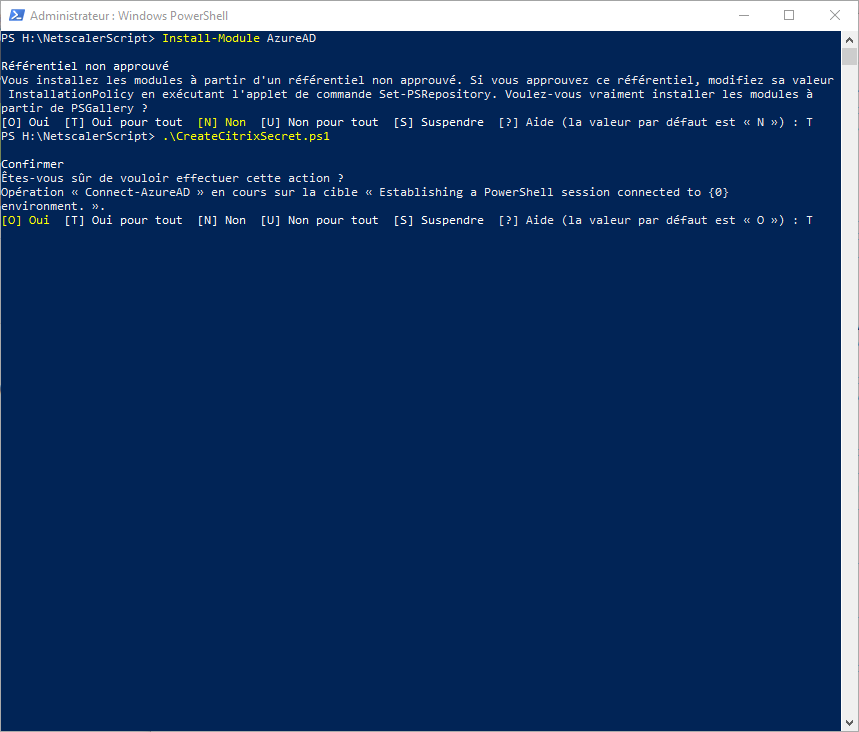
- Run CreateCitrixSecret.ps1 script
- Sign in with your AD Account
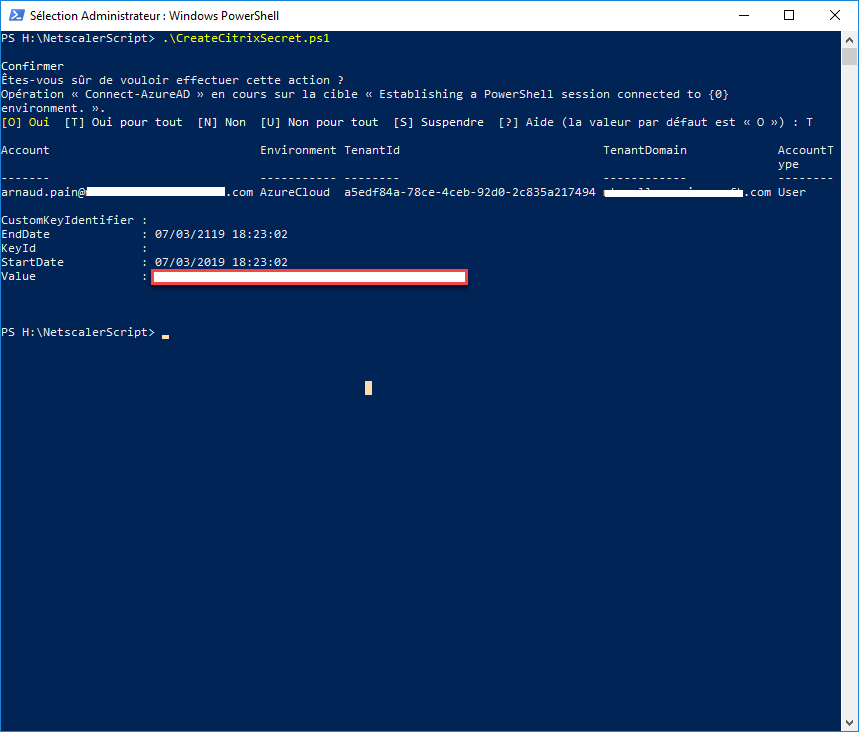
- Take note of the value returned
- Modify place holders in NSGConfigBundle_CREATESCRIPT.txt with the appropriate values. The text file describes the values you use to replace those placeholders.

- Upload NSGConfigBundle_CREATESCRIPT.txt into the /var directory of the NetScaler appliance.

- Execute the following command in the NetScaler bash shell:
/netscaler/nscli -U :: batch -f "/var/NSGConfigBundle_CREATESCRIPT.txt"
Configure your MDM provider
If you want to manage devices with Citrix Endpoint Management integration with Microsoft Intune/EMS, choose a mobile device management (MDM) provider. If you choose XenMobile as your MDM provider, you connect your on-premises resources to your Citrix Endpoint Management site by installing the Cloud Connector.
NOTE: If you are already using Citrix Endpoint Management Service to manage devices in your enterprise, when you choose Citrix Endpoint Management as your MDM provider for Citrix Endpoint Management integration with Microsoft Intune/EMS, you are creating a new instance in Citrix Cloud. You must give it a different name from any instance of Citrix Endpoint Management Service that you might have in Citrix Cloud.

- Click on Configure MDM

- Enter your site name, choose your cloud region, click Request Site
Note: Mine was already created on the above example

- If you already have a Resource Location defined, select the radio button or, as in the above example, select 2nd option and provide a name for Resource Location and click on Save

- Click on Next

- Click on Download Cloud Connector

- Once Cloud Connector is installed, click on Test Connection

- Click on Save & Exit

- Click on Finish
Deliver Applications

- To start delivering apps, click on Manage Apps and Devices in Citrix Endpoint Management

- Import your APNS Certificate and click on Next

- Provide your on-premise NetScaler URL and click on Next

- Select your Domain and click on Next

- You can provide Notification Server information or just click on Next

- You can provide Android Enterprise information or just click on Next

- Verify information and click on Finish
Add Applications

- Click on Menu / Library

- Click on + sign and select Add a Mobile App

- Select an Apps and click on Next

- Provide a name and description for the apps and select if you want the apps to be required

- Provide the information and click on Next

- Provide information and click on Next

- Configure Intune app protection policies

- Configure Endpoint Management application policies and click on Next

- Validate information and click on Finish

- Click on Add Another App and repeat above steps for other apps that you would like to provide to your users
This is the end of the Part 1 of the article.
Part 2 to come soon, so stay tuned …