As I am redoing from scratch my Lab and I have ShareFile, I would like to enjoy the Office Online preview and editing features.
Here after are all the detailed steps to accomplish that.
LAB Infra
Here after is the infrastructure that will be used to make OOS available

Base on the fact that ShareFile is already configured, we will just add 2 OOS servers to create a farm. The farm will be load balanced using NetScaler with SSL Offload between NetScaler HA Pair and OOS Servers.
Prequisite
You need to have a Windows server integrated in your domain (Windows Server 2016 or 2019)
You will first install the Windows Features needed by running the following PoSH command:
| Install-WindowsFeature Web-Server, Web-Mgmt-Tools, Web-Mgmt-Console, Web-WebServer, Web-Common-Http, Web-Default-Doc, Web-Static-Content, Web-Performance, Web-Stat-Compression, Web-Dyn-Compression, Web-Security, Web-Filtering, Web-Windows-Auth, Web-App-Dev, Web-Net-Ext45, Web-Asp-Net45, Web-ISAPI-Ext, Web-ISAPI-Filter, Web-Includes, Windows-Identity-Foundation |

You will also need the following:
- .NET Framework 4.5.2
- Visual C++ Redistributable for Visual Studio 2015
- Microsoft.IdentityModel.Extension.dll
OOS Installation
Office Online Server can be downloaded from the Volume Licensing Service Center (VLSC). Office Online Server is a component of Office; therefore, it will be shown under each of the Office product pages including Office Standard 2016, Office Professional Plus 2016, and Office 2016 for Mac Standard.
For customers whose licenses qualify for OOS, but cannot obtain it through the VLSC, the following actions are possible:
- VL Open customers can contact their Support Center.
- Customers who purchased O365 online from Microsoft can submit a request from their Office 365 admin center or contact support.
After you have retrieved the ISO file, mount it on your server

- Double click on Setup
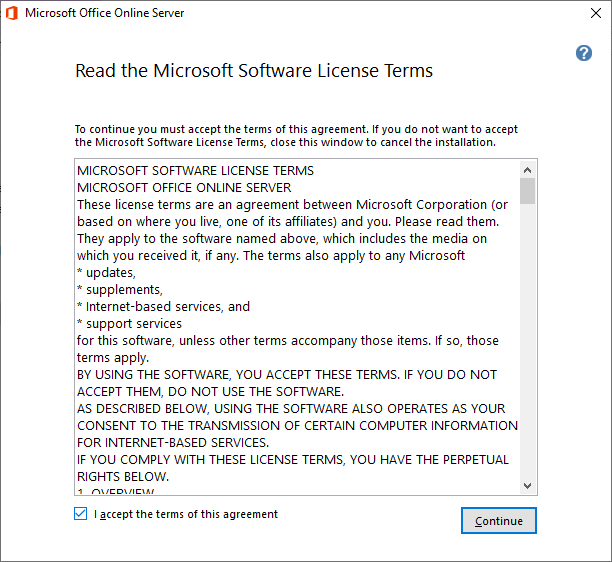
- Accept the license agreement and click on Continue
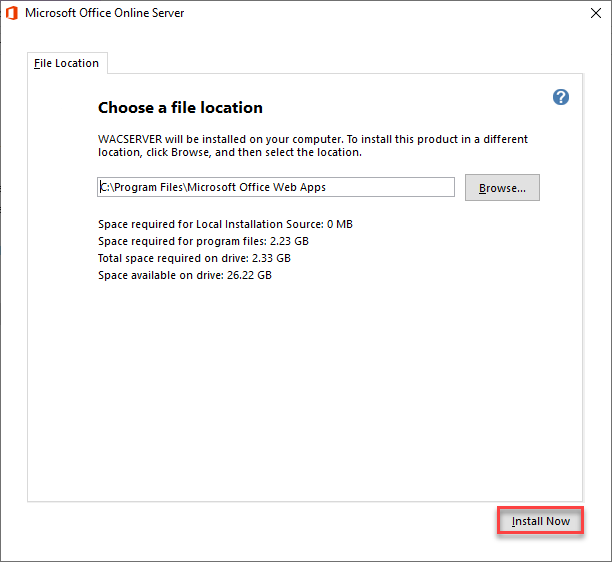
- Keep or change the installation folder and click on Install Now

- Click on Close
OOS Configuration
After the initial installation we will need to create a farm by running PoSH Command, to be able to do that we will first need to import PoSH module by running the following Command
import-module “C:\Program Files\Microsoft Office Web Apps\AdminModule\OfficeWebApps\OfficeWebApps.psd1” |

- Then we need to run the following Command to create a farm
New-OfficeWebAppsFarm -InternalUrl "https://internal-fqdn" -ExternalUrl "https://external-fqdn" -SSLOffloaded -EditingEnabled
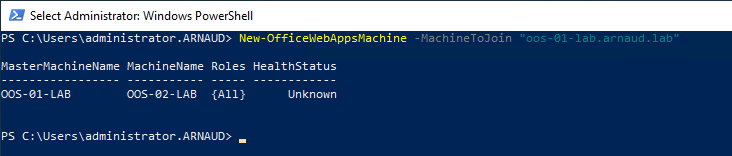
Note: On the remaining server of the farm, the command to run is different:
New-OfficeWebAppsMachine -MachineToJoin "FQDN of 1st server"
Note: You will need to create an internal DNS for the OOS Farm
NetScaler Configuration
The NetScaler configuration is pretty simple:
- Create a Service Group for the OOS Servers using HTTP as we will SSL Offload the communication (optional: create a specific monitor for the OOS server)
- Add the members
- Create a LB vServer using SSL (at least disable SSL v3 as Best Practice)

Validate NetScaler configuration
To validate that the NetScaler configuration is correct and the OOS farm is accessible from Internet, you will need to open a Web Browser and point to https://external-fqdn/hosting/discovery
You should see an XML file

ShareFile Control Plane Configuration
As explained before, my ShareFile configuration was already in place so I just need to modify the configuration to integrate my OOS Servers.

Validation
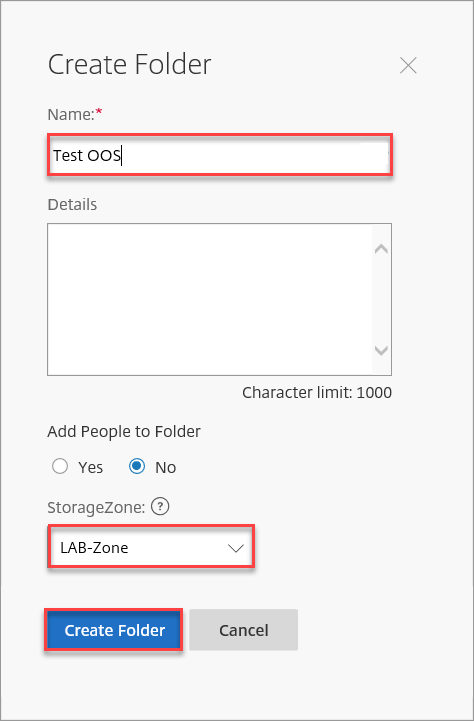
- Create a Test folder on-premises
- Upload an Office Document
- Click on the document

- If everything is configured correctly, you should see the Office document and be able to edit it.