This article explains how to back up Windows machines using the Azure Backup service and the Microsoft Azure Recovery Services (MARS) agent, also known as the Azure Backup agent.
This is a step-by-step guide based on my own experience
About the MARS agent
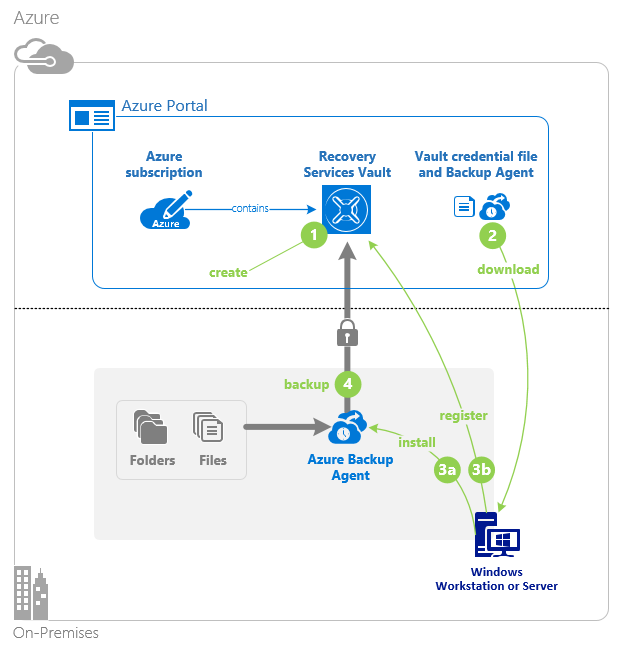
The MARS agent is used by Azure Backup to back up files, folders, and system state from on-premises machines and Azure VMs to a backup Recovery Services vault in Azure. You can run the agent as follows:
- Run the agent directly on on-premises Windows machines so that they can back up directly to a backup Recovery Services vault in Azure.
- Run the agent on Azure VMs running Windows (side-by-side with the Azure VM backup extension) to back up specific files and folders on the VM.
- Run the agent on a Microsoft Azure Backup Server (MABS) or a System Center Data Protection – Manager (DPM) server. In this scenario, machines and workloads back up to MABS/DPM, and then MABS/DPM backs up to a vault in Azure using the MARS agent. What you can back up depends on where the agent is installed.
Create Vault

- Connect to your Azure portal and click on Create a resource

- Enter Backup in the search box and select Backup and Site Recovery

- Click on Create

- Select Subscription, Resource group, provide a name for the vault, select Region and click on Review + create

- Click on Create

- One finished click on Go to resource
Create Backup

- Click on + Backup

- Select On-Premises and Files and folders

- Click on Prepare Infrastructure

- Click on Download Agent for Windows Server or Windows Client
- Click on the downloaded files to start the installation
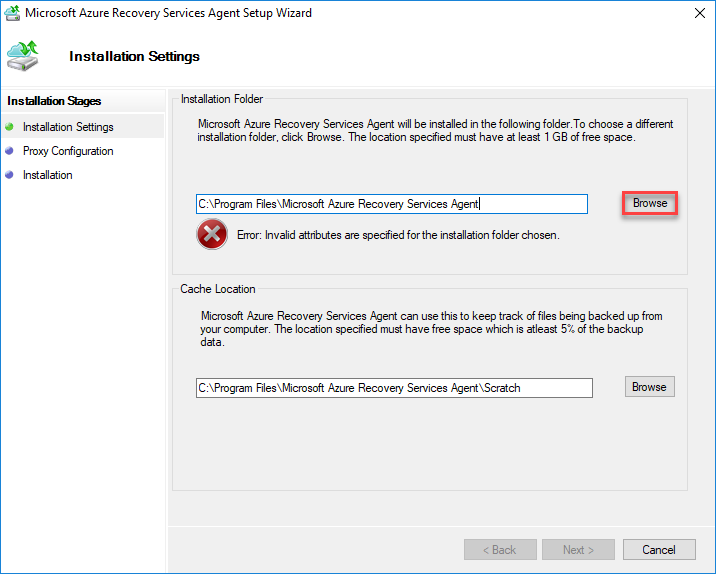
- I do not know why but the proposed folder for the installation is incorrect, click on Browse
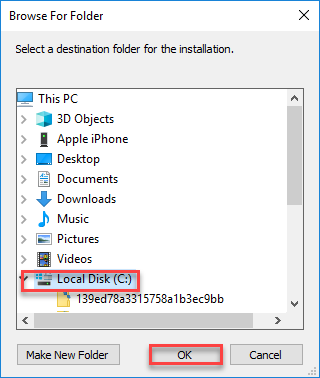
- I selected my C:\ drive and click on OK
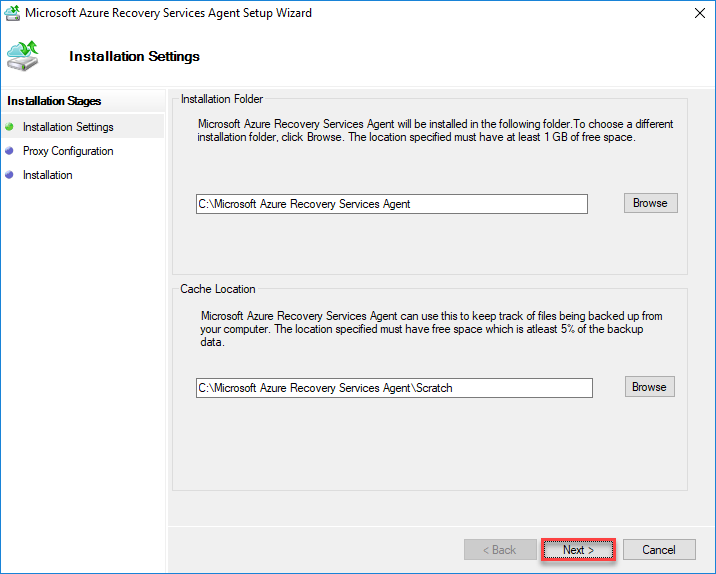
- Click on Next
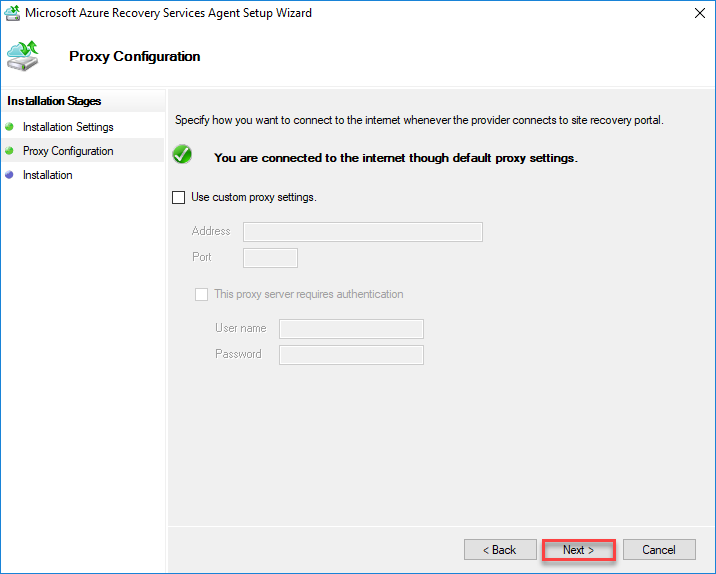
- Define proxy if needed and click on Next
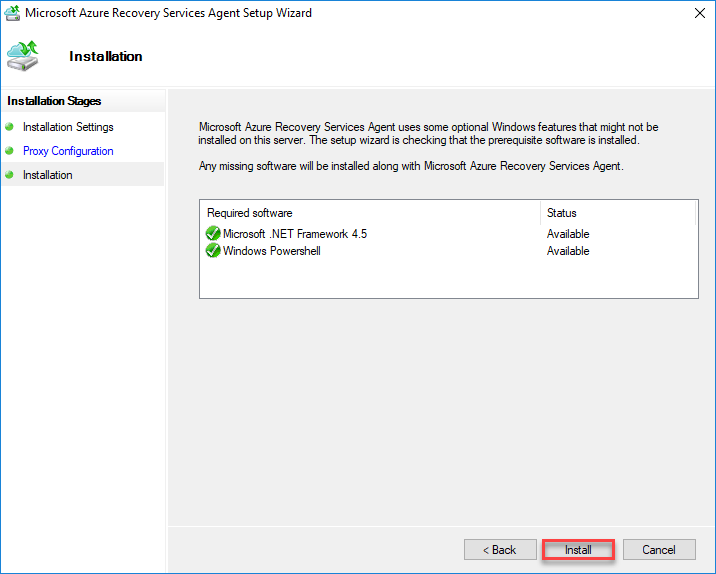
- Click on Install
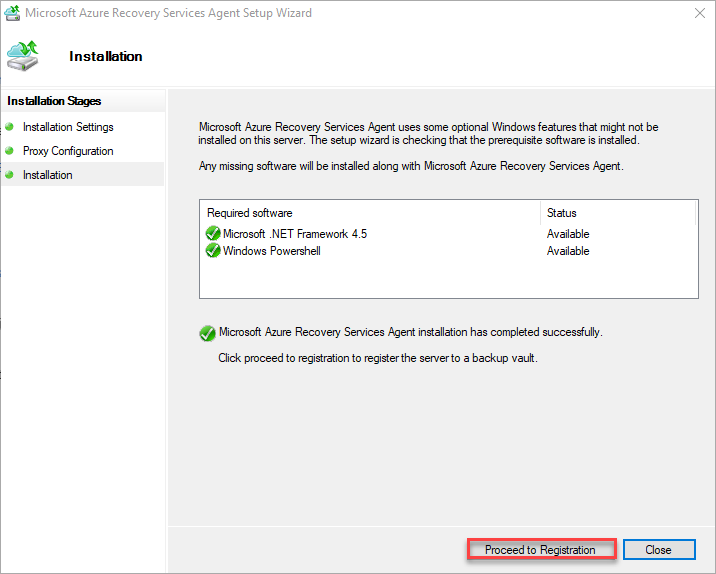
- Click on Proceed to Registration

- Switch back on Azure portal, check the box and click on Download
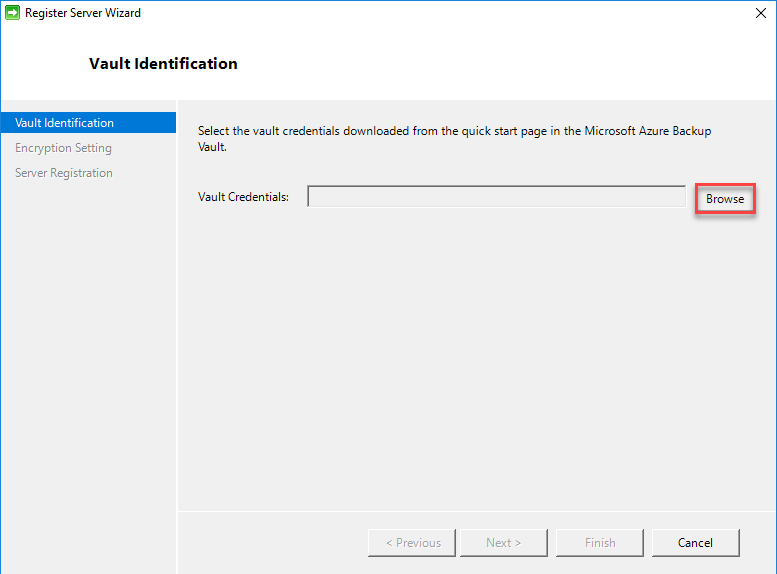
- Click on Browse
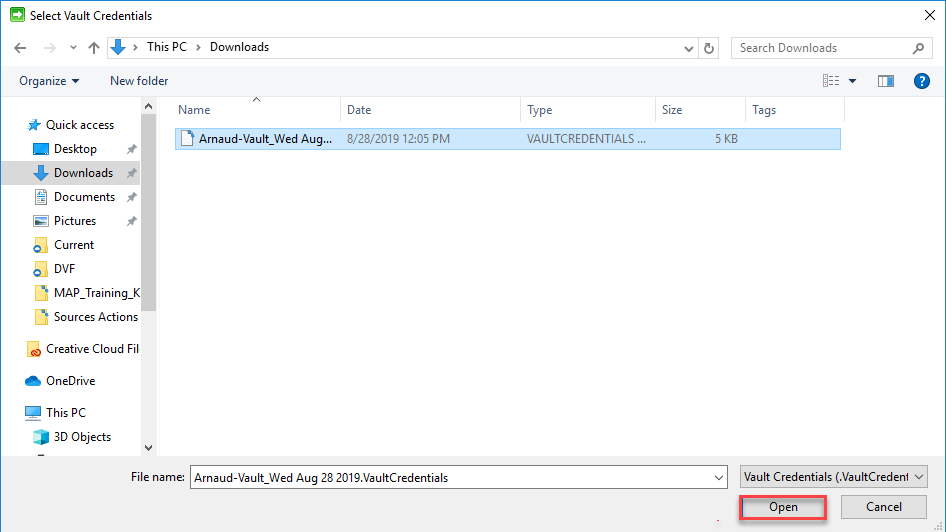
- Select the downloaded file and click on Open
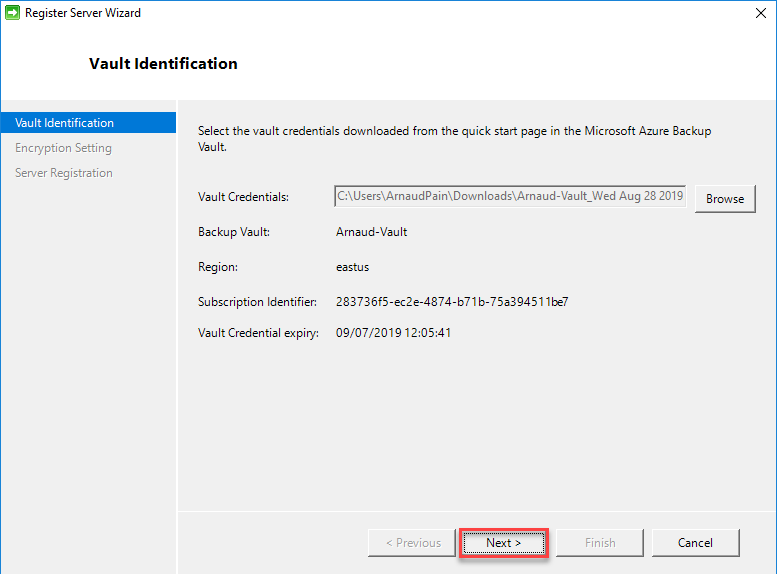
- Click on Next
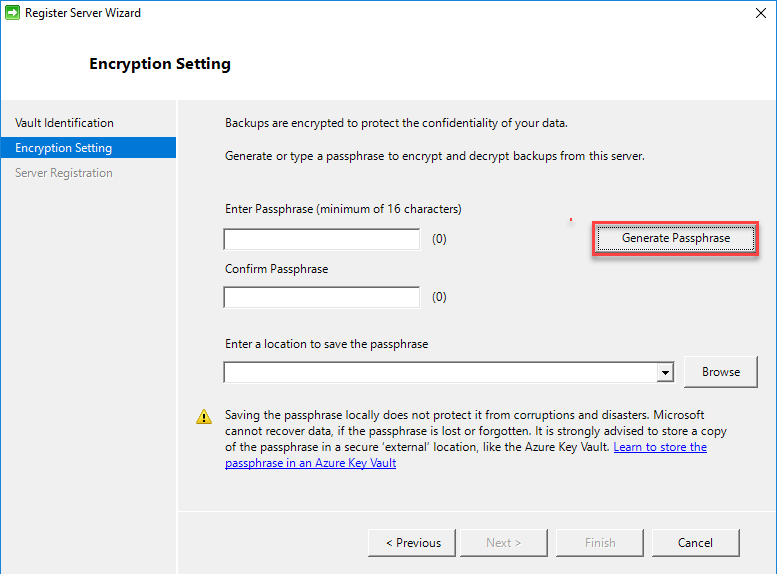
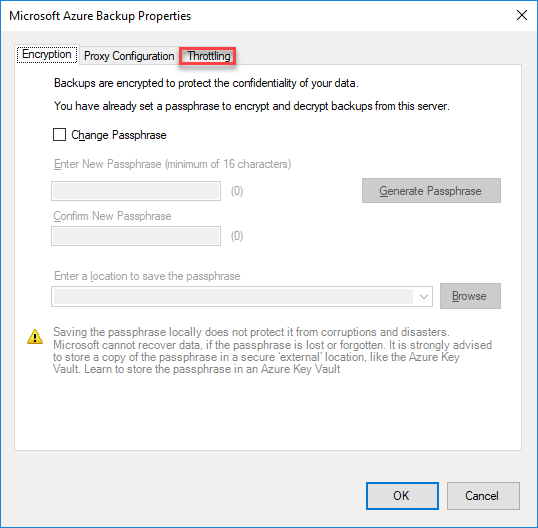
- Click on Generate Passphrase
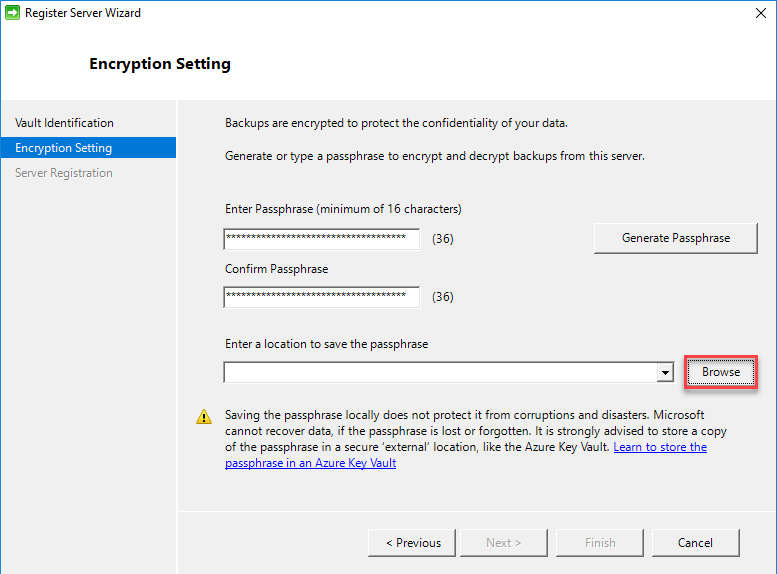
- Click on Browse
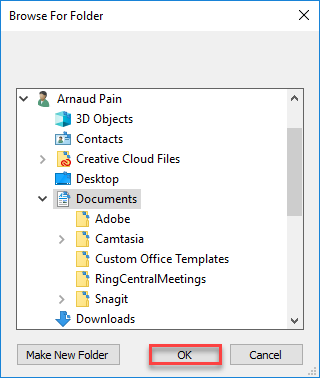
- Select a location and click on OK
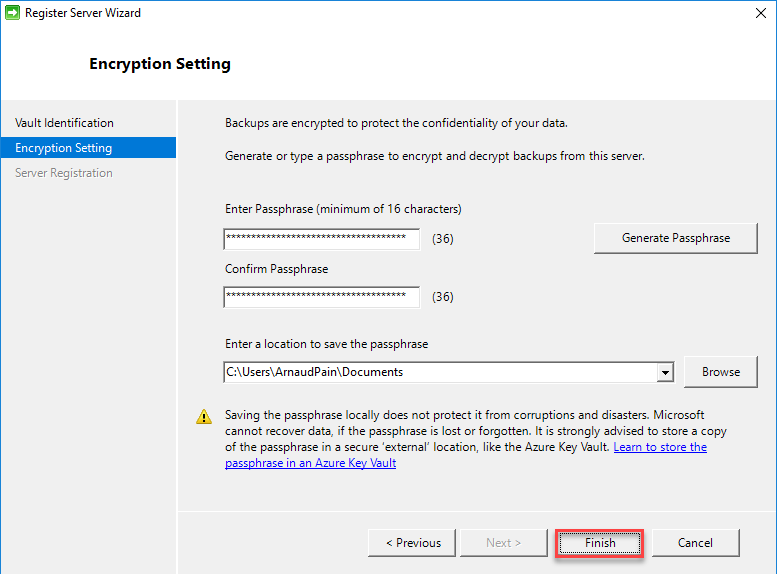
- Click on Finish
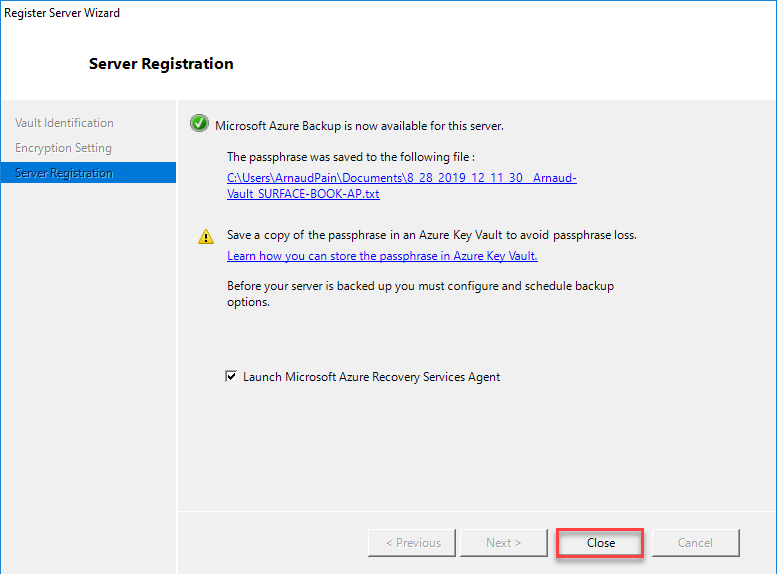
- Click on Close

- Microsoft Azure Backup agent opens, click on Schedule Backup

- Click on Next

- Click on Add Items
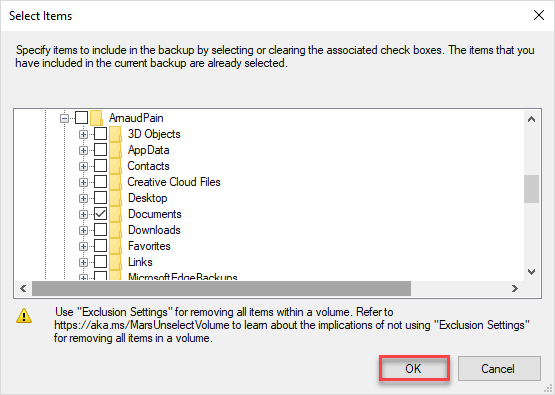
- Select the items you want to backup and click on OK

- Click on Next

- Specify the schedule and click on Next

- Specify your retention policy and click on Next

- Select the initial backup method and click on Next

- Verify the information and click on Finish

- I don’t know why but the Close button is grayed out…
Note: I just went into Task Manager and end the process, I was then be able to go again in the MMC and check the schedule.
Enable network throttling
You can control how network bandwidth is used by the MARS agent by enabling network throttling. Throttling is helpful if you need to back up data during work hours but want to control how much bandwidth is used for backup and restore activity.
- Azure Backup network throttling uses Quality of Service (QoS) on the local operating system.
- Network throttling for backup is available on Windows Server 2008 R2 onwards, and Windows 7 onwards. Operating systems should be running the latest service packs.
Enable network throttling as follows:
- In the MARS agent, click Change Properties

- Click on the Throttling tab
- Check the box Enable internet bandwidth usage throttling for backup operations.
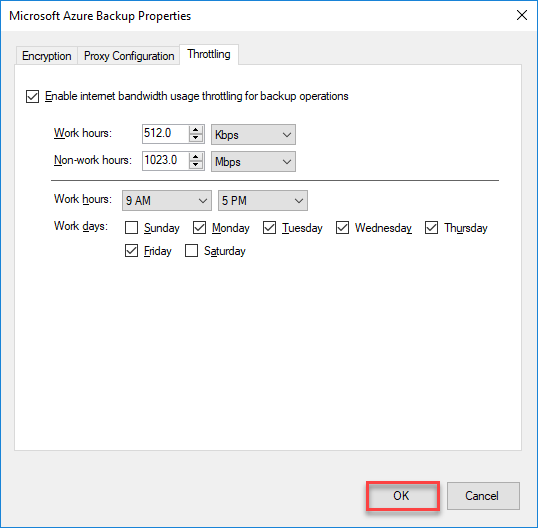
- Specify the allowed bandwidth during work and outside work hours. Bandwidth values begin at 512 Kbps and go up to 1,023 MBps. Then click OK.
Run an ad hoc backup
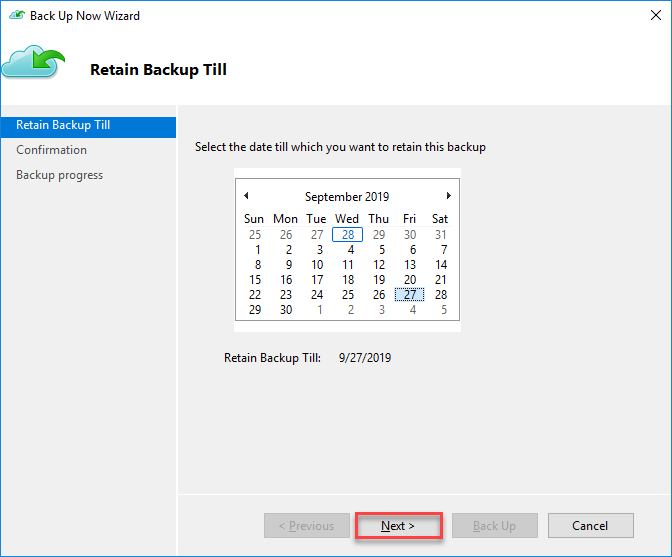
- In the MARS agent, click Back Up Now. This kicks off the initial replication over the network.

- Confirm the retention date and click on Next
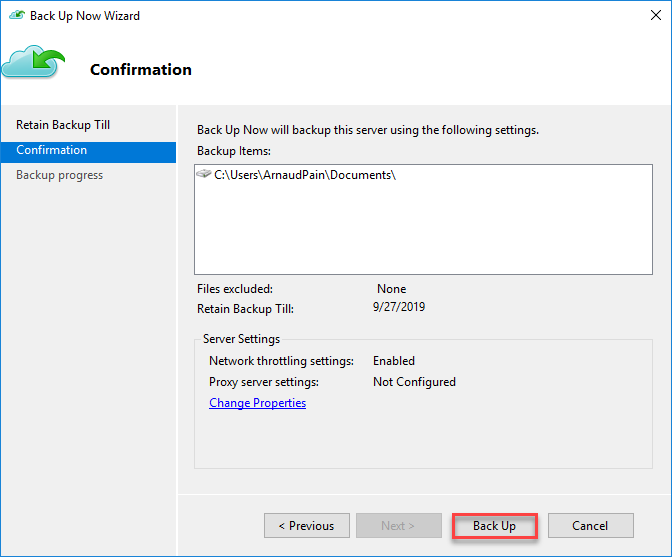
- In Confirmation, review the settings, and click Back Up.
Note: The source is retrieved from the Schedule Backup configuration
- Click Close to close the wizard. If you do this before the backup finishes, the wizard continues to run in the background.
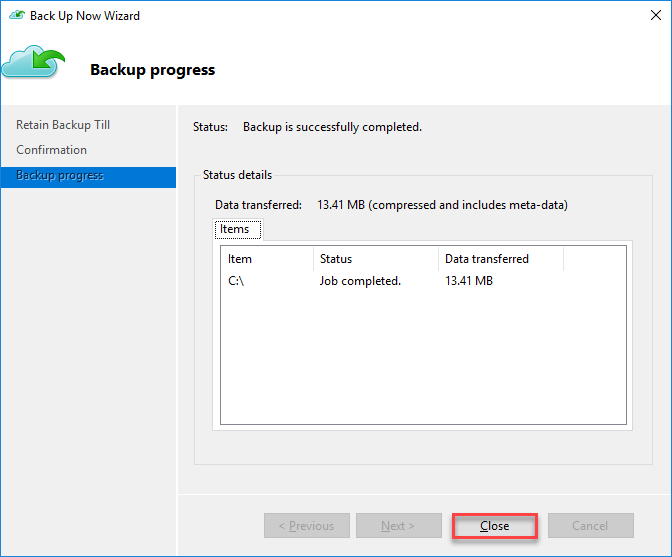
After the initial backup is completed, the Job completed status appears in the Backup console.

We can also see it in Azure Portal

Now let’s try it!
I delete documents in my Documents folder and restore data.

- Click on Recover Data
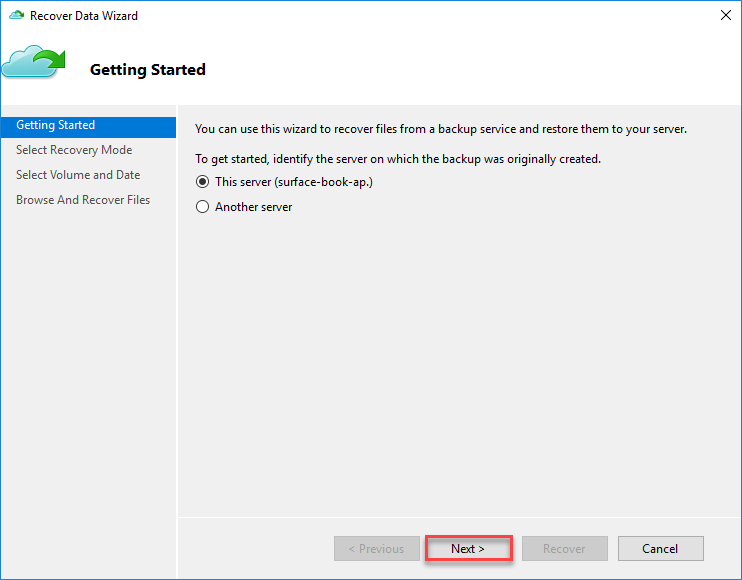
- Click on Next
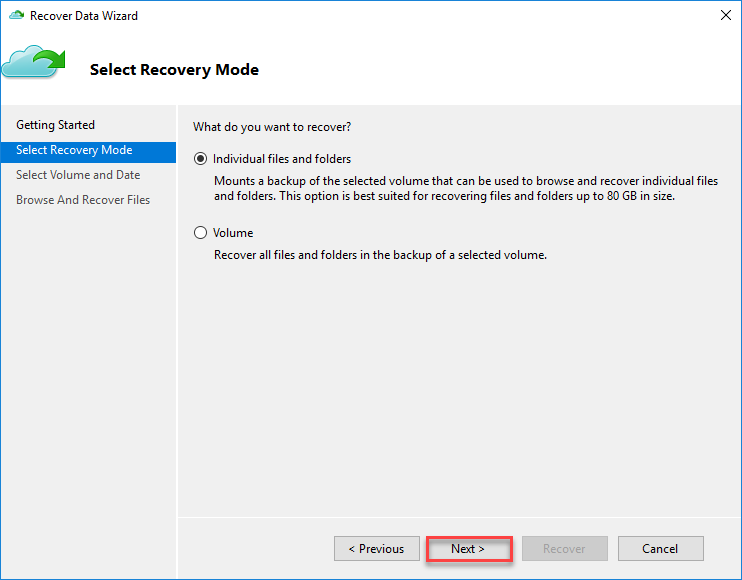
- Click on Next

- Select Volume and Backup to use, click on Mount
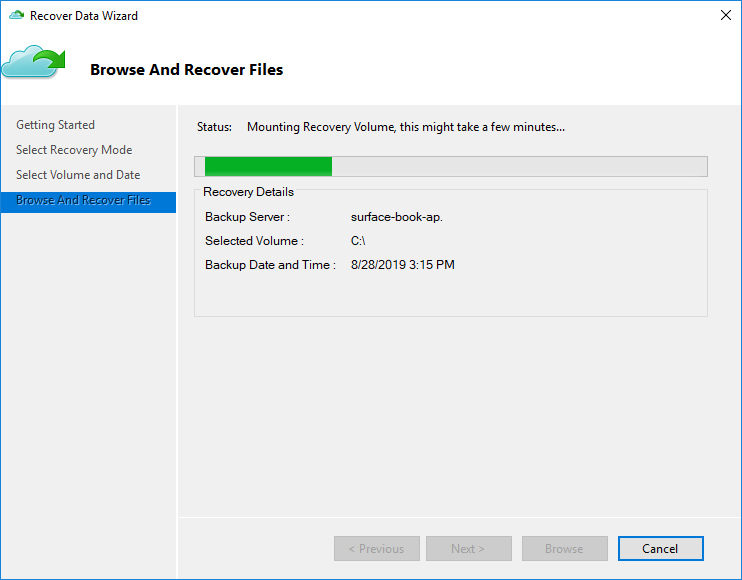
- The volume will mount
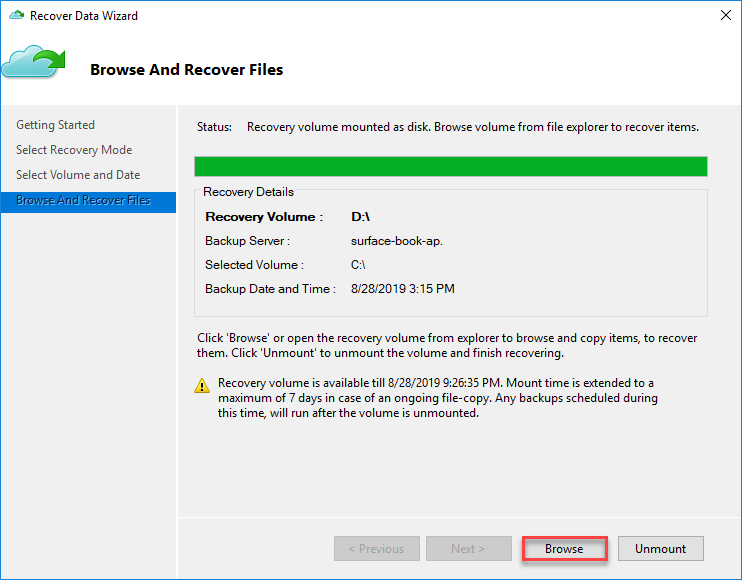
- When volume is mounted, click on Browse
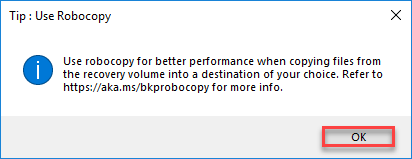
- The above Tip should appear, click on OK

- Select the document you would like to restore and copy/paste
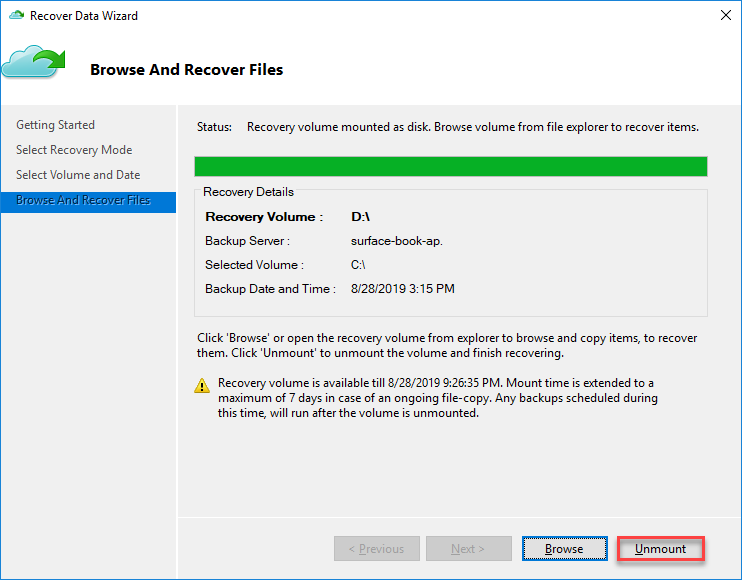
- When it’s done, click on Unmount
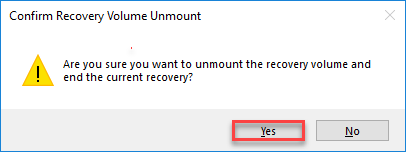
- Click on Yes
Feedback
The tools is easy to implement and to use.
You have a good granularity for backup schedule and retention.
I do not know yet exactly what could be the cost based on the data to backup and the cost to restore data from Azure to on-premises.
It can help Small Business to have a simple backup solution.
If you have any comment please feel free to share!