
After my 2 previous article on Azure AD Connect, now I will explain the option provided by the tool
- Open Azure AD Connect by double-clicking on the Desktop icon

- Click on Configure

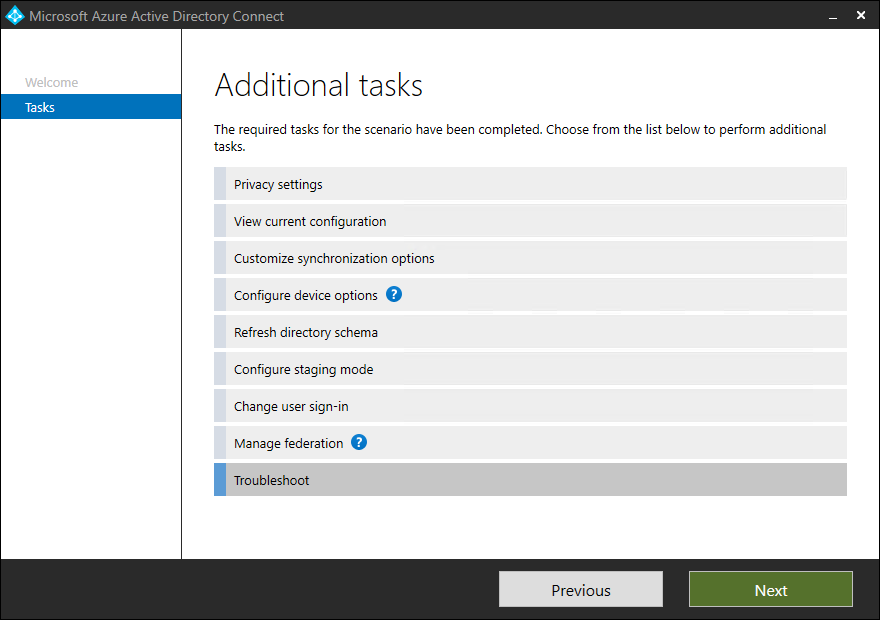
- A list of tasks appears
Azure AD Connect Tasks
Privacy settings

- Click on Configure

- Select Privacy settings and click on Next

- Provide your Azure AD account and click Next

- You can disable Telemetry if needed and click on Next

- Click on Configure

- Click on Exit
View current configuration

- Click on Configure

- Select View current configuration and click on Next

- Click on Exit
Customize synchronization options
- Click on Configure

- Select Customize synchronizations options and click onNext

- Connect with your Azure AD account and click on Next
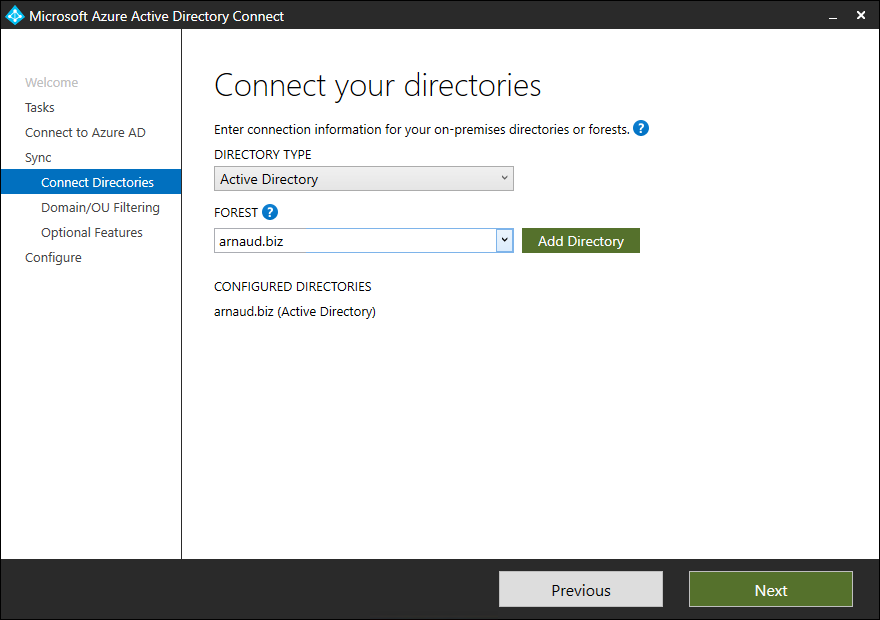
- Validate your on-premises AD and click on Next

- You can select to synchronize all OUs or select some. Click Next

- Based on your configuration, you have multiple options, details below. Click on Next
| Optional Features | Description |
|---|---|
| Exchange Hybrid Deployment | The Exchange Hybrid Deployment feature allows for the co-existence of Exchange mailboxes both on-premises and in Office 365. Azure AD Connect is synchronizing a specific set of attributes from Azure AD back into your on-premises directory. |
| Exchange Mail Public Folders | The Exchange Mail Public Folders feature allows you to synchronize mail-enabled Public Folder objects from your on-premises Active Directory to Azure AD. |
| Azure AD app and attribute filtering | By enabling Azure AD app and attribute filtering, the set of synchronized attributes can be tailored. This option adds two more configuration pages to the wizard. For more information, see Azure AD app and attribute filtering. |
| Password hash synchronization | If you selected federation as the sign-in solution, then you can enable this option. Password hash synchronization can then be used as a backup option. For additional information, see Password hash synchronization. If you selected Pass-through Authentication this option can also be enabled to ensure support for legacy clients and as a backup option. For additional information, see Password hash synchronization. |
| Password writeback | By enabling password writeback, password changes that originate in Azure AD is written back to your on-premises directory. For more information, see Getting started with password management. |
| Group writeback | If you use the Office 365 Groups feature, then you can have these groups represented in your on-premises Active Directory. This option is only available if you have Exchange present in your on-premises Active Directory. For more information, see Group writeback. |
| Device writeback | Allows you to writeback device objects in Azure AD to your on-premises Active Directory for Conditional Access scenarios. For more information, see Enabling device writeback in Azure AD Connect. |
| Directory extension attribute sync | By enabling directory extensions attribute sync, attributes specified are synced to Azure AD. For more information, see Directory extensions. |

- Click on Configure
- Click on Exit
Configure device options
- Click on Configure

- Select Configure device options and click on Next

- Click on Next

- Connect with your Azure AD Account and click on Next

- Select option and click Next

- Select your desired option and click on Next

- Select the Forest, the Authentication Service and click on Add

- Provide Enterprise Admin credentials and click OK

- Click on Next

- Click on Configure

- Click on Exit
Note: Additional steps are required to enable devices for Hybrid Azure AD join. Learn more here
Refresh directory schema
- Click on Configure

- Select Refresh directory schema and click on Next

- Provide your Azure AD credentials and click on Next

- Select domain and click on Next

- Click on Configure

- Click on Exit
Configure staging mode
The staging mode in Azure allows you to make changes to the configuration and preview the changes before making the server active. You will need to have a separate server on which you will configure Staging mode.
- Click on Configure

- Select Configure staging mode and click on Next
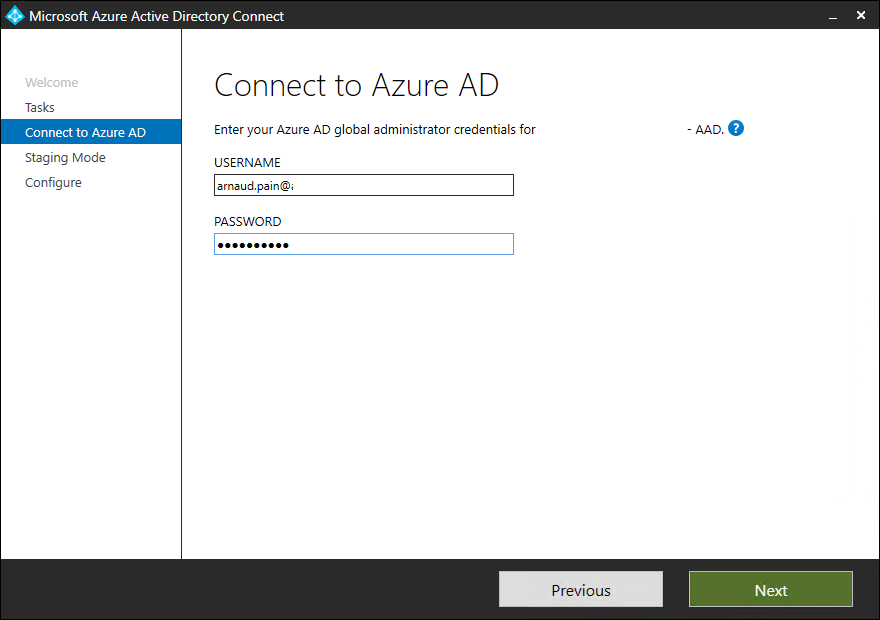
- Provide Azure AD credentials and click on Next

- Select Enable staging mode and click on Next

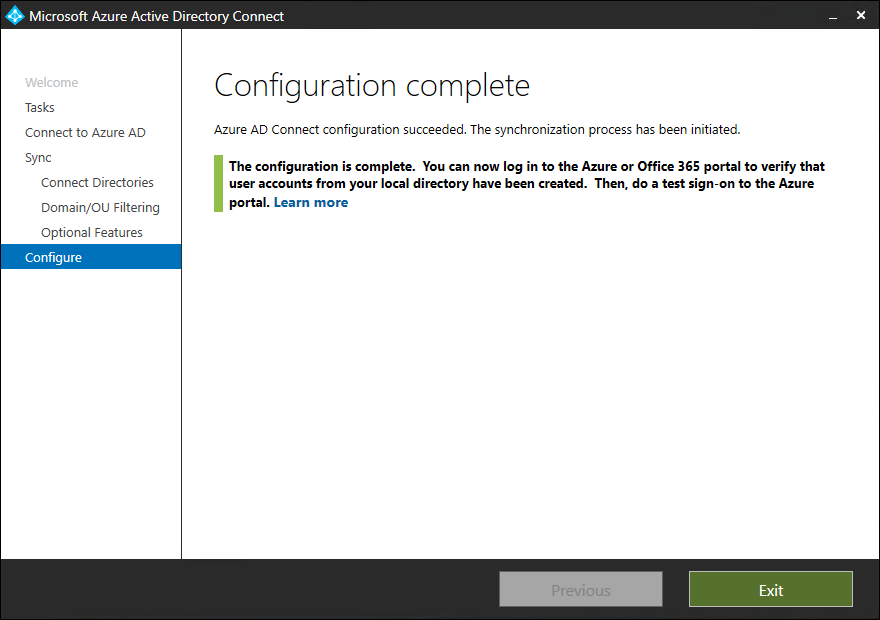
- Click on Configure

- Click on Exit
Change user sign-in
- Click on Configure

- Select Change user sign-in and click on Next
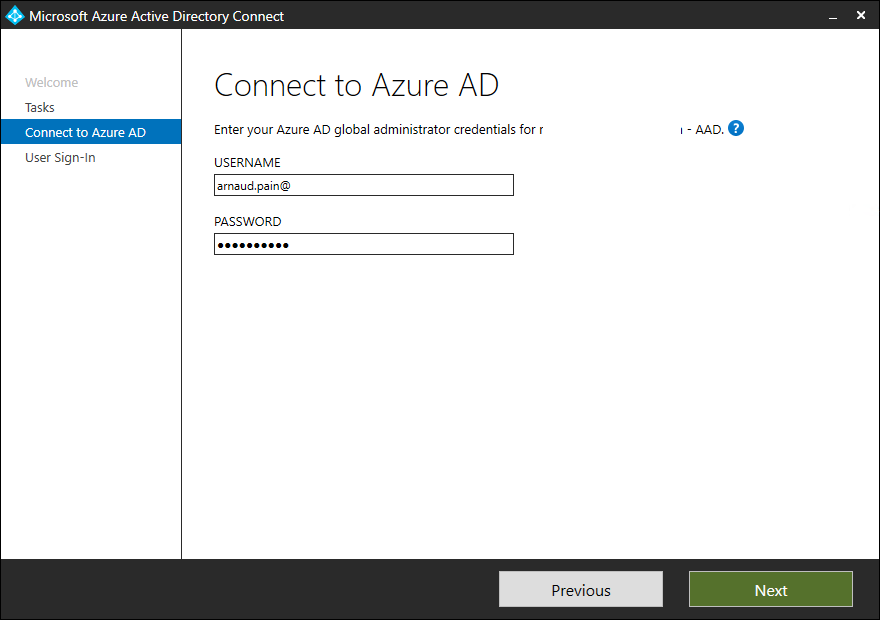
- Provide your Azure AD credentials and click Next
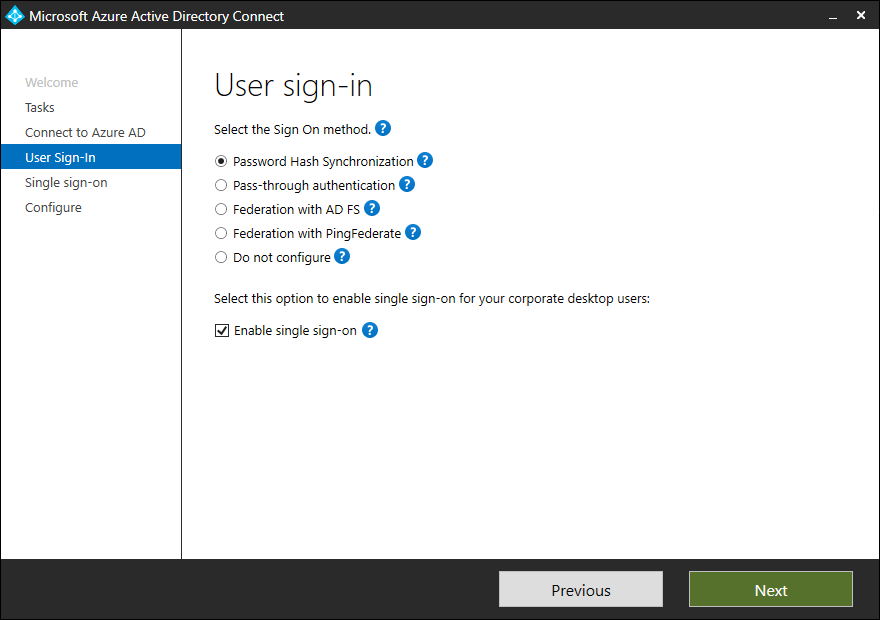
Options:
Password hash synchronization
With password hash synchronization, hashes of user passwords are synchronized from on-premises Active Directory to Azure AD. When passwords are changed or reset on-premises, the new password hashes are synchronized to Azure AD immediately so that your users can always use the same password for cloud resources and on-premises resources. The passwords are never sent to Azure AD or stored in Azure AD in clear text. You can use password hash synchronization together with password write-back to enable self-service password reset in Azure AD.
Pass-through authentication
With pass-through authentication, the user’s password is validated against the on-premises Active Directory controller. The password doesn’t need to be present in Azure AD in any form. This allows for on-premises policies, such as sign-in hour restrictions, to be evaluated during authentication to cloud services.
Pass-through authentication uses a simple agent on a Windows Server 2012 R2 domain-joined machine in the on-premises environment. This agent listens for password validation requests. It doesn’t require any inbound ports to be open to the Internet.
Federation that uses a new or existing farm with AD FS in Windows Server 2012 R2
With federated sign-in, your users can sign in to Azure AD-based services with their on-premises passwords. While they’re on the corporate network, they don’t even have to enter their passwords. By using the federation option with AD FS, you can deploy a new or existing farm with AD FS in Windows Server 2012 R2. If you choose to specify an existing farm, Azure AD Connect configures the trust between your farm and Azure AD so that your users can sign in.
Federation with PingFederate
With federated sign-in, your users can sign in to Azure AD-based services with their on-premises passwords. While they’re on the corporate network, they don’t even have to enter their passwords.
For more information on configuring PingFederate for use with Azure Active Directory, see PingFederate Integration with Azure Active Directory and Office 365
For information on setting up Azure AD Connect using PingFederate, see Azure AD Connect custom installation
- Select the desired option, in my case Enable single sign-on and click on Next

- If needed, provide AD credentials, click on Next

- Click on Configure

- Click on Exit
Manage federation
- Click on Configure

- Select Manage federation and click on Next

- Select Update AD FS SSL Certificate and click on Next

- Provide credentials and click on Next

- Click on Browse

- Select your ADFS server and click on OK

- Click on Next

Note: I do not have a Web Application Proxy servers configured as I am using Citrix ADC for external access
- Click on Next

- Click on Browse

- Select the PFX and click on Open

- Provide the password and click on OK

- Click on Next

- Click on Next

- Click on Configure

- Click on Exit
Troubleshoot
- Click on Configure
- Select Troubleshoot and click on Next

- Click on Launch

More information can be found here