
As I have been asked for a potential project with VMware Horizon technologies and I did not upgrade my knowledge since few years, I decided to have a look and test an implementation.
Here after is a step-by-step guide to implement VMware Horizon 7.7
Connection Server
The first component I have installed is the Connection Server.
I started with a Windows Server 2019 Template domain-joined.
After downloading the source from VMware web site, just launch the setup

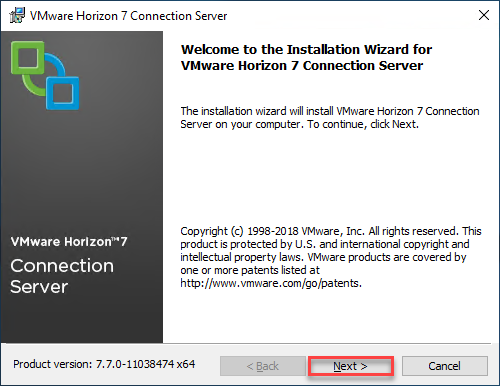
- Click on Next

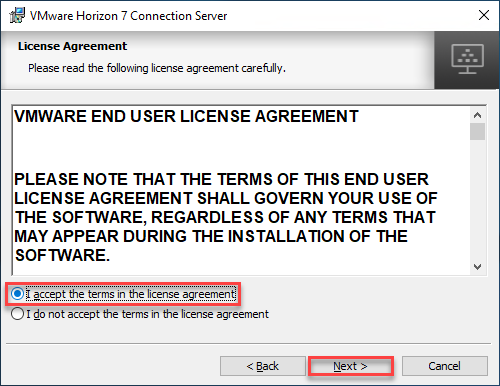
- Accept the license agreement and click on Next
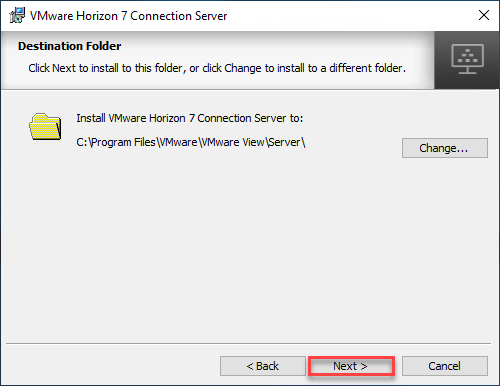
- Change or keep the Destination Folder and click on Next
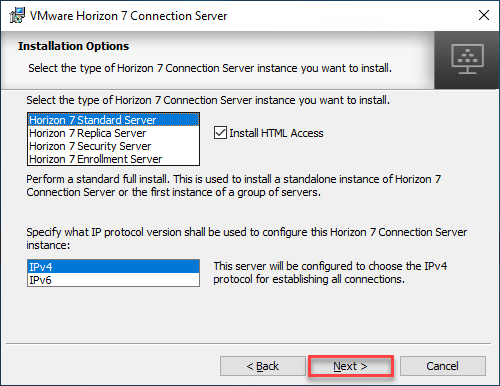
- Keep or change the Installation Options and click on Next
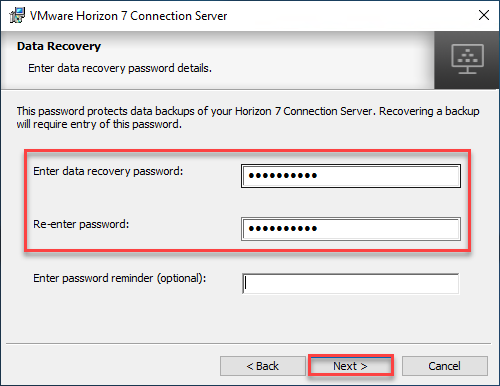
- Enter twice the Data Recovery password, optionally a reminder and click on Next
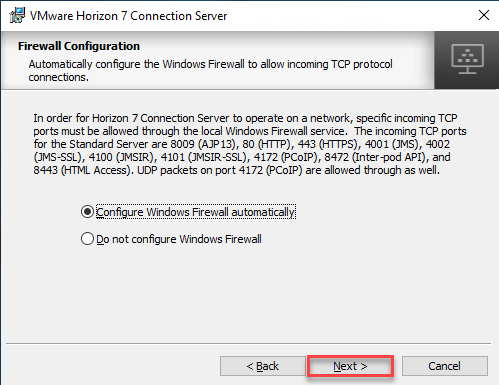
- You can keep the default option and click on Next
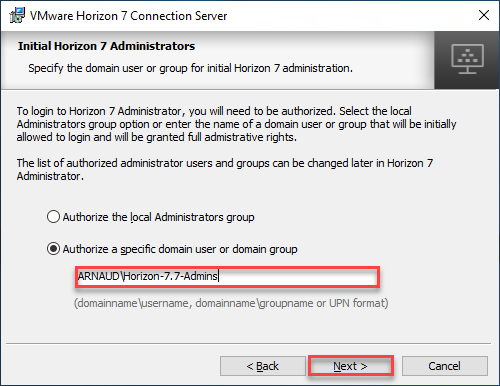
- If you server is domain-joined, it’s a best practice to create an AD Security Group and select it for Horizon Administrators. Click on Next
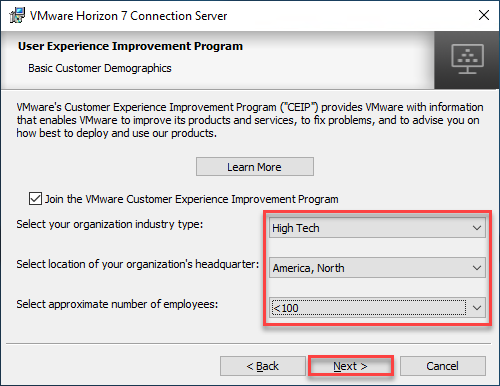
- If you want to help VMware with CEIP, which is always for an Editor, provide information and click on Next
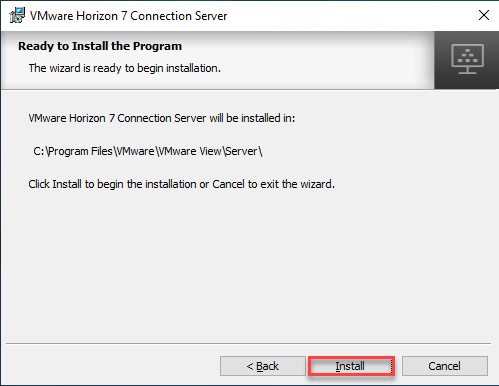
- Click on Install
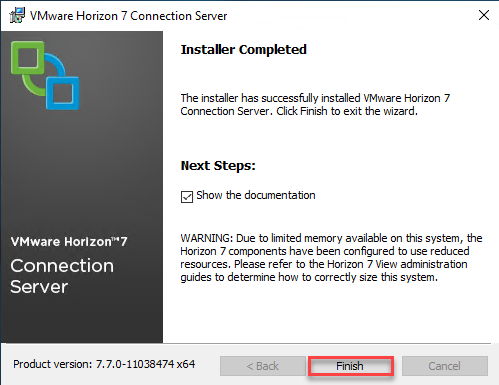
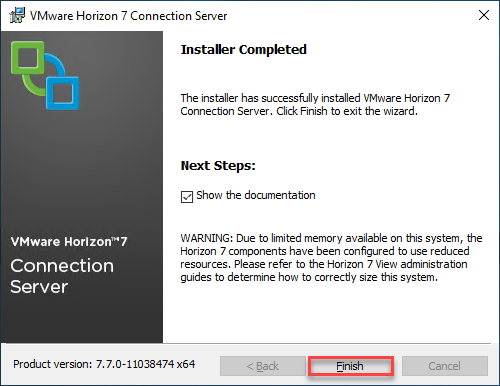
- At the end of the installation click on Finish
Security Server pre-requisites
Before installing the security server, we must create a pairing password.
Tip: I had to install Chrome to access the Console, in fact it was not working with Internet Explorer, need to figure-out why …
- Open Horizon 7 Administration Console

- Log on the Web Console

- Click on Servers

- Click on Connection Servers

- Select the server, click on More Commands > Specify Security Server Pairing Password…
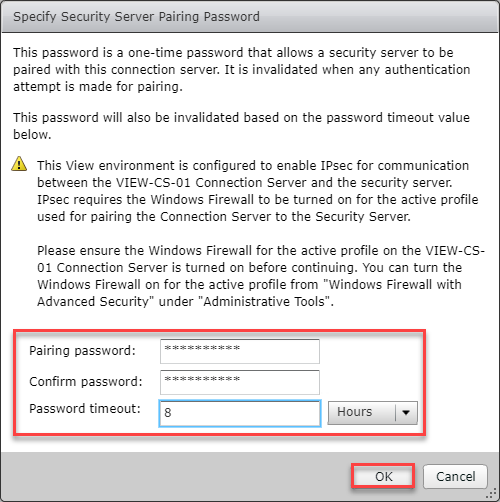
- Provide a pairing password and a timeout (this is my own lab and security is not a big deal, so I selected here 8 hours for timeout, do not do that in Production). Click on OK
Security Server
- Log on the server

- Launch the Setup
- Click on Next
- Accept the license agreement and click on Next
- Change or keep the Destination Folder and click on Next
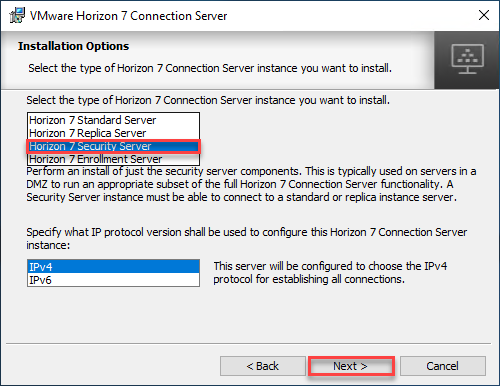
- Select Horizon 7 Security Server and click on Next

- Provide the name of the Connection Server and click on Next
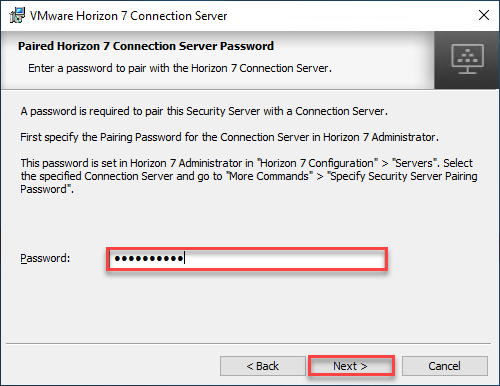
- Provide the pairing password created earlier and click on Next
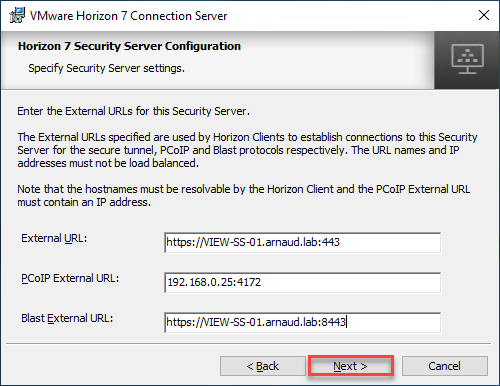
- Keep the default, as it can be changed later, and click on Next
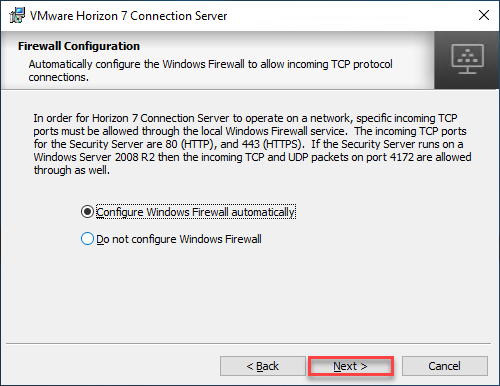
- You can keep the default option and click on Next
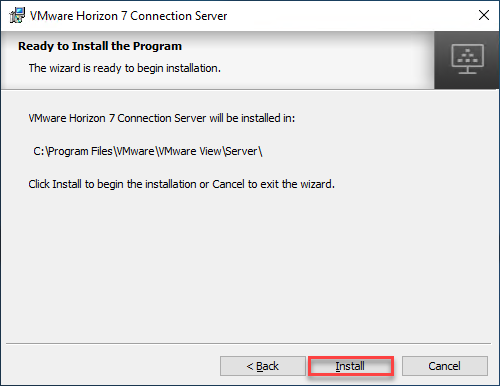
- Click on Install
- At the end of the installation click on Finish
Installation Validation

- On the Connection Server, click on Security Servers tab

- The Security Server is listed with the Connection Server
Initial Configuration
Add vCenter

- Click on vCenter Servers Tab

- Click on Add…
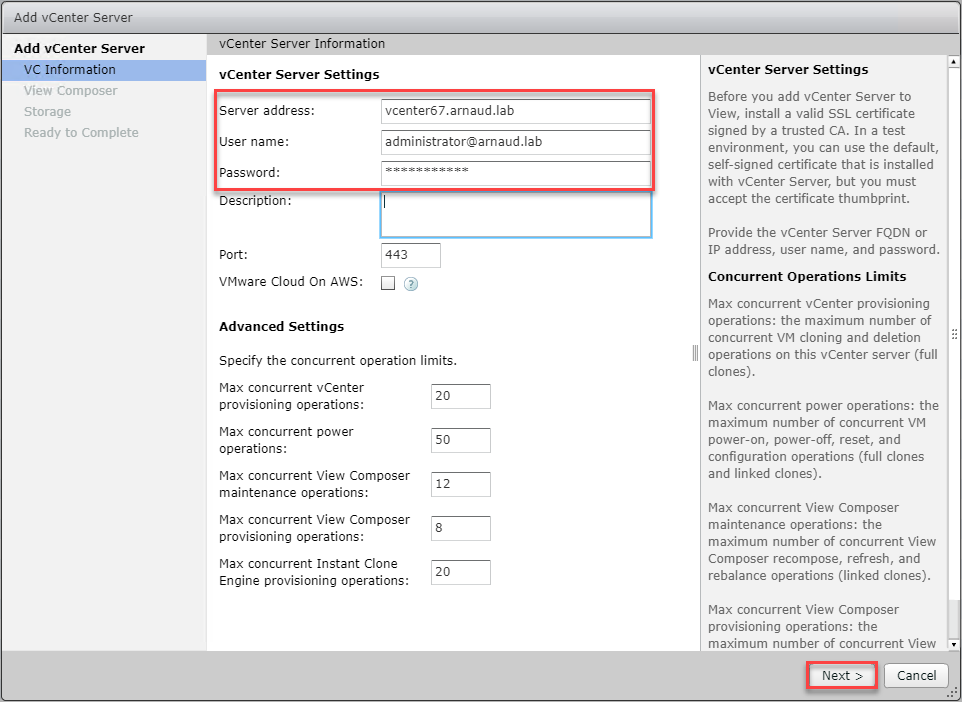
- Provide vCenter information and click on Next
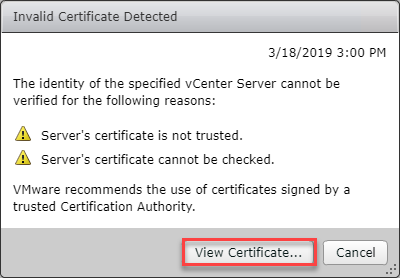
- If you have the above warning, click on View Certificate
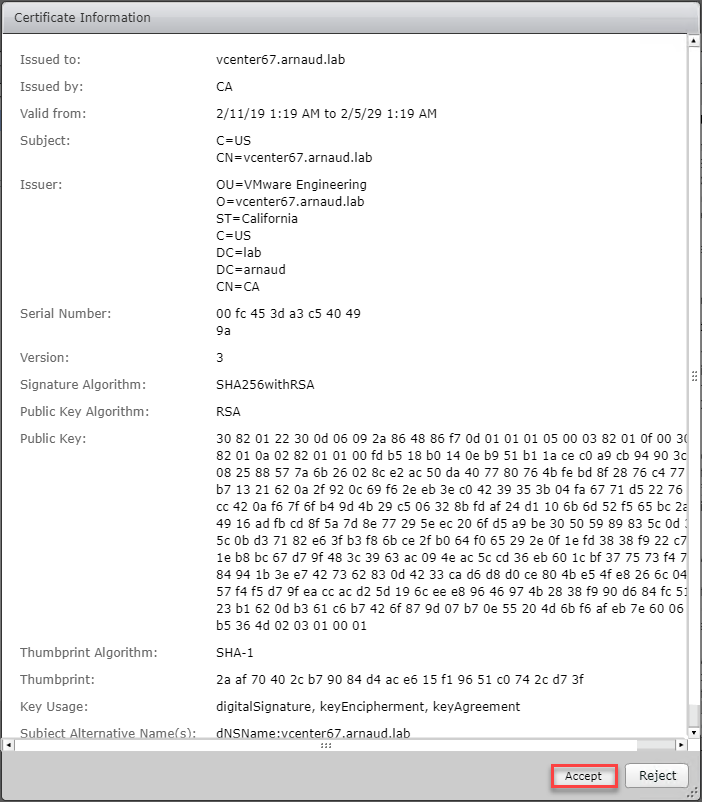
- Click on Accept
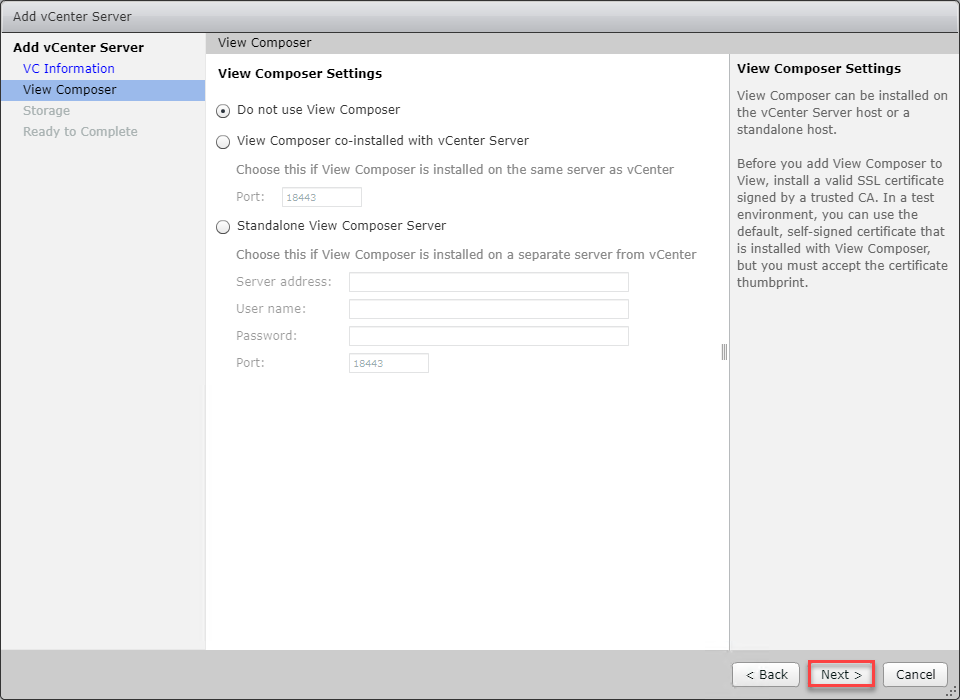
- As I want to keep it simple, I will discover View Composer later, just click on Next. So I will use Instant Clones
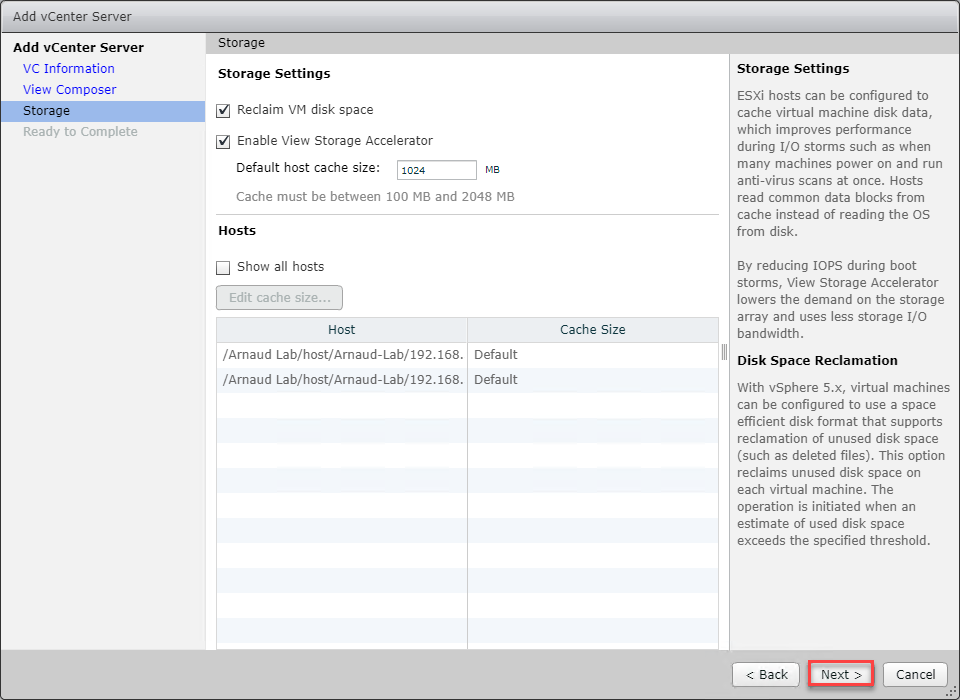
- Keep the proposed settings (Instant Clones require Storage Accelerator) and click on Next
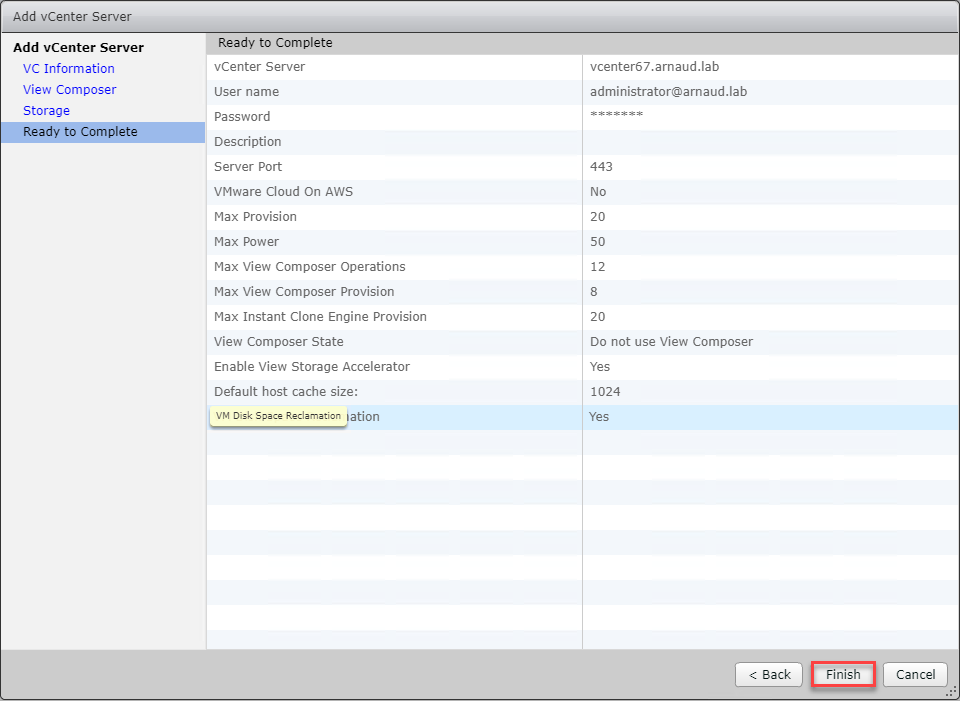
- Click on Finish
Add License

- Click on Product Licensing and Usage

- Click on Edit License…
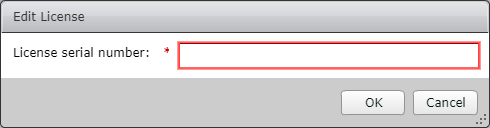
- Provide your License serial number and click on OK

- After license validation, your license appear in the console
Note: As this is a test/discover environment, I will not change SSL Certificate and setup the Event Database.
As I do not want the article to be too long to read, I will stop here.
The part 2 will follow soon with the remaining steps for configuration
Stay tuned…