
I finally decided to upgrade my lab to vSphere 7.0.
I tried an upgrade and had issue with it, so I finally decided to install a brand new vCenter 7.0.
First you will need to download VMware vCenter Server Appliance ISO file from VMware web site:

- Mount the ISO file downloaded previously
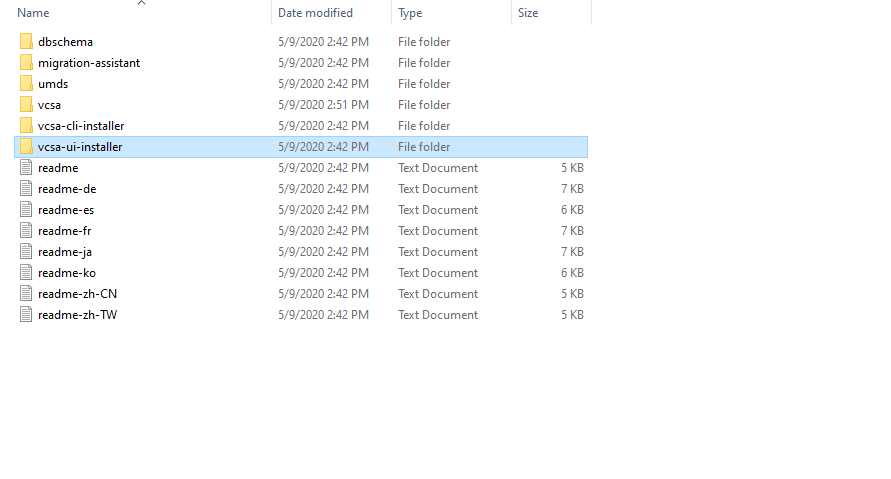
- Go to vcsa-ui-installer folder
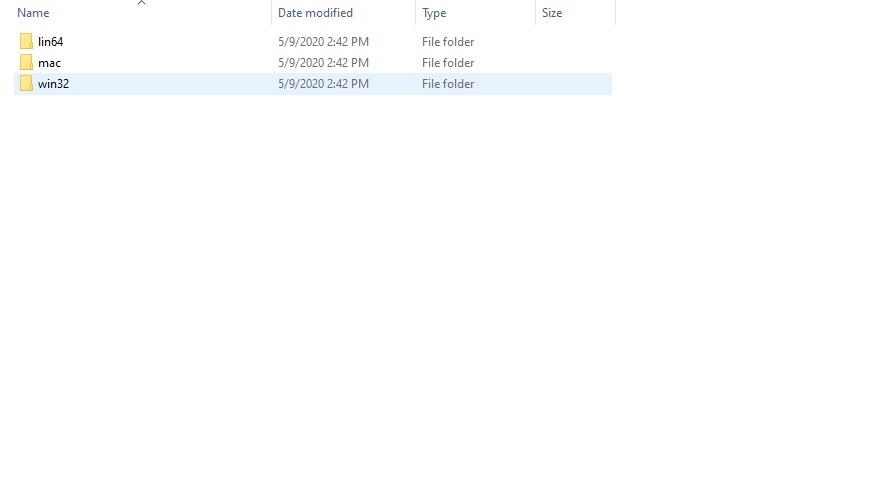
- Go to win32 folder
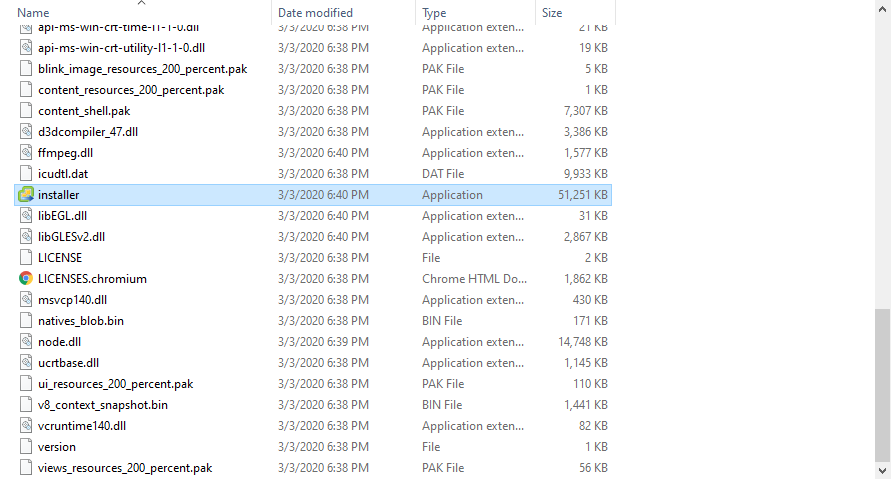
- Launch installer.exe bu double-clicking on the file
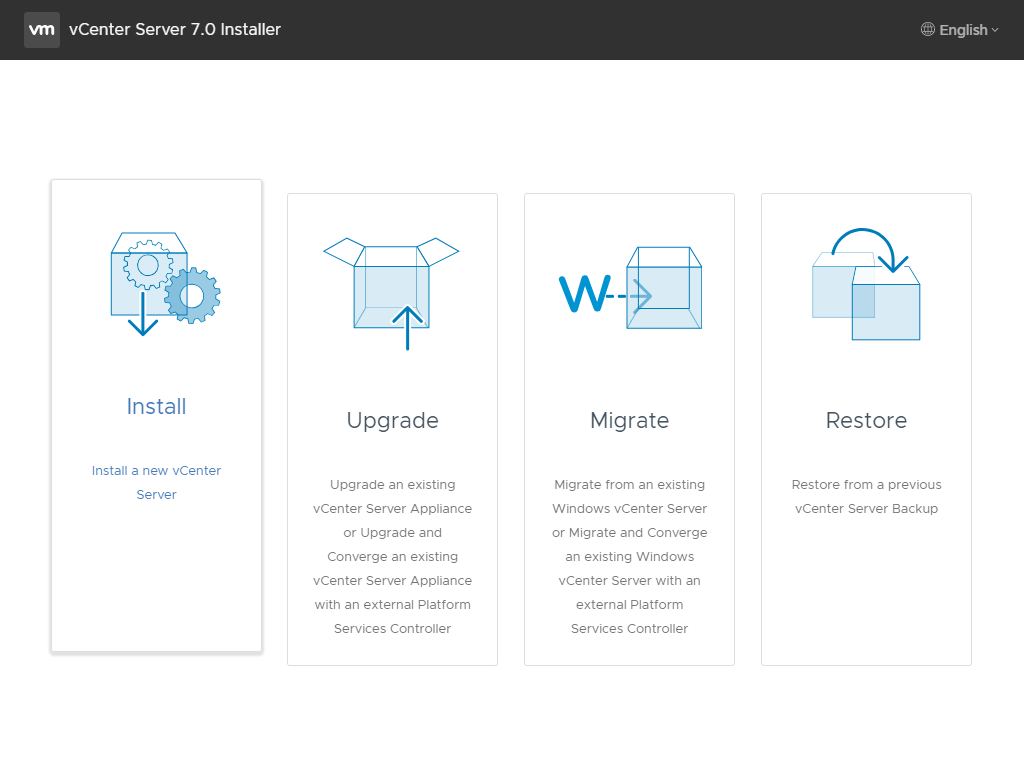
- Click on Install
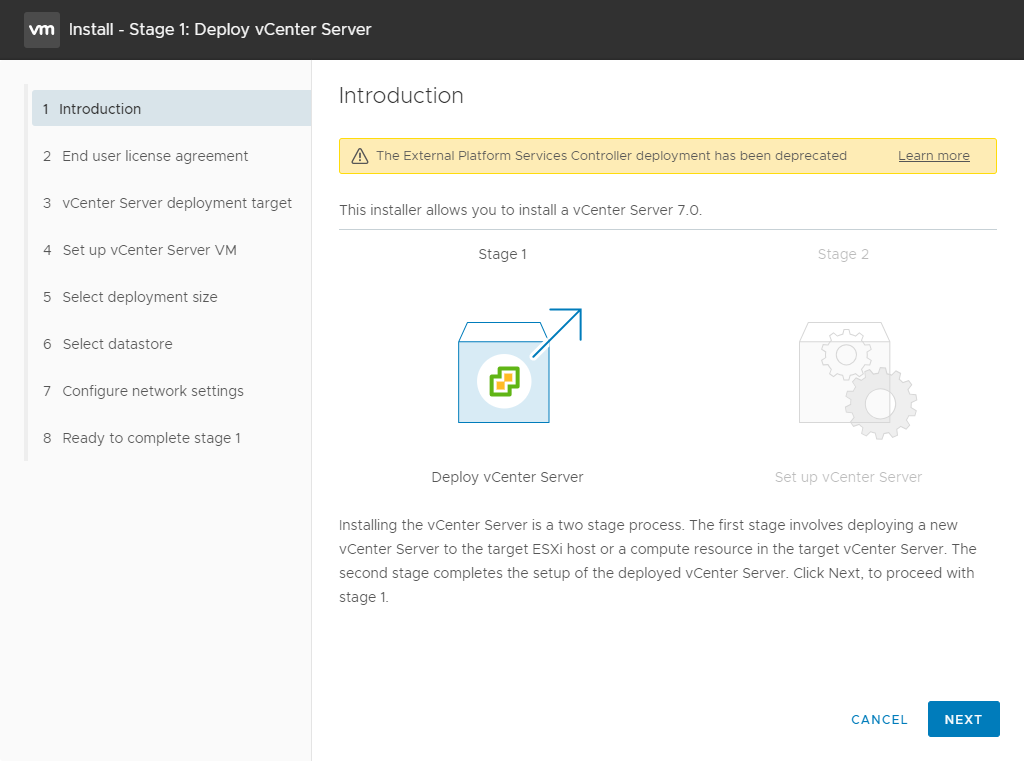
- Click on Next
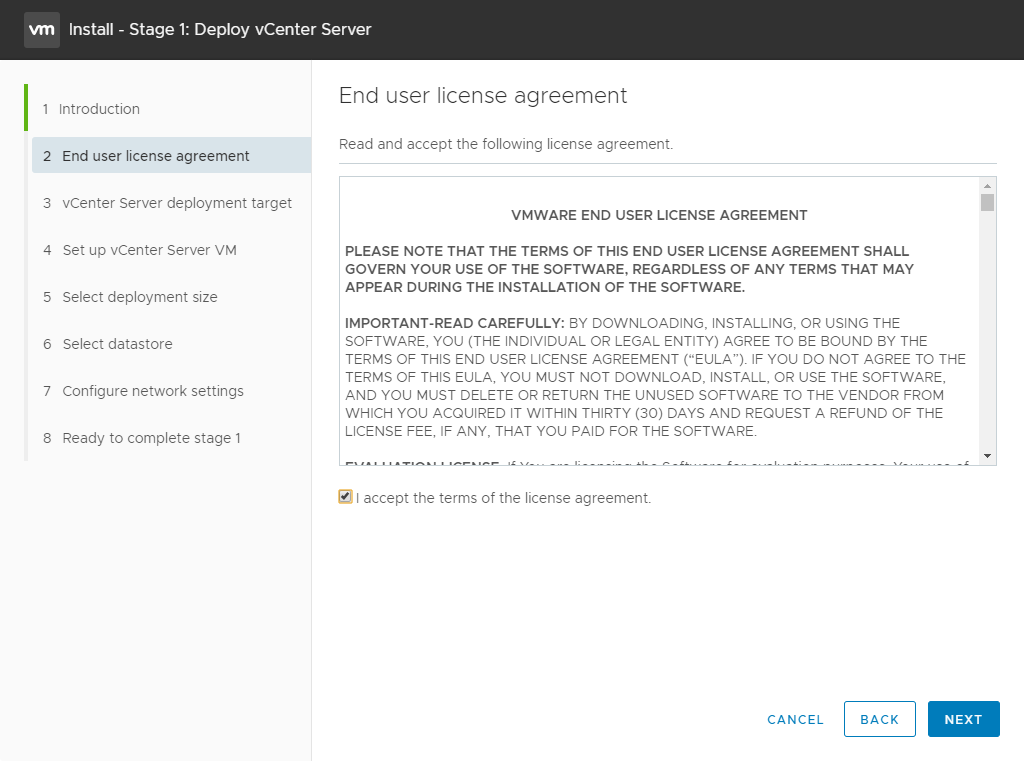
- Accept the User Agreement and click on Next

- Provide IP of the host where you want to install vCenter Applicance, the root password and click on Next

- Click on Yes
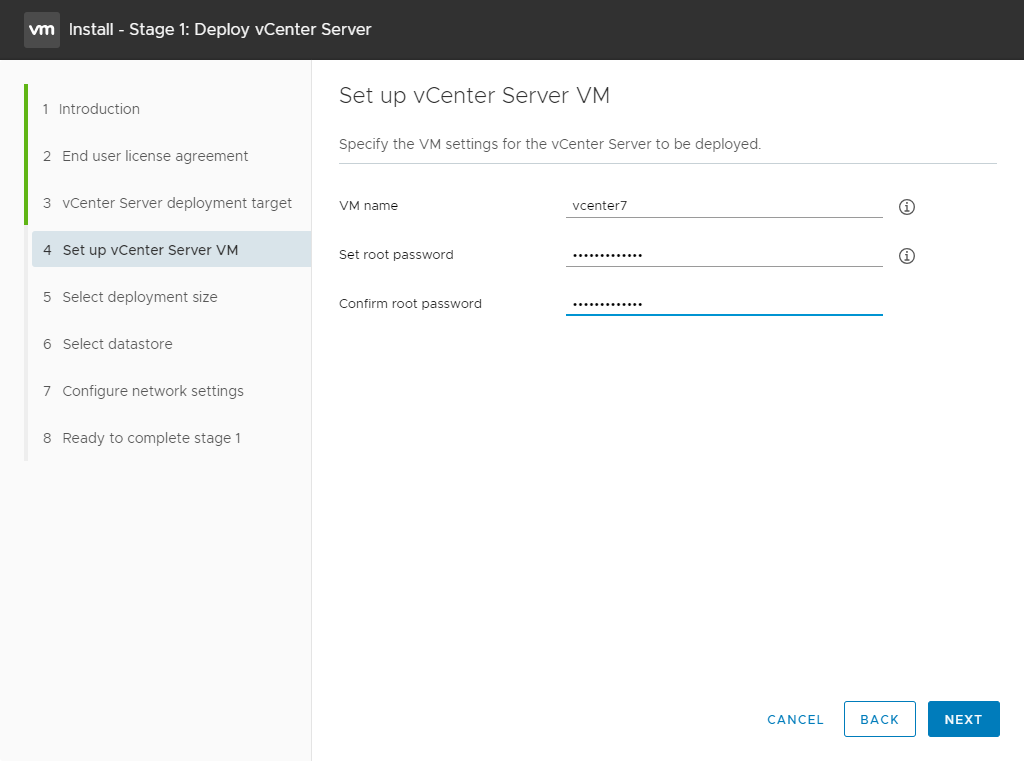
- Provide a name for the VM, set the root password and click on Next
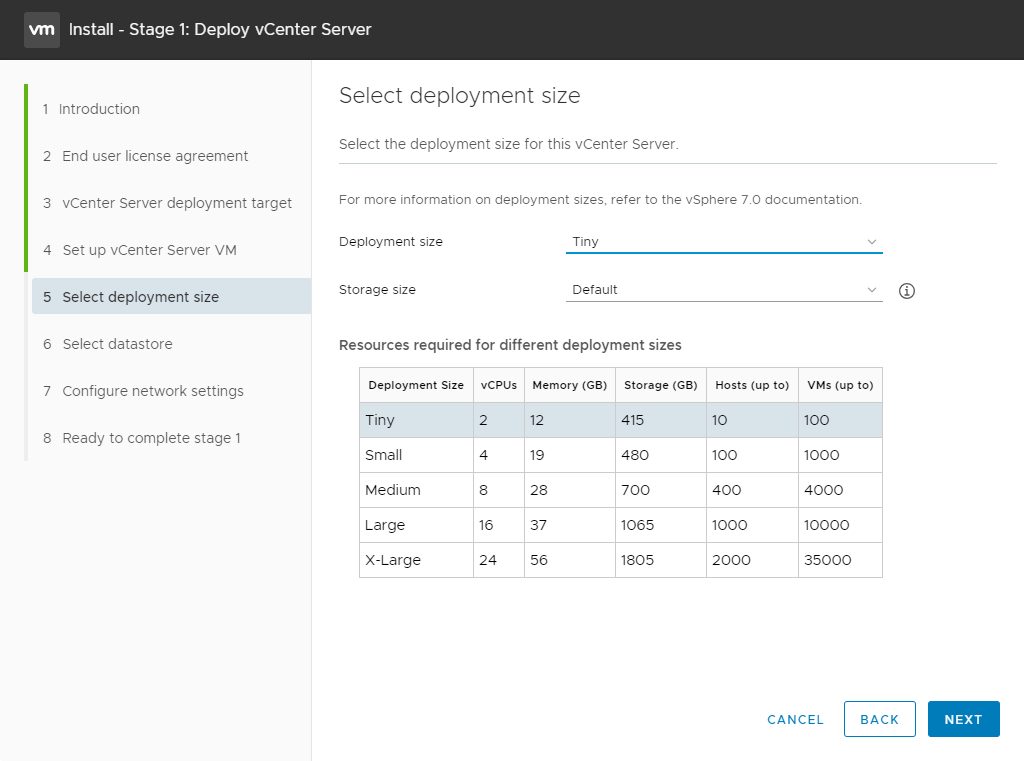
- Select your deployment type (I keep default one for my Lab) and click on Next

- Select the Datastore (I will keep it local for now) and click on Next

- Select Network, provide FQDN, network information and click on Next

- Review information and click on Finish

- At the end of the deployment, click on Continue

- Click on Next

- Click on Next

- Provide SSO Domain, Password and click on Next

- If you want to join CEP click on Next (otherwise uncheck the box)

- Review details and click on Finish

- Click on OK to start the install

- Click on Close

- Click on Launch vSphere Client (HTML5)

- Provide credentials and click on Login
Note: on the bottom of your screen you will see a link Download Enhanced Authentication Plugin
The weird thing here is that it’s version 6.7.0

- When plugin is installed, on first connection you have the above pop-up, click on Open vmware-cip-launcher

- Provide credentials and click on Login

- Next steps will be to add host, manage license, etc.
Feedback:
- Installation is quite easy as always
- To find after first logon that updates are available is strange as I download the version from VMware site just before the install (and the upgrade is from 1/29/2020 (Note for VMware, why not include the updates in the ISO when they are released?)
Note: If you are running vCenter 6.7 U3 you will need to upgrade 7.0.0 first upgrade to 7.0.0.a is not supported.
Thanks for reading, feel free to share.