Here after you will find a step-by-step guide that will help you deploy, configure and validate DUO for Citrix Gateway
Configure Duo on Web Admin Portal
- Open a Web Browser and point to https://duo.com/
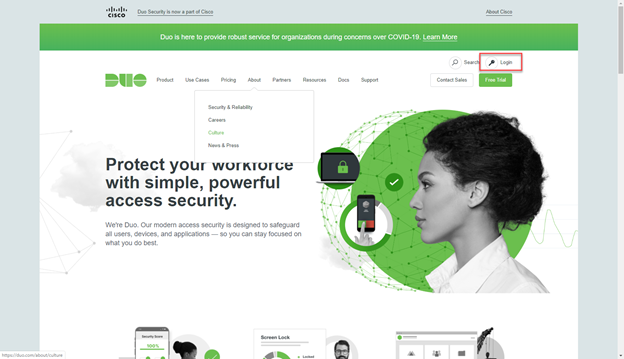
- Click on Login
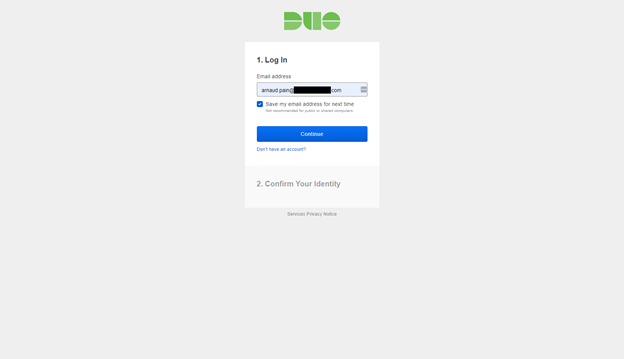
- Provide your email and click on Continue
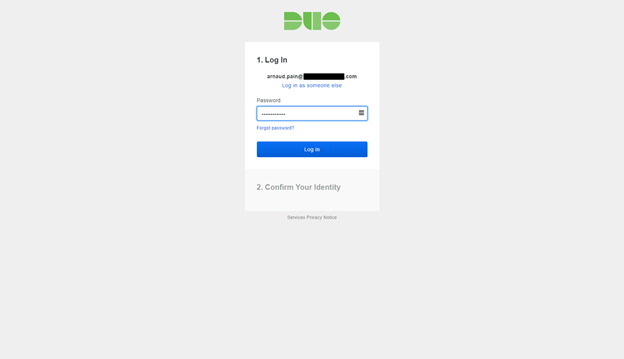
- Provide you password and click on Log In
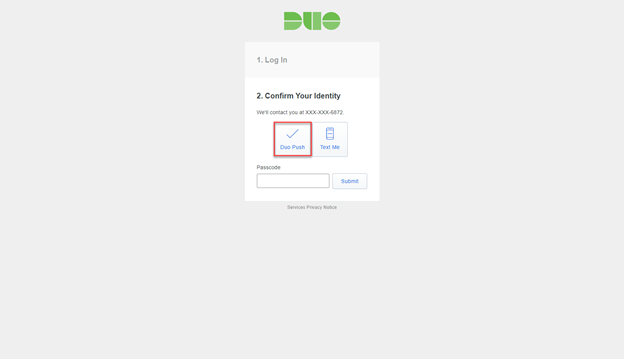
- Click on Duo Push and accept request on you Mobile
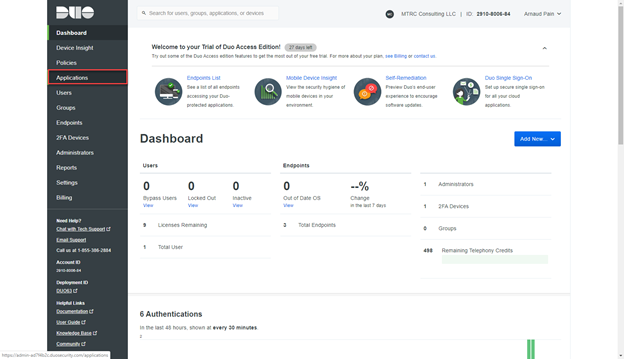
- Click on Applications
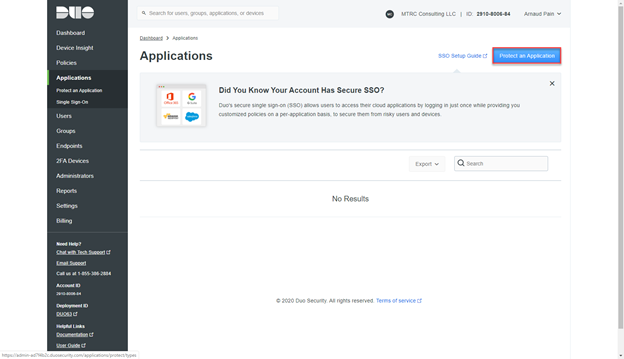
- Click on Protect and Application
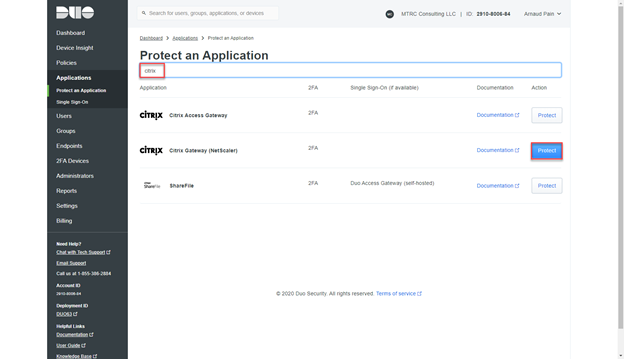
- Type Citrix in the search box and select Citrix Gateway (NetScaler)

- Take not of the details as it will be required for next steps, you can copy those information in Notepad
Install the Duo Authentication Proxy
The Duo Authentication Proxy can be installed on a physical or virtual host. We recommend a system with at least 1 CPU, 200 MB disk space, and 4 GB RAM (although 1 GB RAM is usually sufficient).
- Download the most recent Authentication Proxy for Windows from https://dl.duosecurity.com/duoauthproxy-latest.exe. Note that the actual filename will reflect the version e.g. duoauthproxy-3.2.4.exe. View checksums for Duo downloads here.
- Launch the Authentication Proxy installer on the target Windows server as a user with administrator rights and follow the on-screen prompts.
Configure the Proxy
After the installation completes, you will need to configure the proxy.
The Duo Authentication Proxy configuration file is named authproxy.cfg and is located in the conf subdirectory of the proxy installation. With default installation paths, the proxy configuration file will be located at:
| Platform | Default Configuration Path |
| Windows (64-bit) | C:\Program Files (x86)\Duo Security Authentication Proxy\conf\authproxy.cfg |
| Windows (32-bit) | C:\Program Files\Duo Security Authentication Proxy\conf\authproxy.cfg |
The configuration file is formatted as a simple INI file. Section headings appear as:
[section]
Individual properties beneath a section appear as:
name=value
The Authentication Proxy may include an existing authproxy.cfg with some example content. For the purposes of these instructions, however, you should delete the existing content and start with a blank text file. We recommend using WordPad or another text editor instead of Notepad when editing the config file on Windows.
Configure the Proxy for Your Primary Authenticator
In this step, you’ll set up the Proxy’s primary authenticator — the system which will validate users’ existing passwords. In most cases, this means configuring the Proxy to communicate with Active Directory or RADIUS.
Active Directory
Edit Duo Authentication Proxy configuration file authproxy.cfg
Add following lines:
[ad_client]
host=IP of Domain Controller
service_account_username=service account name
service_account_password=service account password
search_dn=DC=domain,DC=local
Configure the Proxy for Your Citrix Gateway
Edit Duo Authentication Proxy configuration file authproxy.cfg
Add following lines:
[radius_server_iframe]
type=citrix_netscaler_rfwebui or citrix_netscaler
api_host= retrieve from Duo Portal
ikey= retrieve from Duo Portal
skey=retrieve from Duo Portal
failmode=secure or safe
client=ad_client
radius_ip_1=IP of Radius server (or LB VIP)
radius_secret_1=Secret
port=1812
Configure the Proxy for Citrix Receiver or Workspace Client
Edit Duo Authentication Proxy configuration file authproxy.cfg
Add following lines:
[radius_server_auto]
api_host= retrieve from Duo Portal
ikey= retrieve from Duo Portal
skey= retrieve from Duo Portal
failmode=secure or safe
client=ad_client
radius_ip_1=IP of Radius server (or LB VIP)
radius_secret_1=Secret
port=18120
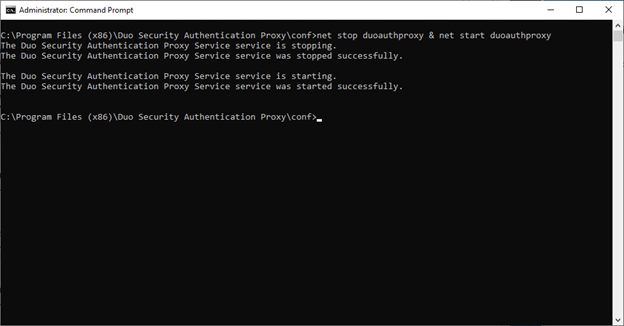
Save the authproxy.cfg file and restart DUO Service running the following command from DOS-CMD:
net stop duoauthproxy & net start duoauthproxy
Repeat the above steps on all your Duo Proxy servers
Configure Your Citrix Gateway
Create LB VS for RADIUS
If you have more than 1 DUO Proxy Radius server you should want to Load Balance it on your ADC.
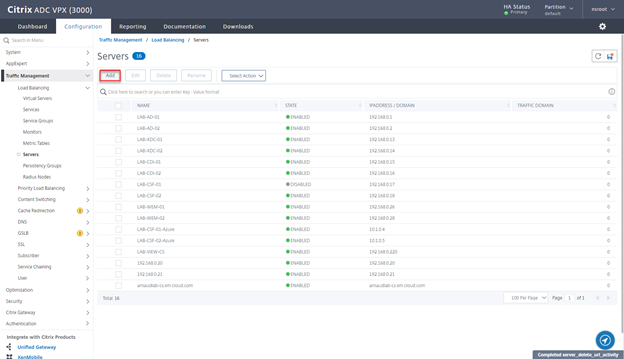
- Navigate to Traffic Management > Load Balancing > Servers and click on Add

- Provide Name and IP of the 1st server and click on Create
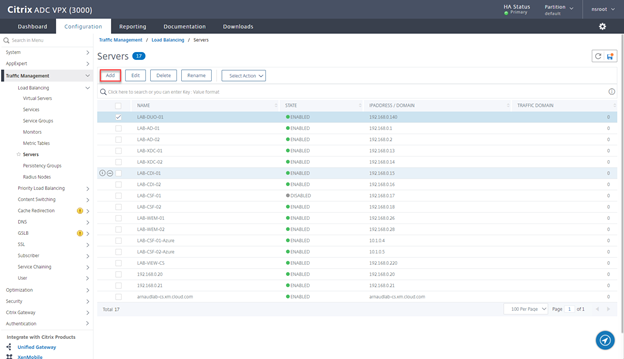
- Click on Add
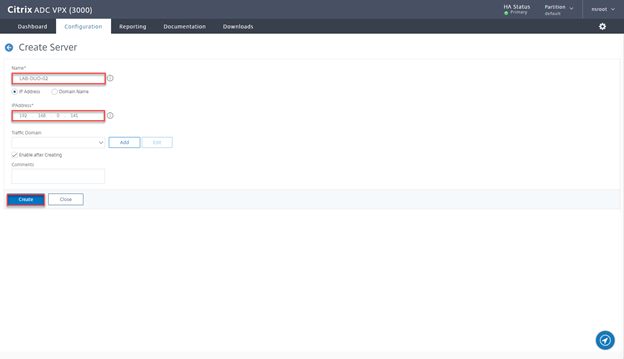
- Provide Name and IP of the 2nd server and click on Create
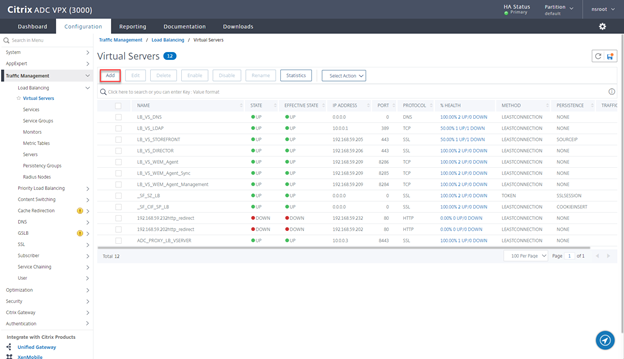
- Navigate to Traffic Management > Virtual Servers and click on Add
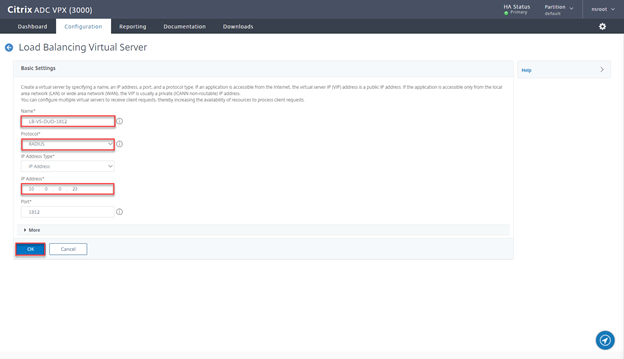
- Provide a name, select protocol Radius, provide and IP and click on OK
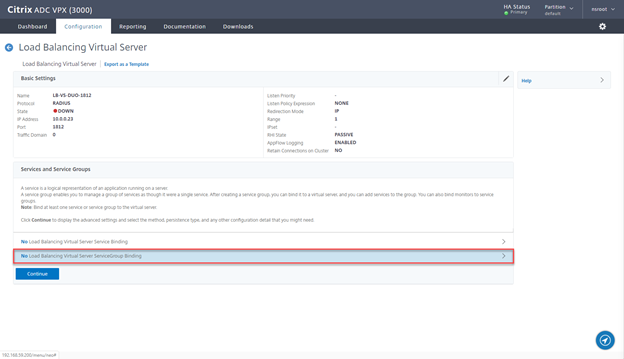
- Click on No Load Balancing Virtual Server ServiceGroup Binding

- Click on Add
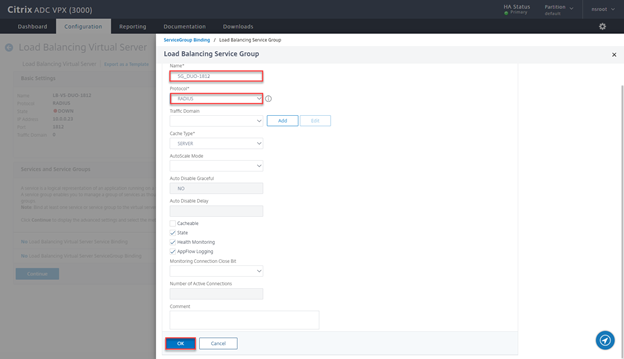
- Provide a Name, select protocol Radius and click on OK
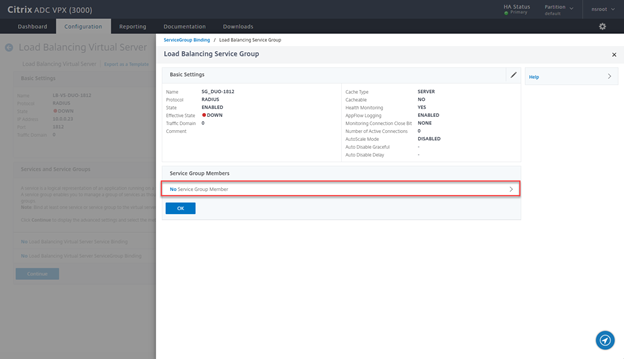
- Click on No Service Group Member
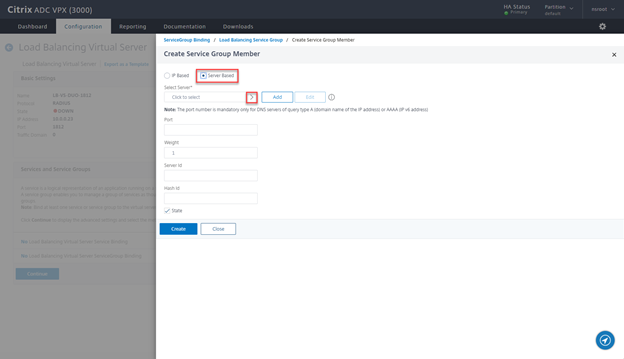
- Select Server Based and click on > sign
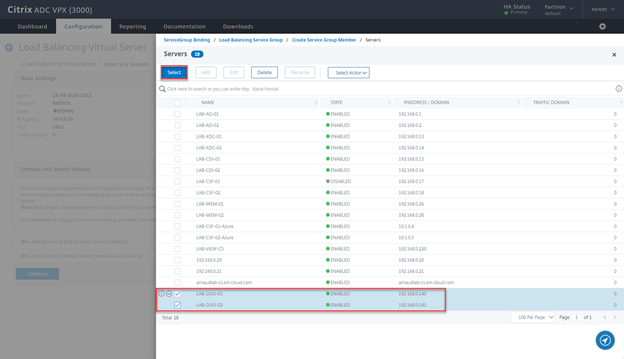
- Select the servers created earlier and click on Select

- Define the Port and click on Create
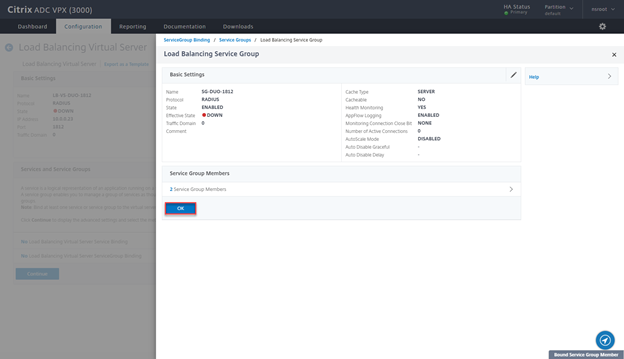
- Click on OK
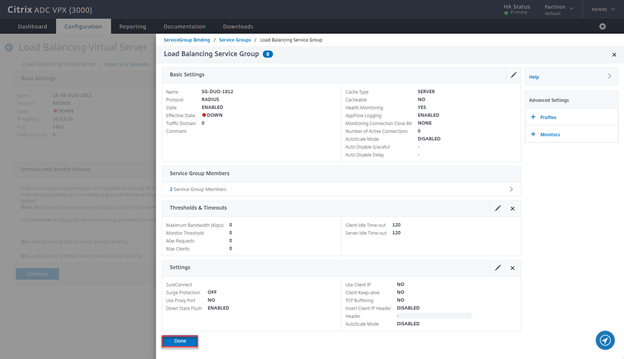
- Click on Done
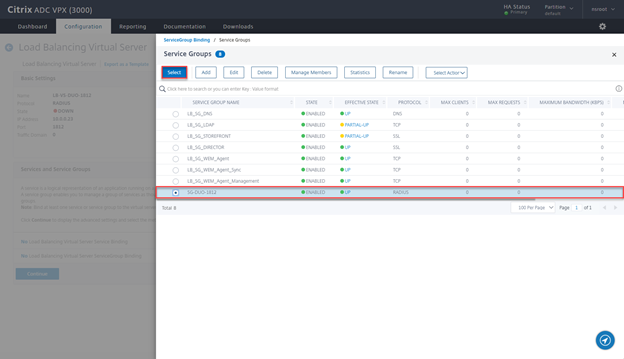
- Select the Service Group just created and click on Select
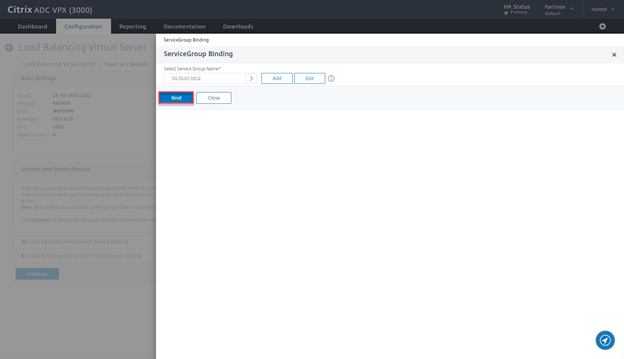
- Click on Bind
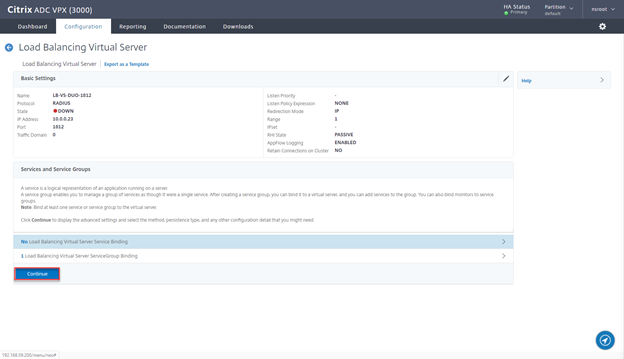
- Click on Continue
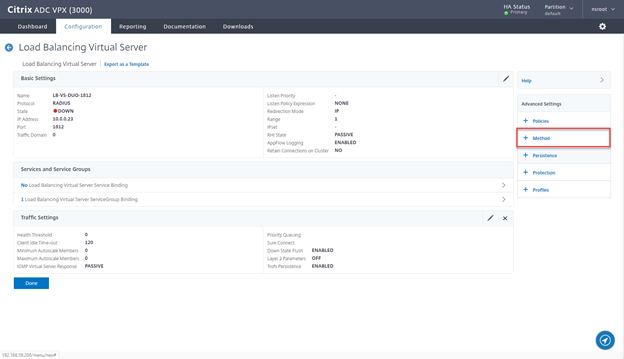
- Click on Method
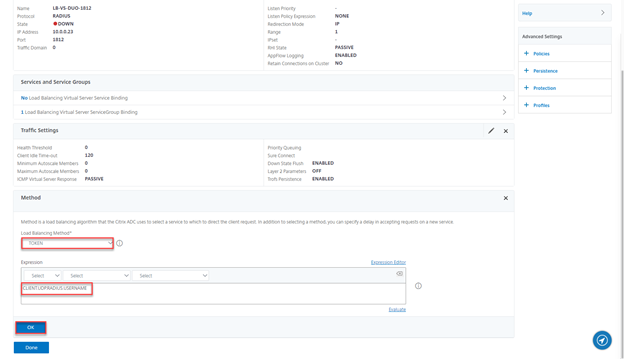
- Select TOKEN, provide expression CLIENT.UDP.RADIUS.USERNAME and click on OK
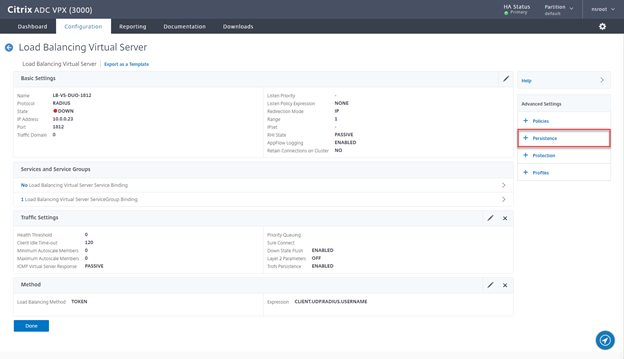
- Click on Persistence
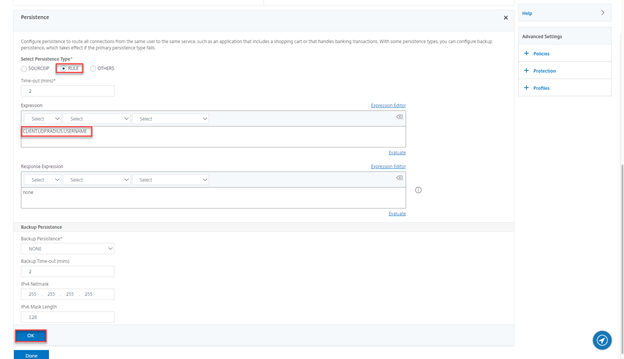
- Select RULE, expression should be present, click on OK
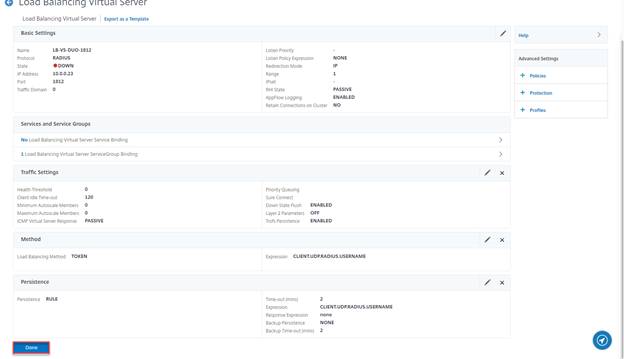
- Click on Done
- Repeat the above step for port 18120
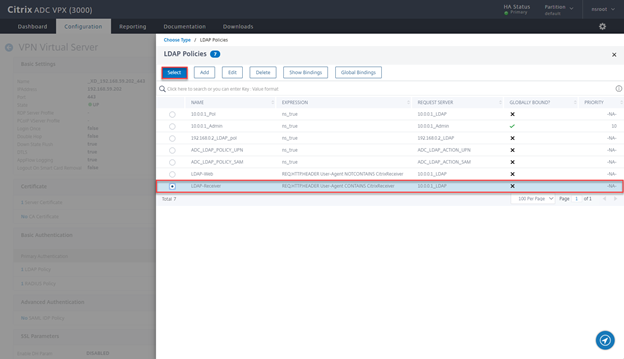
Create LDAP Policies
Ensure that a LDAP server is defined (with an AD DC IP Address or LDAP VIP Address).
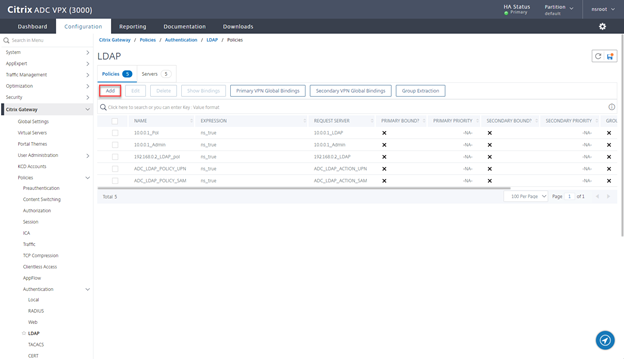
- Navigate to Citrix Gateway > Policies > Authentication > LDAP and click on Add

- Provide a Name LDAP-Web, select the LDAP server, and provide Expression REQ.HTTP.HEADER User-Agent NOTCONTAINS CitrixReceiver, click on Create
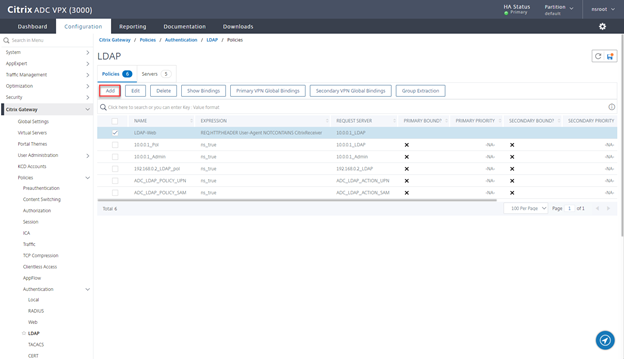
- Click on Add
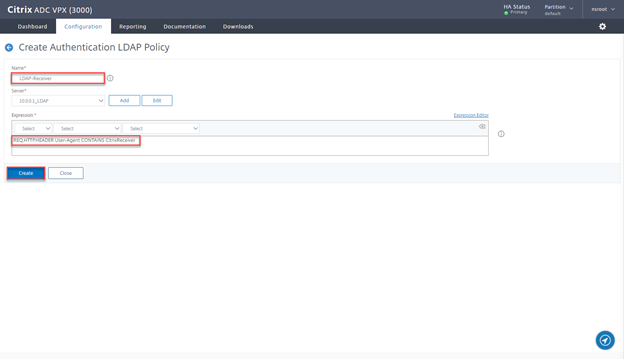
- Provide a Name LDAP-Receiver, select the LDAP server, and provide Expression REQ.HTTP.HEADER User-Agent CONTAINS CitrixReceiver, click on Create
Create RADIUS Policies
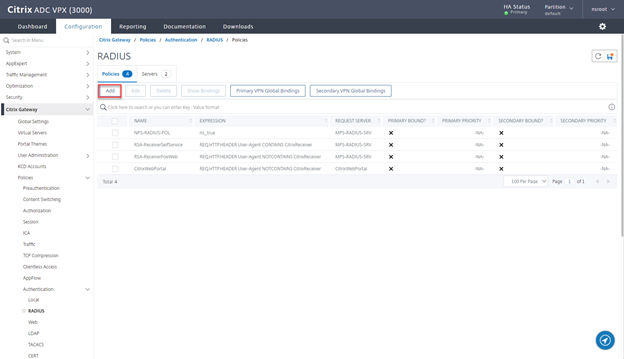
- Navigate to Citrix Gateway > Policies > Authentication > RADIUS and click on Add

- Provide a Name CitrixWebAccess and click on Add

- Provide a Name Duo Citrix Web, the IP of the LB VS Radius, the Secret and change time-out to 60, then click on Test RADIUS Reachability

- After successful validation click on Create
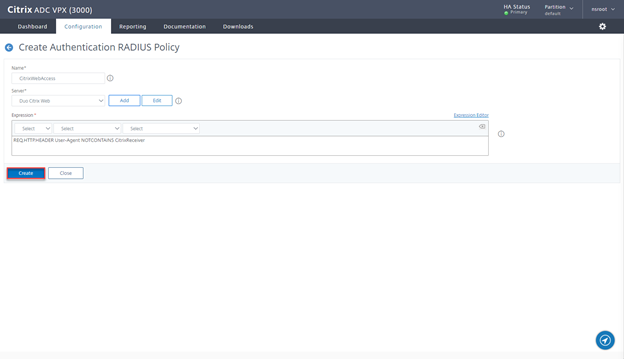
- Add the expression REQ.HTTP.HEADER User-Agent NOTCONTAINS CitrixReceiver and click on Create
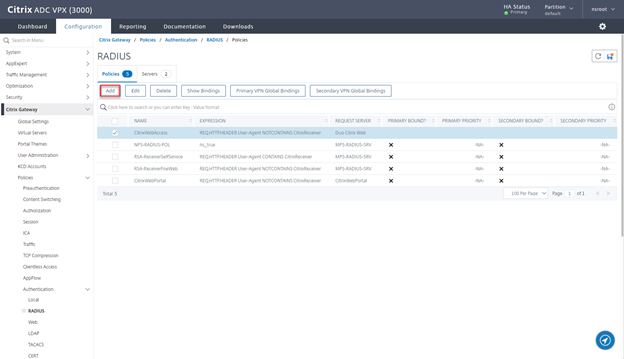
- Click on Add
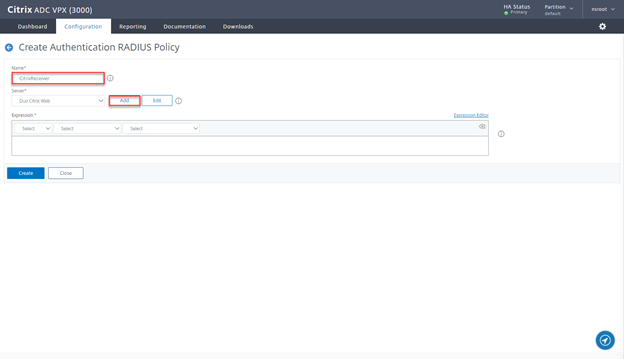
- Provide a Name CitrixReceiver and click on Add
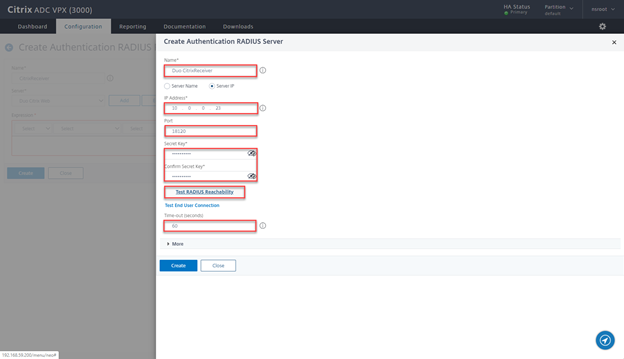
- Provide a Name Duo CitrixReceiver, the IP of the LB VS Radius, change port to 18120, the Secret and change time-out to 60, then click on Test RADIUS Reachability
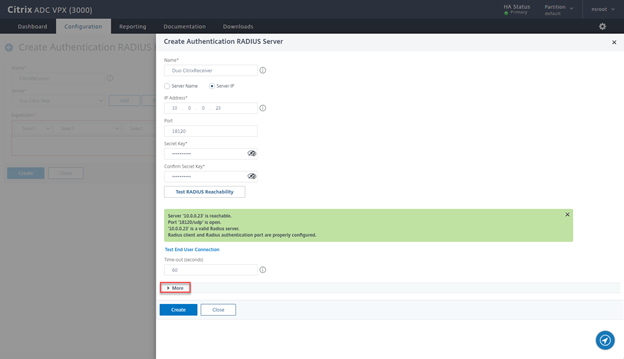
- After successful validation click on More

- Select the check box Send Calling Station ID and click on Create
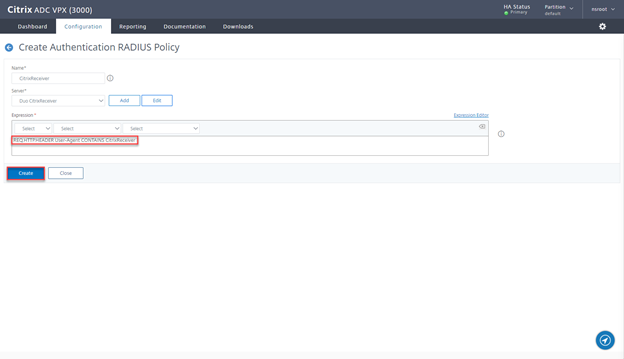
- Add the expression REQ.HTTP.HEADER User-Agent CONTAINS CitrixReceiver and click on Create
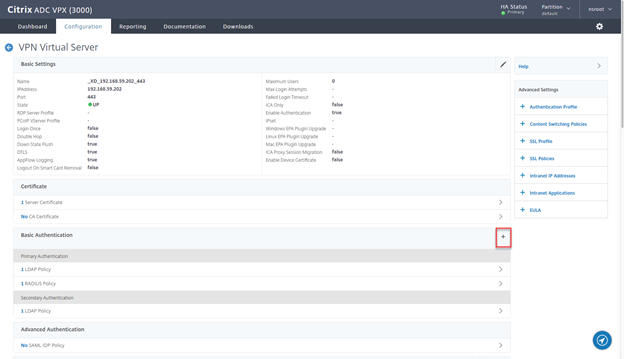
Modify Citrix Gateway
Now we need to modify the configuration of the Citrix Gateway which is by default LDAP
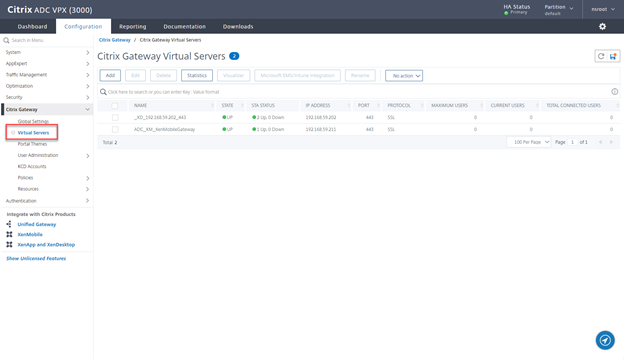
- Navigate to Citrix Gateway → Virtual Servers in the left panel of the administrative interface
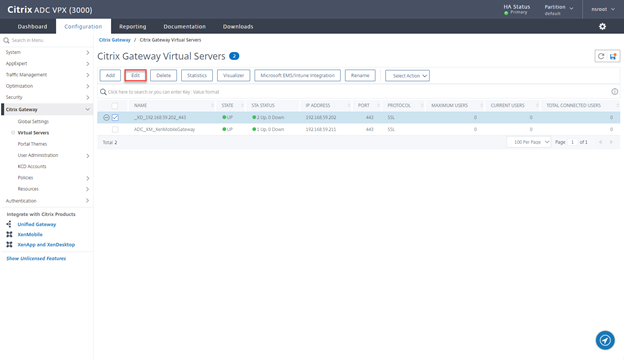
- Select your existing Citrix Gateway Virtual Server, and then click Edit.

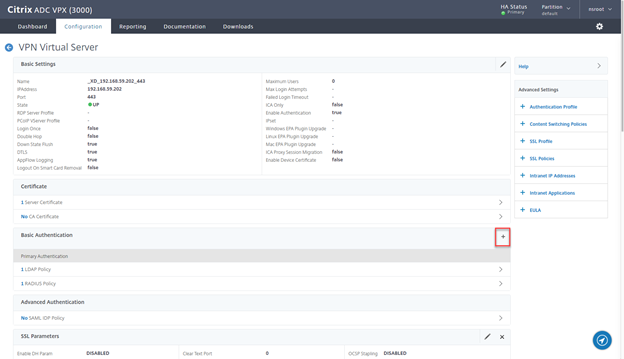
- On the “VPN Virtual Server” page, remove all Basic Authentication policies
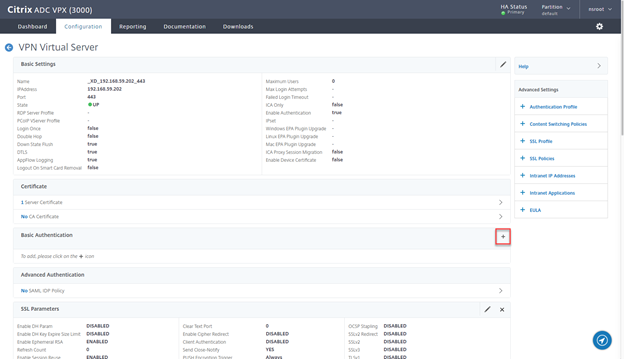
- Once done, click on + sign

- Select LDAP, Primary and click on Continue

- Click on the > Sign

- Select LDAP-Web and click on Select
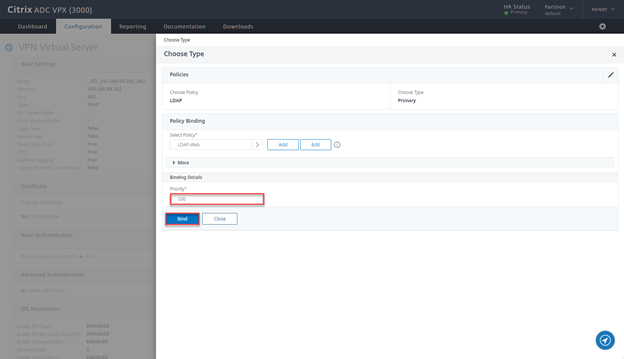
- Ensure priority is 100 and click on Bind
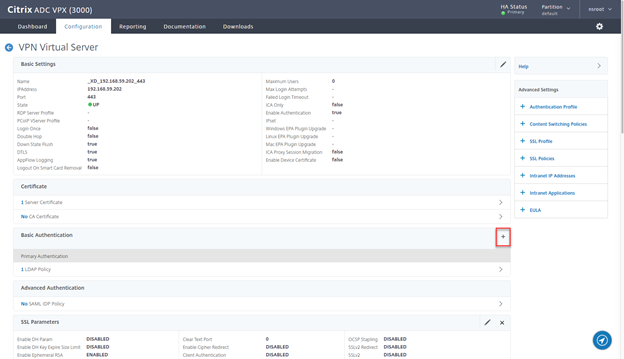
- Click on + Sign
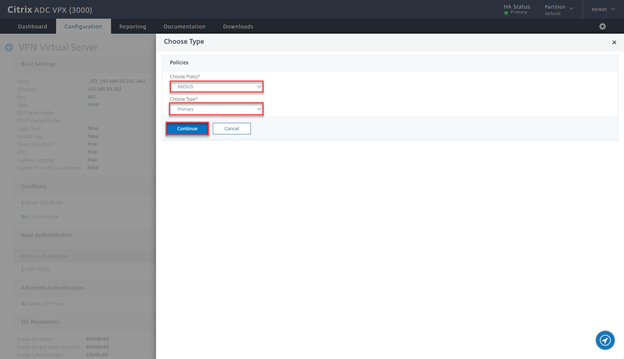
- Select RADIUS, Primary and click on Continue

- Click on the > Sign
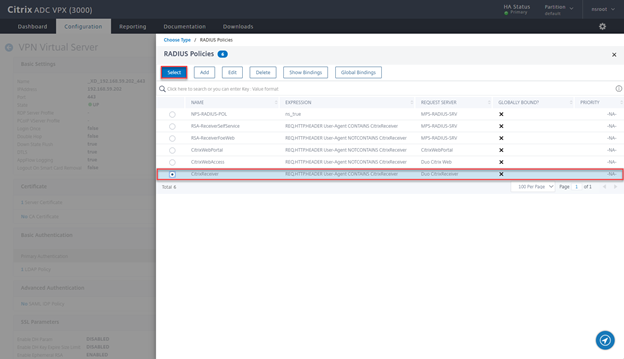
- Select CitrixReceiver and click on Select

- Ensure priority is 90 and click on Bind
- Once done, click on + sign
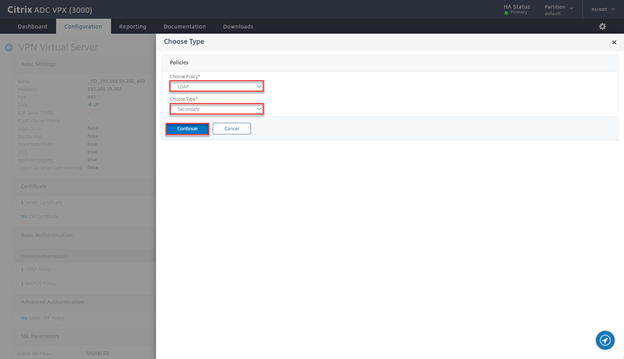
- Select LDAP, Secondary and click on Continue

- Click on the > Sign
- Select LDAP-Receiver and click on Select

- Ensure priority is 100 and click on Bind
- Click on + Sign
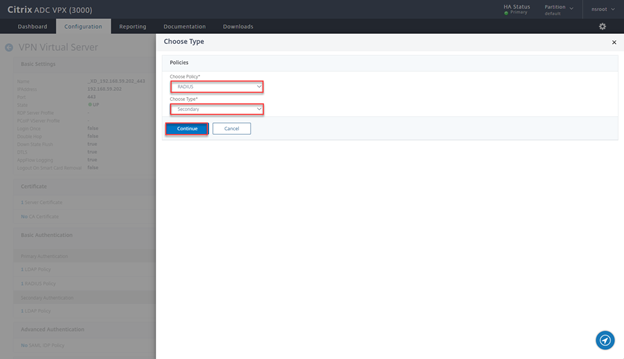
- Select RADIUS, Secondary and click on Continue

- Click on the > Sign

- Select CitrixWebAccess and click on Select
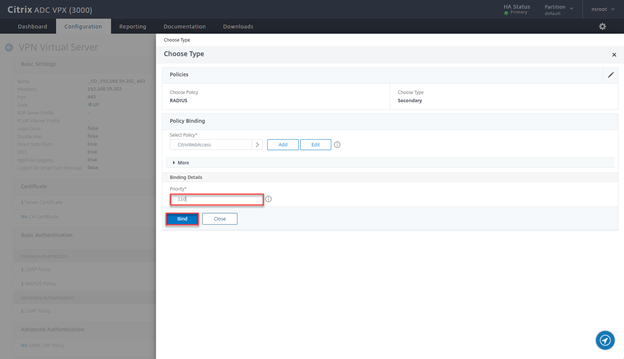
- Ensure priority is 110 and click on Bind
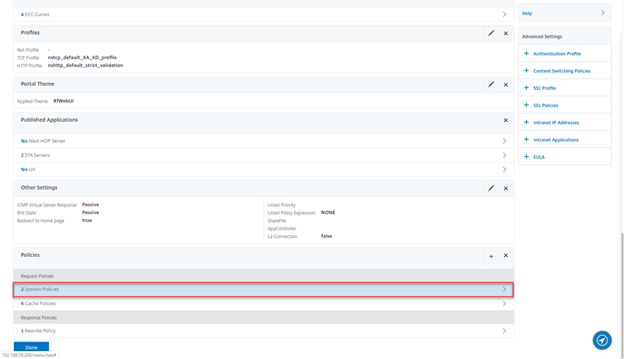
- Click on Session Policies
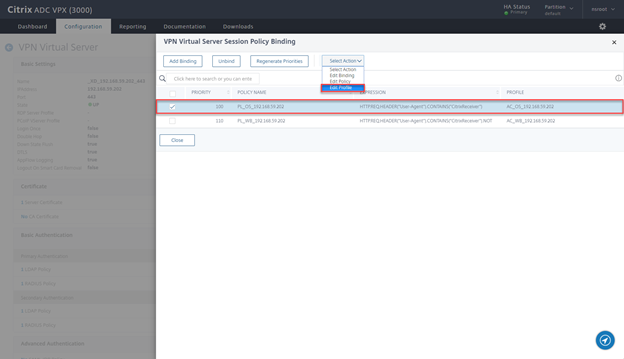
- Select PL_OS_ Policy and edit Profile
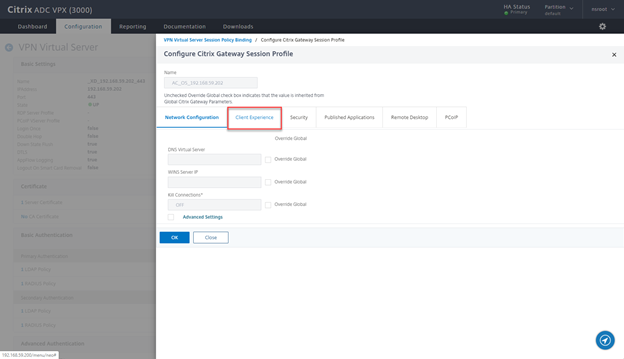
- Click on Client Experience Tab
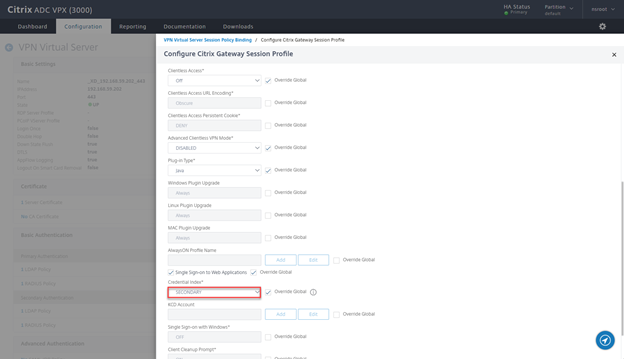
- Change Credential Index to SECONDARY and click on OK
StoreFront
As we moved from LDAP to LDAP+RADIUS on Citrix Gateway, we need to modify the NetScaler configuration on the StoreFront servers.
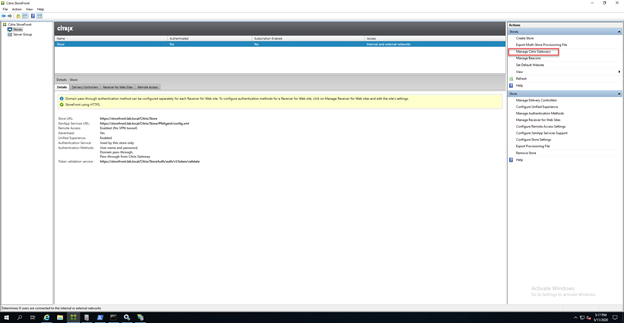
- Within Citrix StoreFront console, click on Manage Citrix Gateways
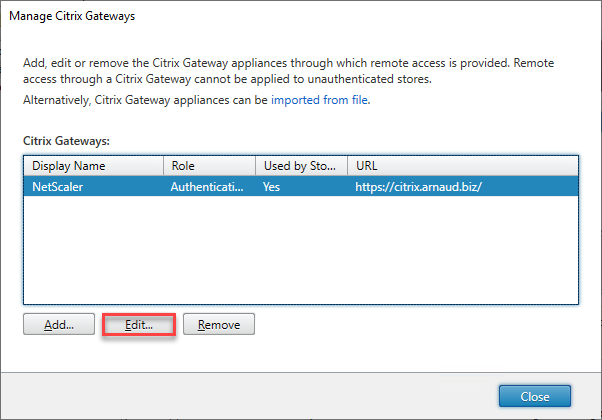
- Click on Edit
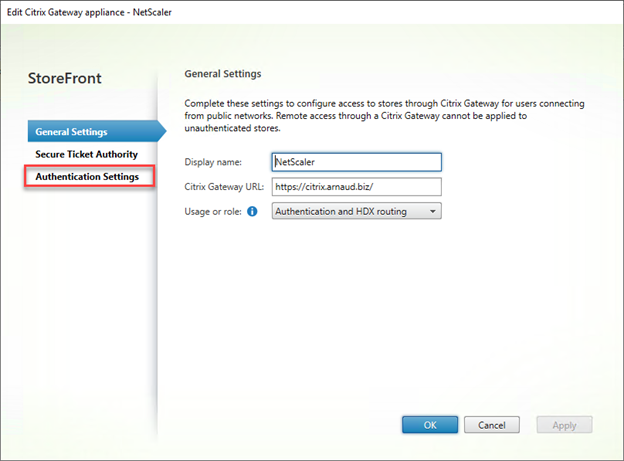
- Click on Authentication Settings
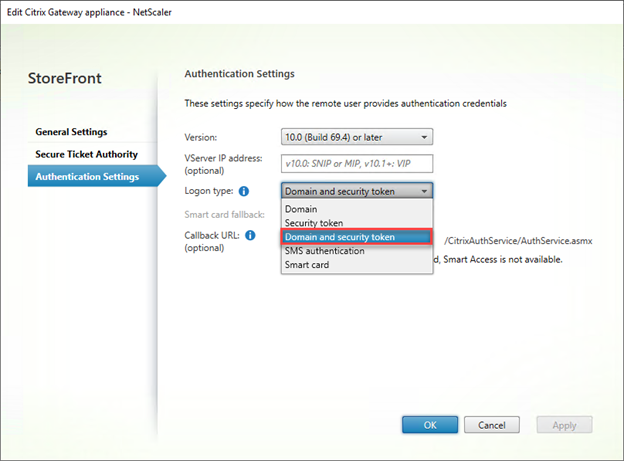
- Switch from Domain to Domain and security token
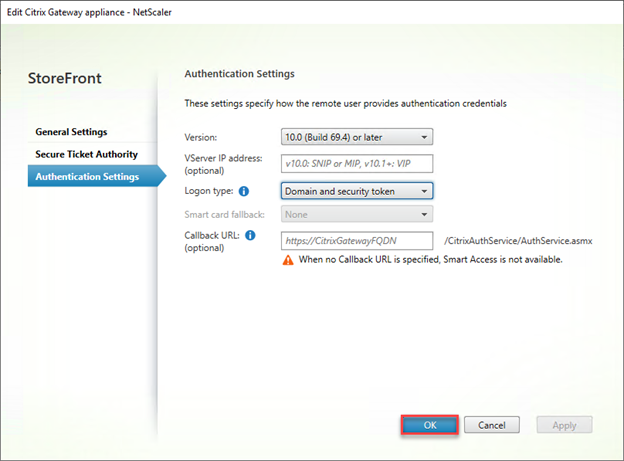
- Click on OK
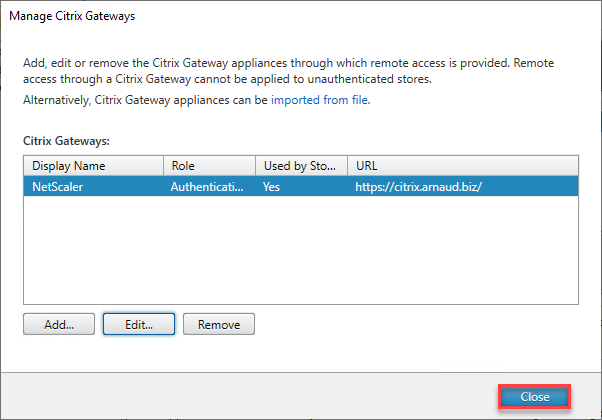
- Click on Close
Test Your Setup
Test with Web Browser
To test the setup, open a browser and point to the Citrix Gateway URL
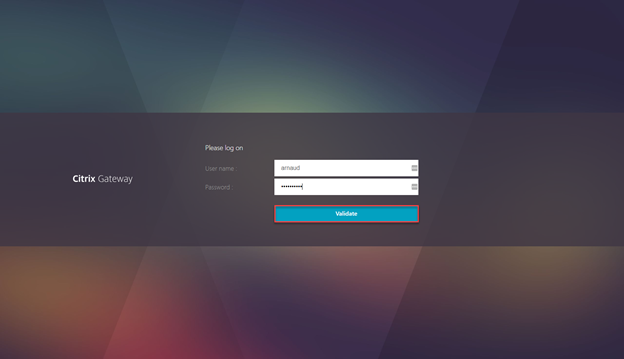
- Provide LDAP credentials and click on Validate
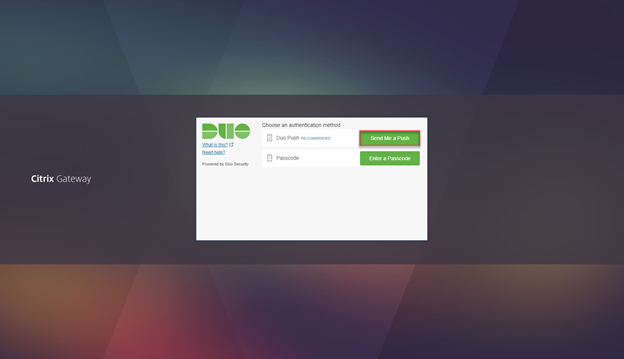
- Click on Send Me a Push

- Validate on your Mobile
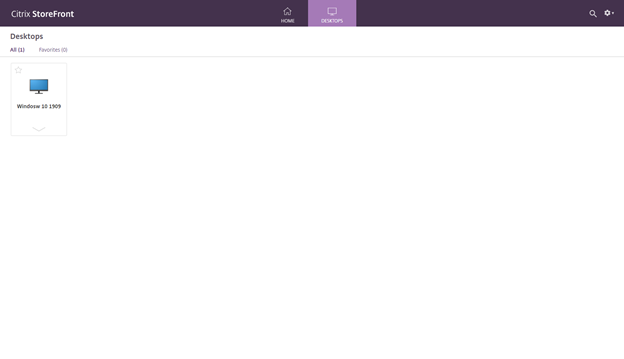
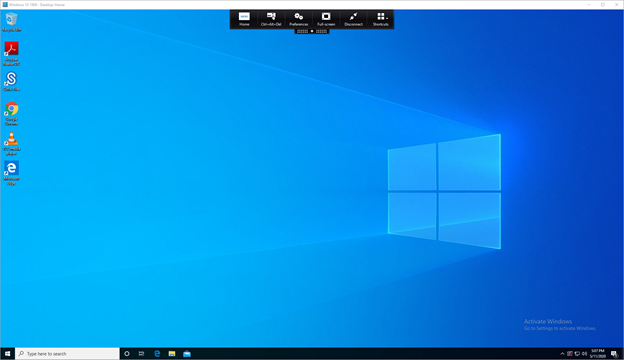
- The store is opened, try to launch a published resource
Test with Workspace App
- Open Workspace App
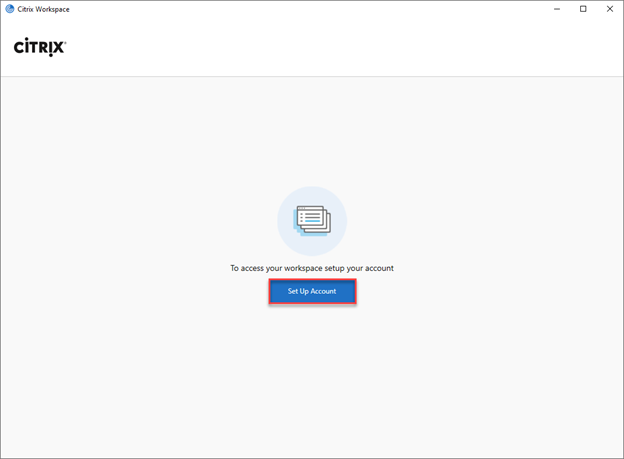
- Click on Set Up Account
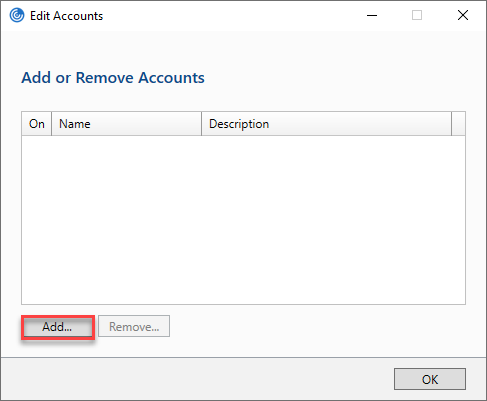
- Click on Add
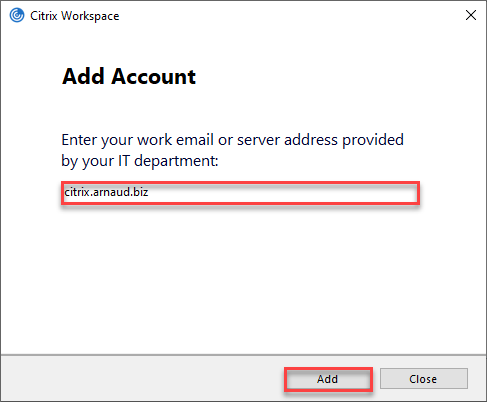
- Provide the Citrix Gateway URL and click on Add

- Provide username and password then click on Sign In

- A request is sent to your mobile, accept it

- Click on OK

- Published resources are presented in Workspace App