
In my previous article I explained how to configure Site-to-site VPN between a Cisco Meraki MX80 and Azure (which is my lab configuration).
Here after are all the detailed steps to configure the Assessment of your local VMs.
Azure Migrate: Server Assessment
On-premise OVA deployment
- To start the process of on-premises server assessment, we will need to connect on Azure and search for Azure Migrate
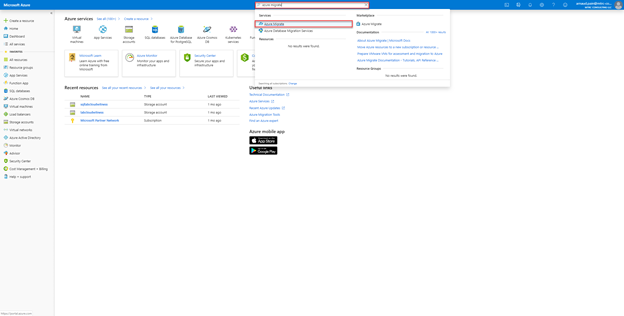
- Click on Azure Migrate
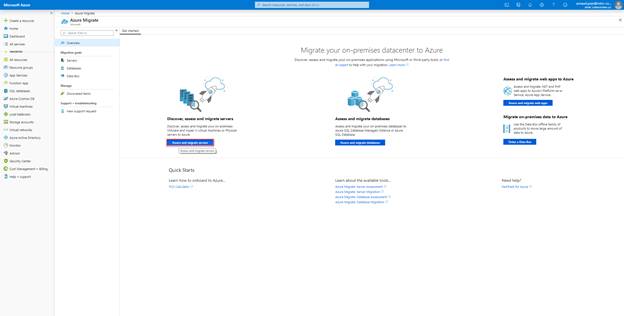
- Click on Assess and migrate servers
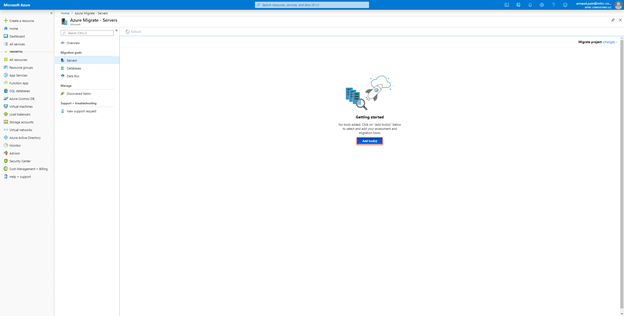
- Click on Add tool(s)
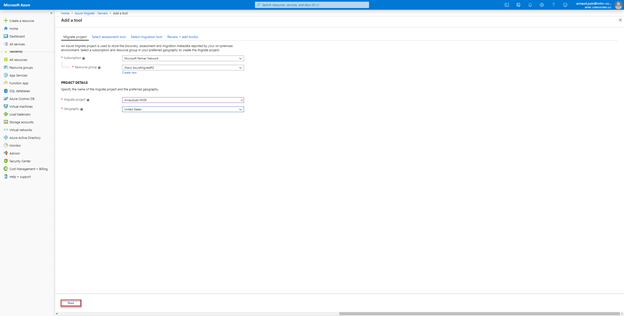
- Provide the following information:
- Subscription
- Resource Group
- Migrate project name
- Geography
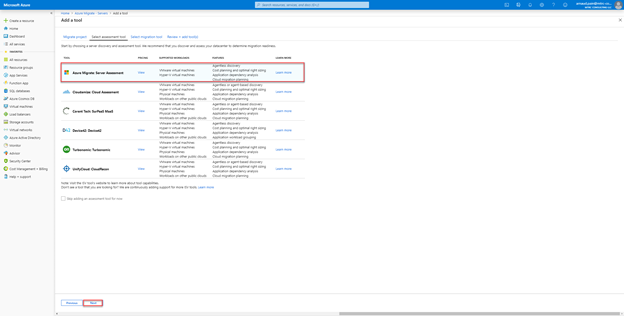
- Select Azure Migrate: Server Assessment and click on Next
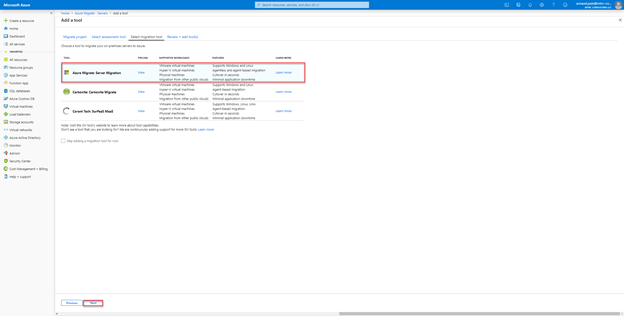
- Select Azure Migrate: Server Migration and click on Next
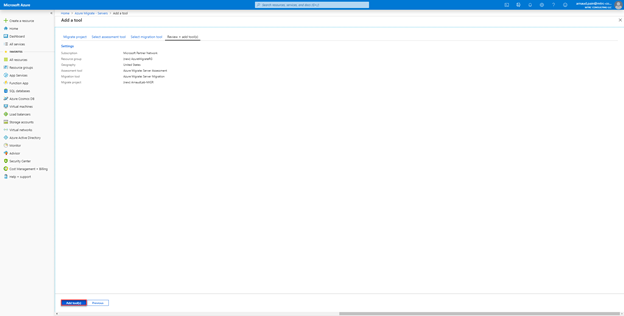
- Verify information and click on Add tool(s)
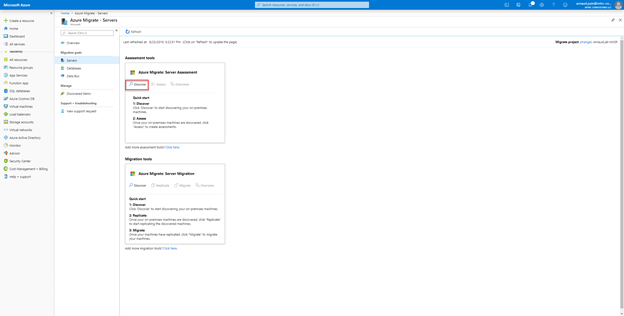
- Under Azure Migrate: Server Assessment click on Discover
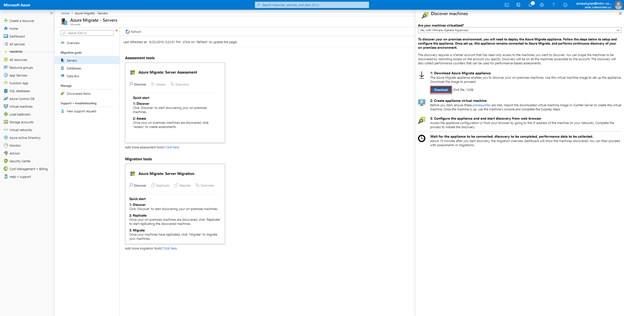
- Click on Download
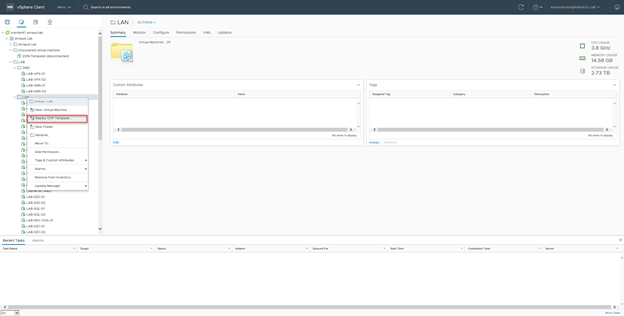
- Once the OVA is downloaded, switch to your vCenter and select Deploy OVF Template…
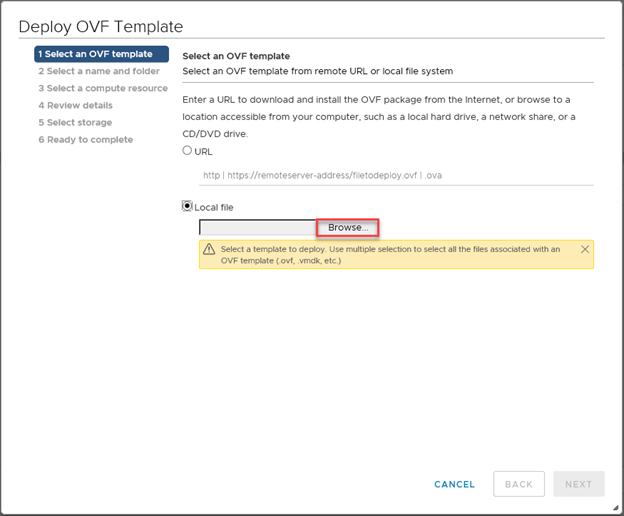
- Click on Browse
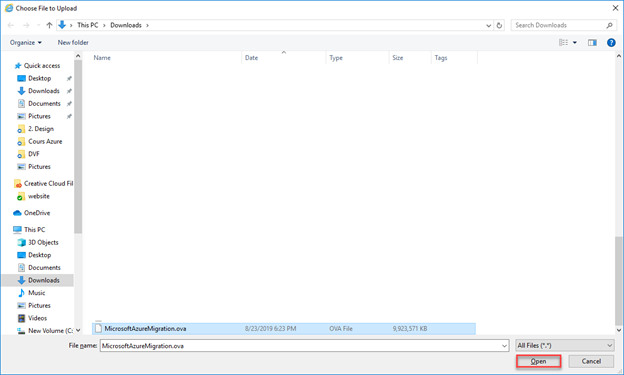
- Select the downloaded OVA and click on Open
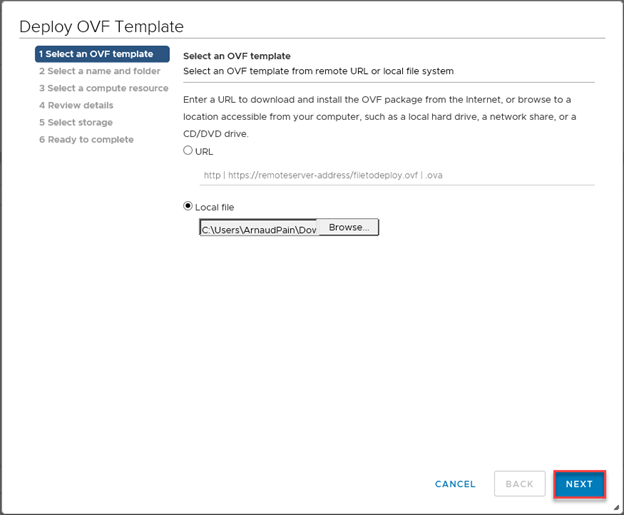
- Click on Next
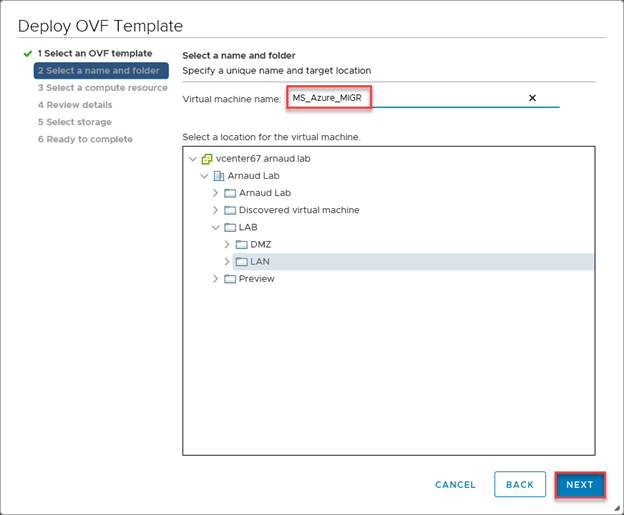
- Provide a name for the VM, ensure the folder in which you want to deploy it and click on Next
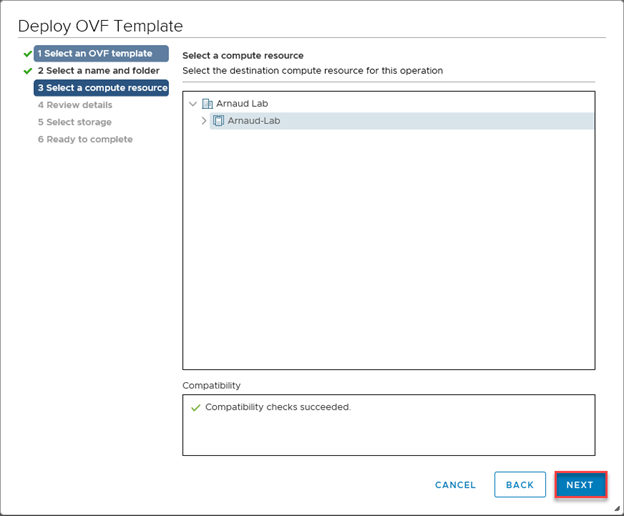
- Select the cluster and click on Next
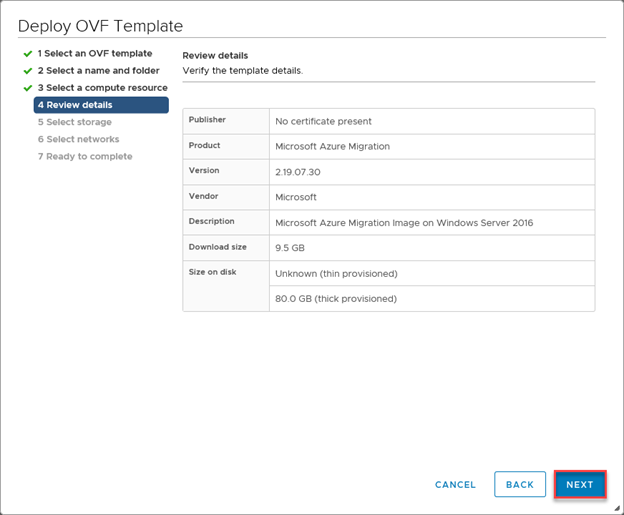
- Click on Next
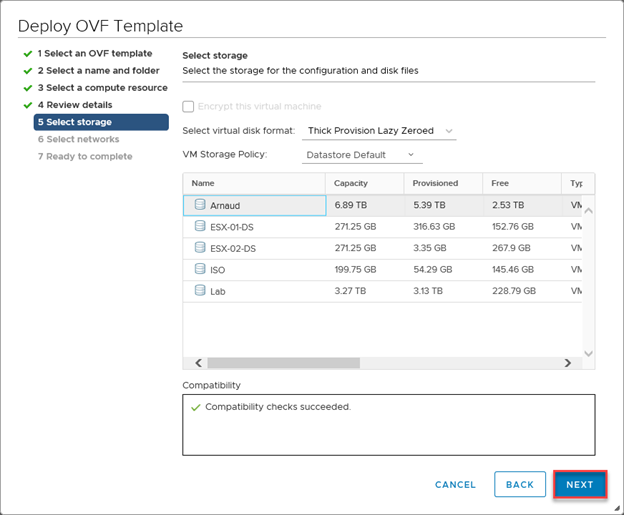
- Select the storage and click on Next
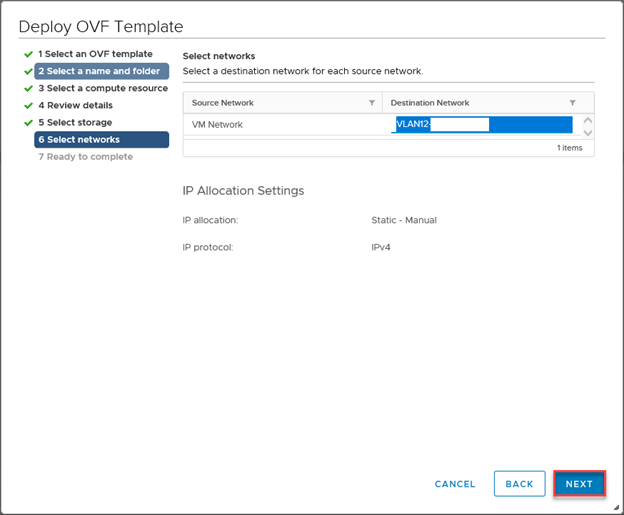
- Select the VM Network and click on Next
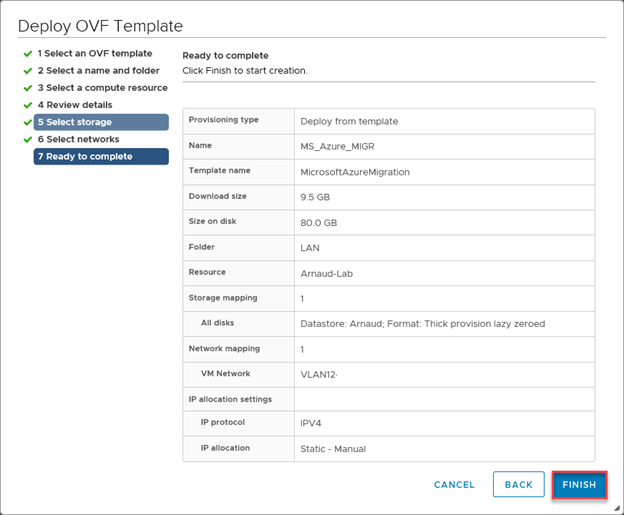
- Review the information and click on Finish
Server configuration
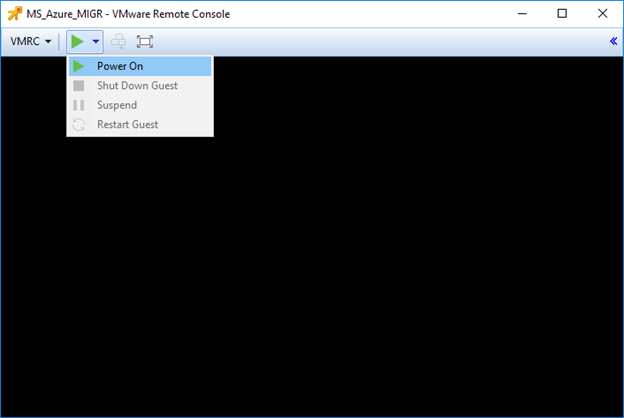
- Start the Server
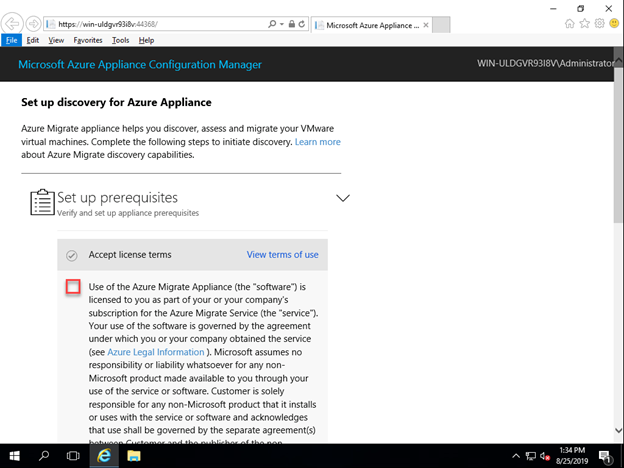
- Click on Accept to accept the license terms
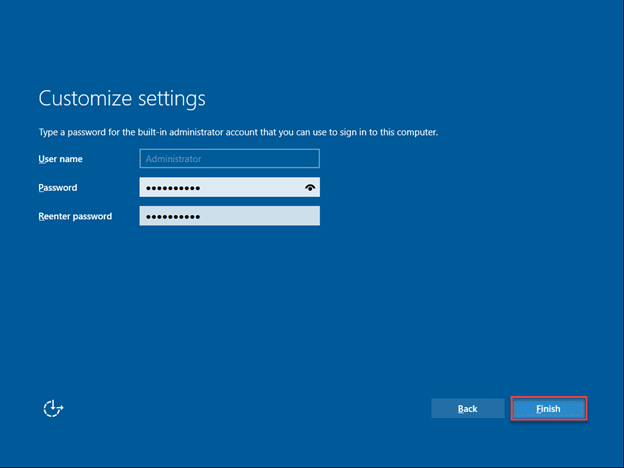
- Provide a password for the local Administrator account and click on Finish

- The server restart, press Ctrl+Alt+Delete to unlock and sign with the local administrator account

- Check the Box
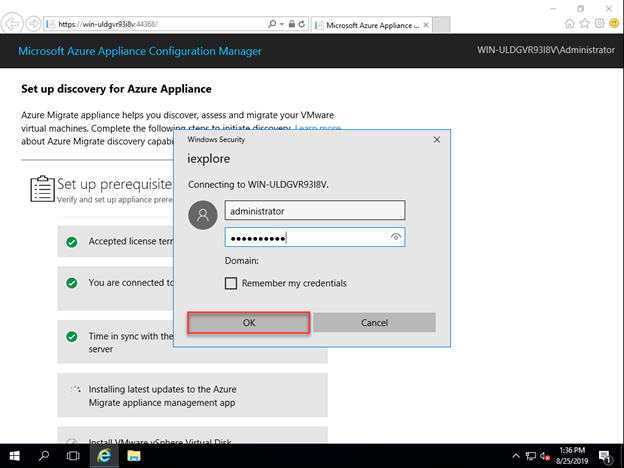
- When prompt, provide local administrator credentials and click on OK
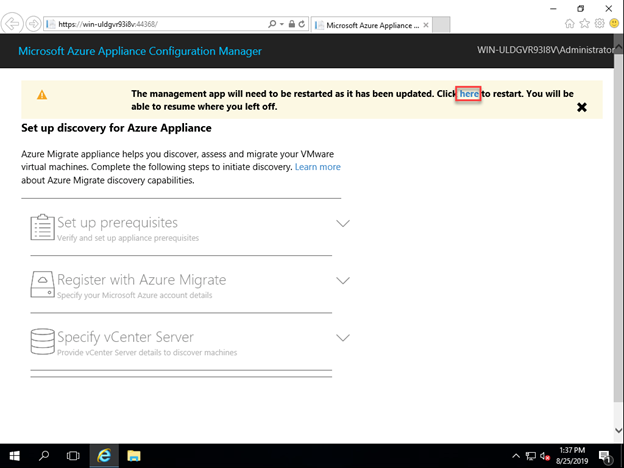
- If requested, click on here
- Check the box
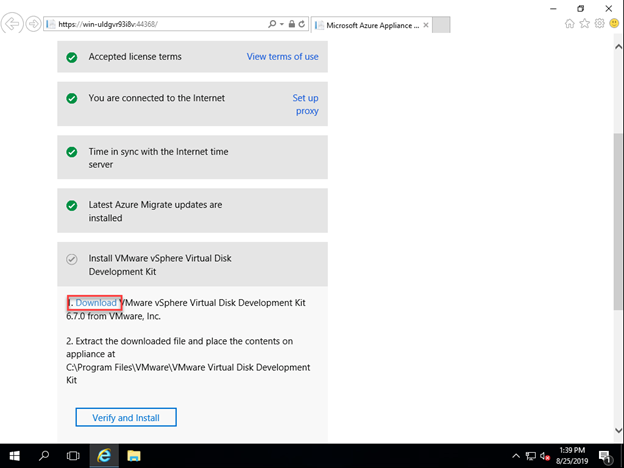
- Click on Download
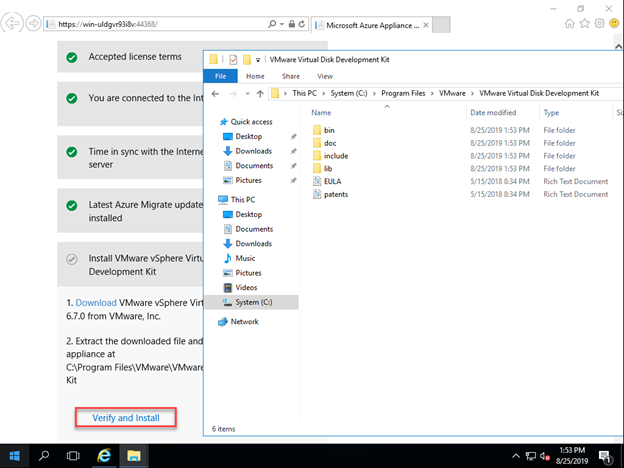
- Extract the downloaded files in C:\Program Files\VMware\VMware Virtual Disk Development Kit and click on Verify and Install
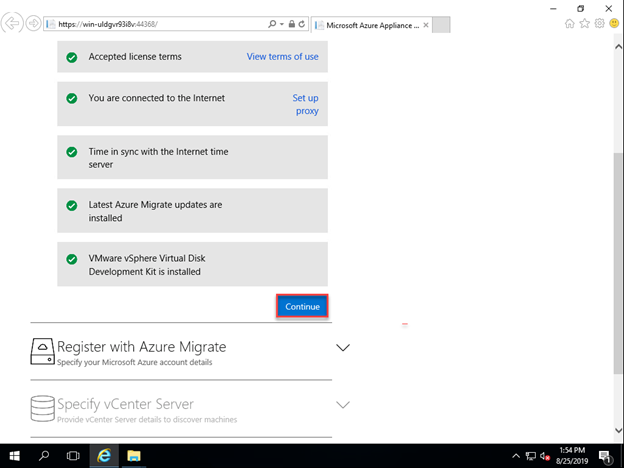
- Click on Continue
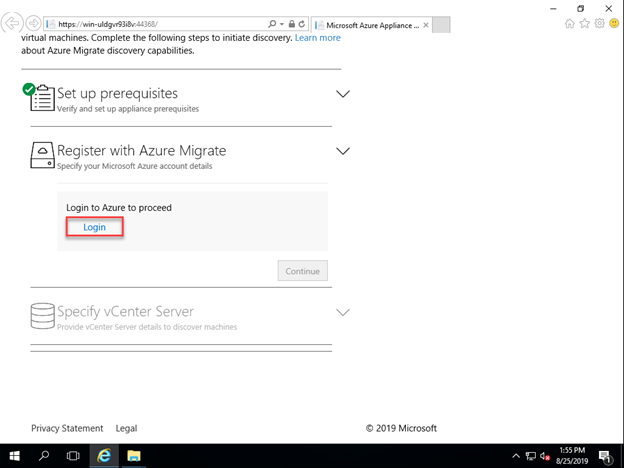
- Click on Login
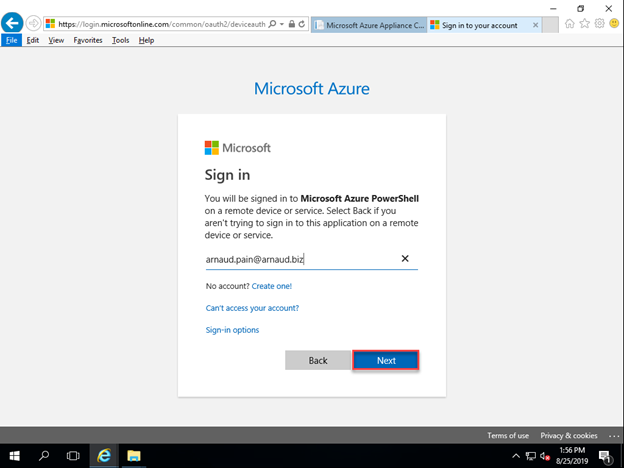
- Connect to your Azure portal
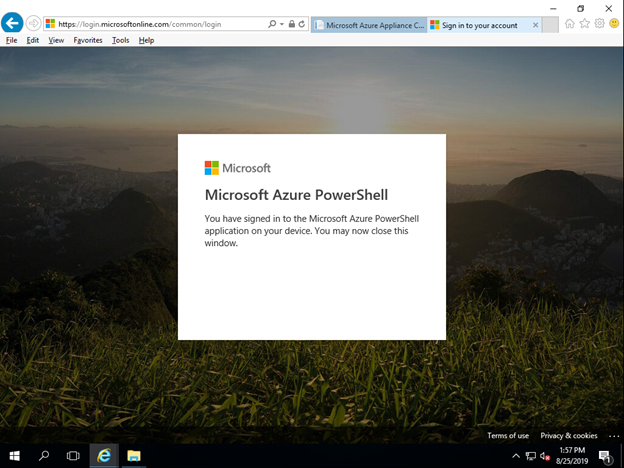
- Once authenticate, close the Tab
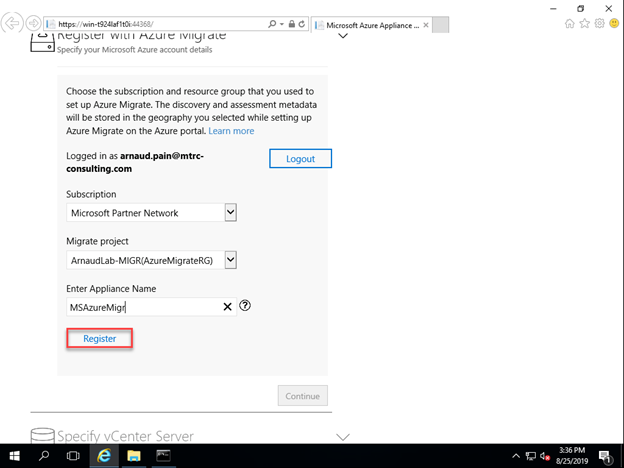
- Select the subscription, the Migrate project, provide a name for the appliance and click on Register
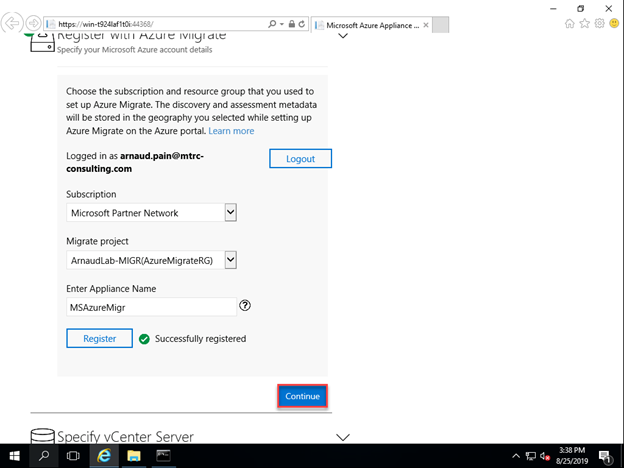
- Click on Continue
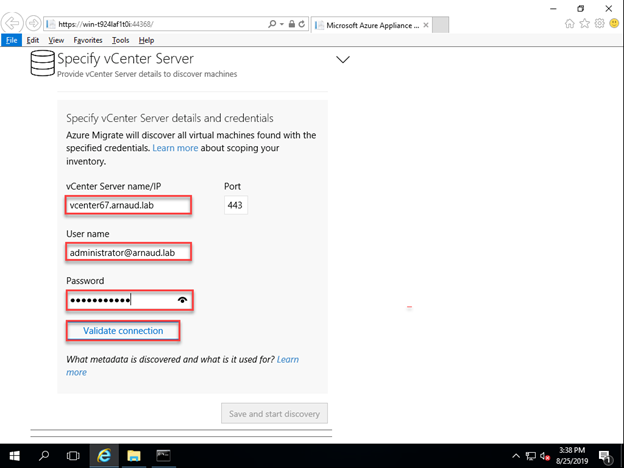
- Provide the information and click on Validate connection
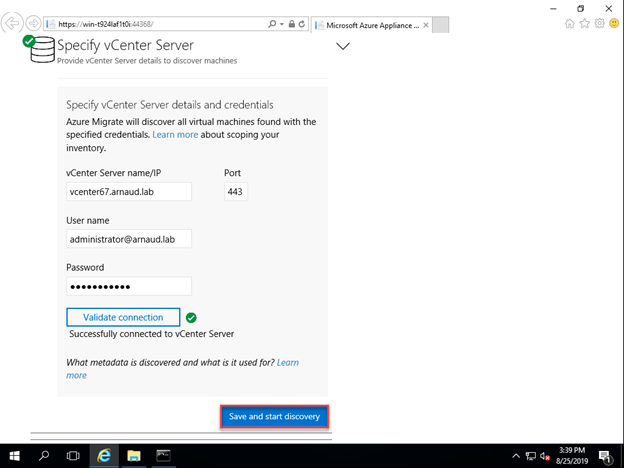
- Click on Save and start discovery
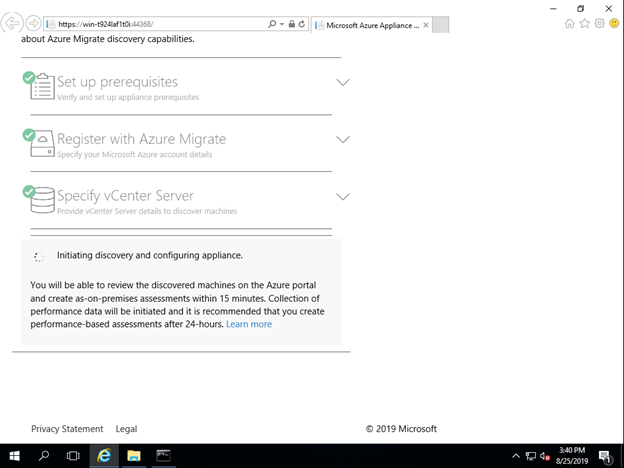
- You will need to wait some minutes for the assessed VMs to appear on Azure Portal
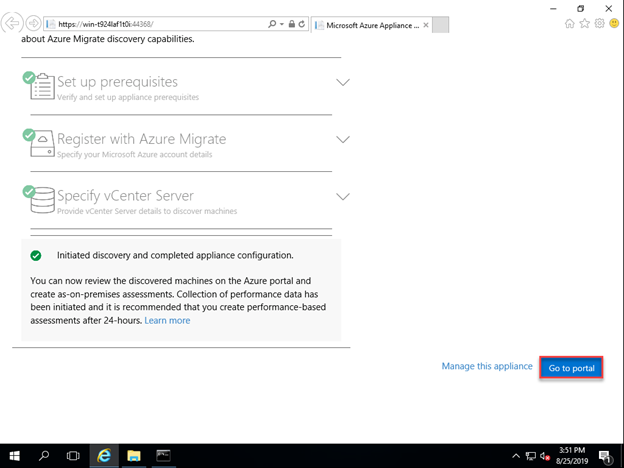
- Click on Go to portal
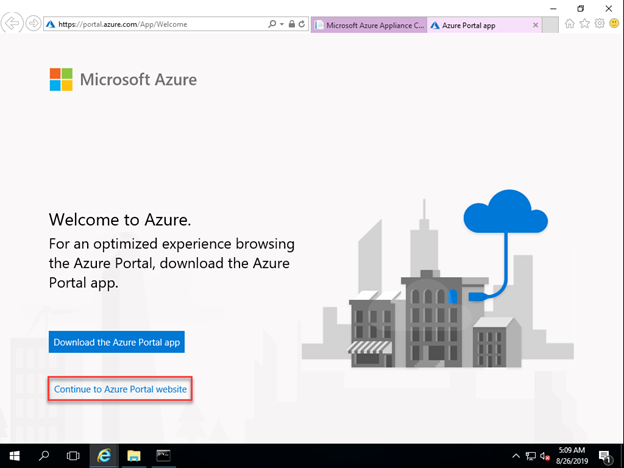
- Click on Continue to Azure Portal website
Server Assessment
After the Azure Migrate server has been configured, we can now start the Assessment.
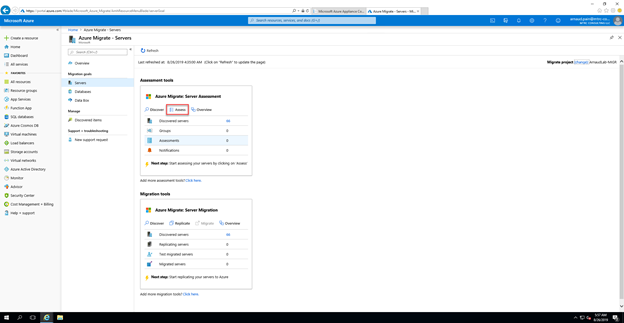
- Click on Assess
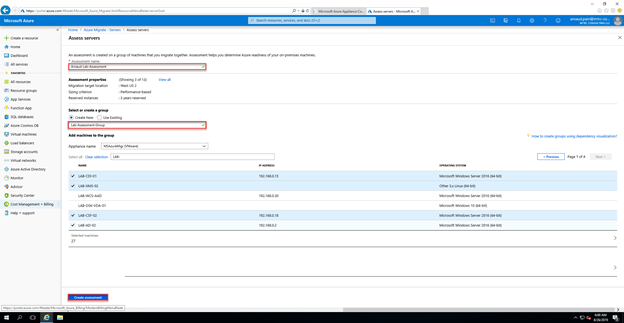
- Provide Assessment name, Group and select the server. Click on Create assessment
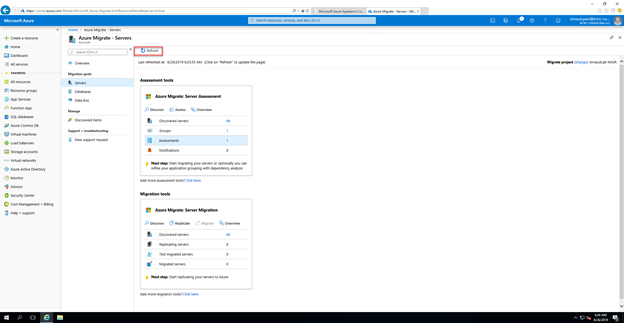
- Click on Refresh to see when initial Assessment is done
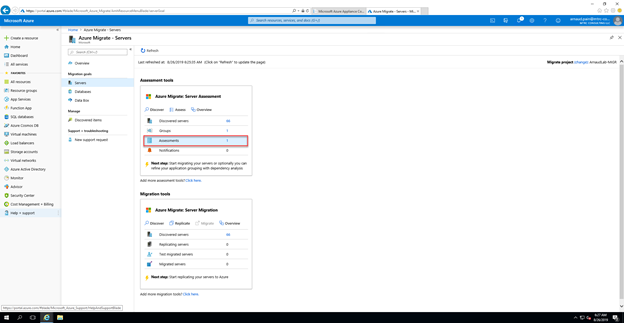
- Click on Assessments to see details
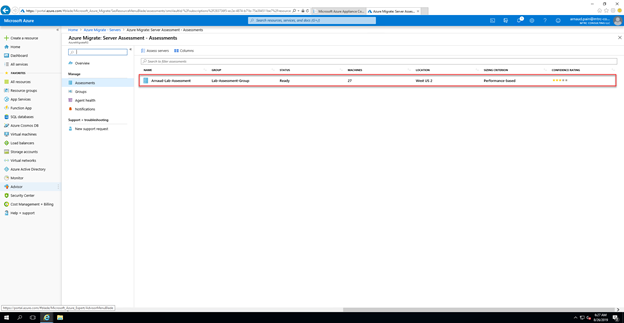
- You will see information. Note: the initial assessment will provide few stars on the confidence rating, you will need to wait around 24 hours to have the 5 stars

- If you have some, click Ready with conditions

- As you can see above, all my conditions are based on the fact that my VMs are with boot type EFI
- If you click on Unsupported boot type, you will see the following information from Microsoft:
| Issue | Remediation |
|---|---|
| Unsupported boot type | Azure doesn’t support VMs with an EFI boot type. We recommend that you convert the boot type to BIOS before you run a migration. You can use Azure Migrate Server Migration to handle the migration of such VMs. It will convert the boot type of the VM to BIOS during the migration. |
- The Boot type cannot be changed within vCenter without impact, but I would like to verify this, so let’s try it
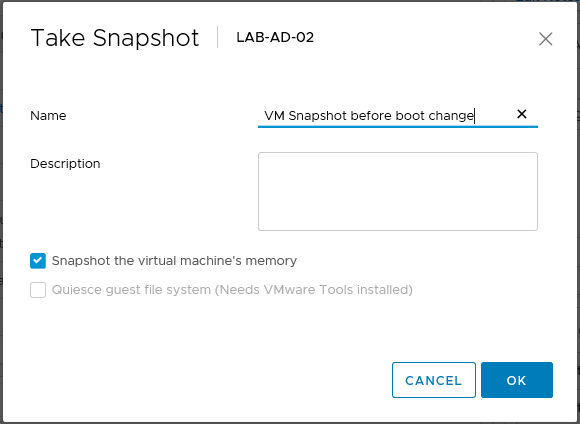
- First, take a snapshot of the VM

- Then Shut Down Guest

- Go in Virtual Machine Settings

- Click on VM Options tab

- Change Boot option from EFI to BIOS and click on OK

- Power on the VM

- In fact if you change it, the VM will not boot anymore.
- I will test with 1 VM to see if Microsoft Azure Migrate Server Migration can convert it correctly.
It will by in my next Article.
Stay tuned…