
I am working on a new engagement for which I will need to migrate on-premises VM to Azure.
First steps to be able to do this, as some VMs will remain on-premises is to establish a VPN connection between On-premises and Azure.
I will test everything with my Lab.
As I have a Cisco Meraki MX80, I will start by creating a Site-to-Site VPN connection between my MX 80 and Azure.
Here after some more details and step-by-step configuration and validation steps.
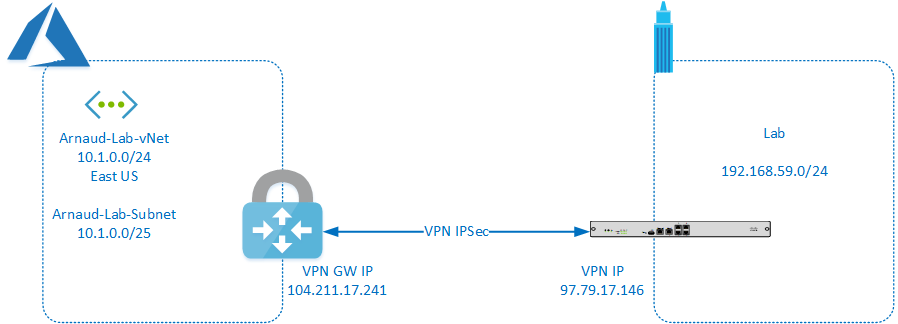
Here is the Network Diagram of what will be implemented:
Azure Steps
Create Resource Group
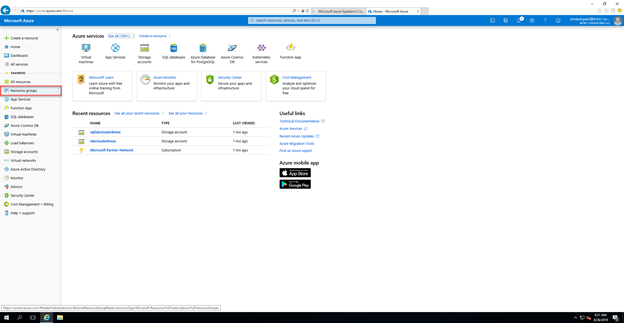
- Click on Resource groups
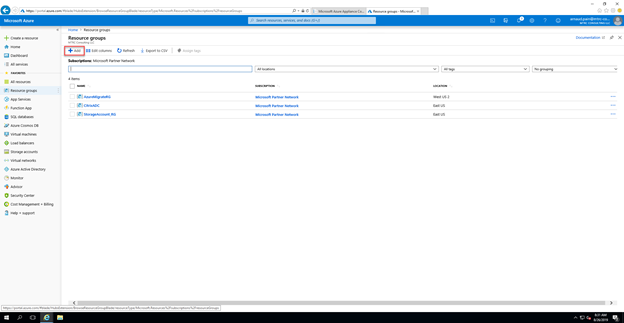
- Click on Add
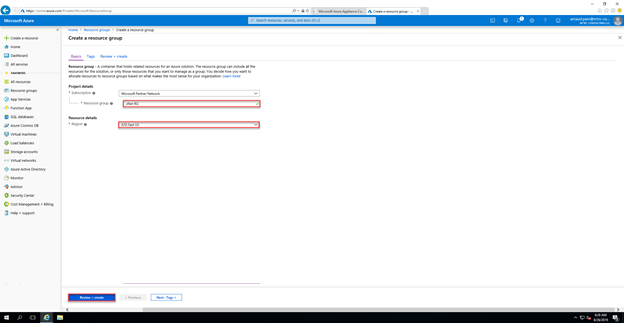
- Select subscription (if you have more than one), provide name for Resource Group and select the Region. Click on Review-create
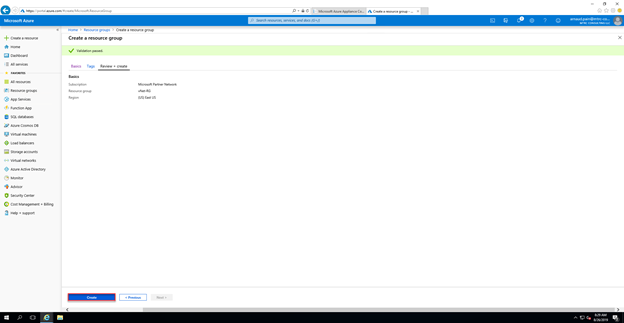
- Click on Create
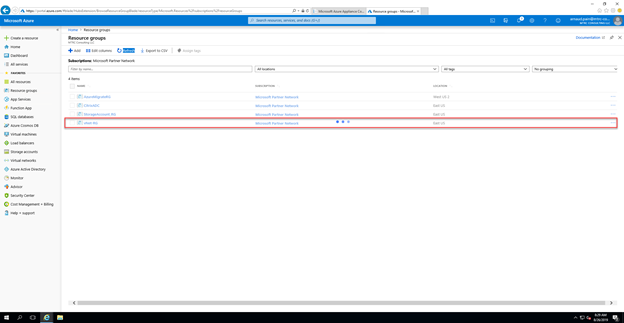
- Validate that the Resource Group you just created appears in the console
Create vNet and Subnets

- Click on Virtual Network
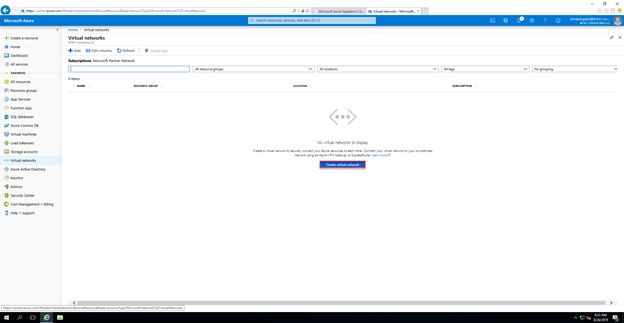
- Click on Create virtual network

- Provide information and click on Create

- Go in vNet > Subnets and click on + Gateway subnet

- Click on OK
Create Virtual Network Gateway

- In the search box, type Virtual net and select Virtual Network Gateway

- Click on Create virtual network gateway

- Provide information and click on Review + create

- Click on Create

- Click on Virtual Network Gateway

- Click on Connections

- Click on +Add

- Provide a Name, select Connection Type Site-to-site, click on Local Network Gateway and click on Create new

- Provide a Name, Public IP of the Meraki and local address space and then click on OK

- Define a Shared key and click on OK
Cisco Meraki Steps
- Connect to Meraki Portal

- Select Security & SD-WAN > Site-to-site VPN
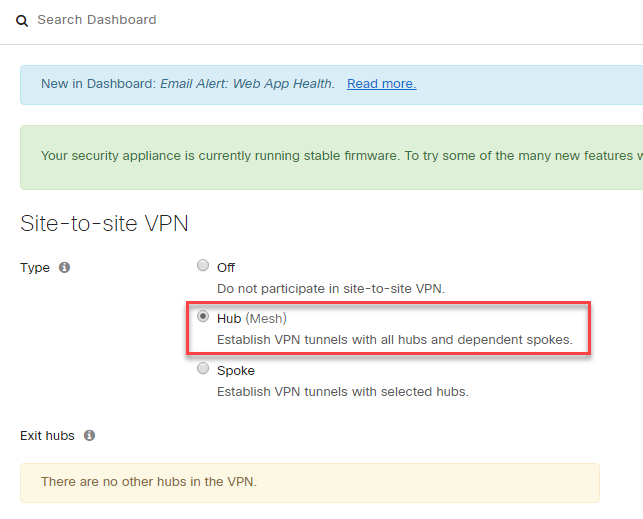
- Under Type, select Hub (Mesh)
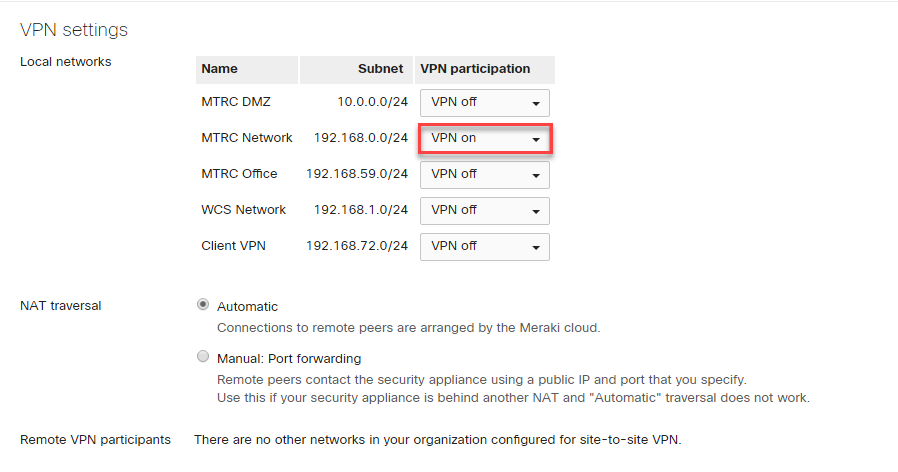
- Under VPN Settings, select the VPN participation for the network that you want to connect to the VPN

- Under Organization-wide settings, after Non-Meraki VPN peers, click on Add a peer

- Provide Name, Public IP (retrieved from Azure), the Azure Private subnets, the Preshared secret and click on Default
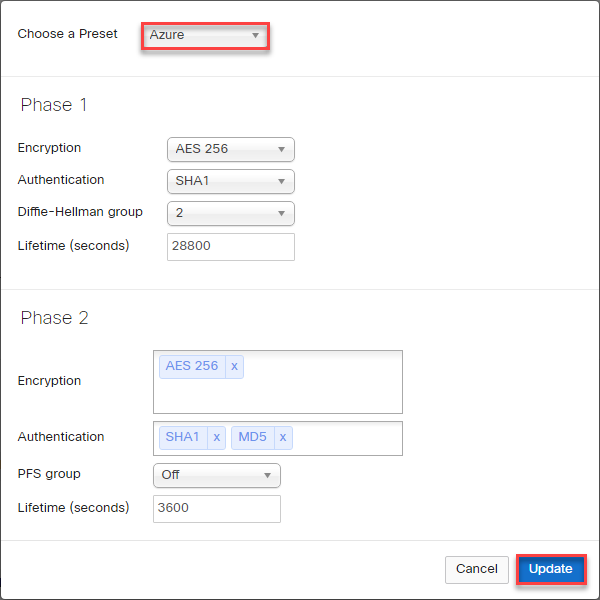
- Select Azure and click on Update

- Click on Save Changes

- Click on Security & SD-WAN > VPN Status

- Click on 1 Non-Meraki peer

- You should see a green light indicating that VPN connection is successful
Now that our Site-to-site VPN is operational the next step will be to migrate on-premises VMS to Azure.
It will be in another article.
Stay tuned…