Here is the 2nd part of my article concerning CEM integration with Microsoft Intunes
In this article I will try to explain you the benefits and provide some video of enrollment and applications access.
First of all if you have followed my first article, you should have a configuration up and running, however we still have some stuff to do.
Validate NetScaler Connection to Intune
- To validate that your configuration is “good” you can connect to your Netscaler in SSH and run the following command
show oauthAction

- You will need to look for OAuth Status which should appear as COMPLETED
Modify CEM / NetScaler configuration
As the enrollment of a devices will you CEM for MDM and Intune for MAM, we need to make some configuration to ensure successful enrollement
- Connect to Citrix Cloud

- Under Endpoint Management Service, click on Manage

- Click on Manage Apps and Devices in Citrix Endpoint Management

- Click on the wheel on the upper right to go in Settings

- Click on NetScaler Gateway

- Click on your defined NSGW and select Delete

- Click on Delete to confirm
Enroll a Device
Before enrolling a device, let’s review the applications:

- As you can see there is 5 applications defined
- Question here is why I do not see the Public App Store applications?
In fact, those 4 applications are in the Library in CEM and to validate access to those applications, the user credentials are verified on Azure.
To be able to assign users to the published application, we need to install AzureADConnect on 1 domain controller on the internal network.
Install Azure AD Connect
Azure AD Connect can be downloaded from this link
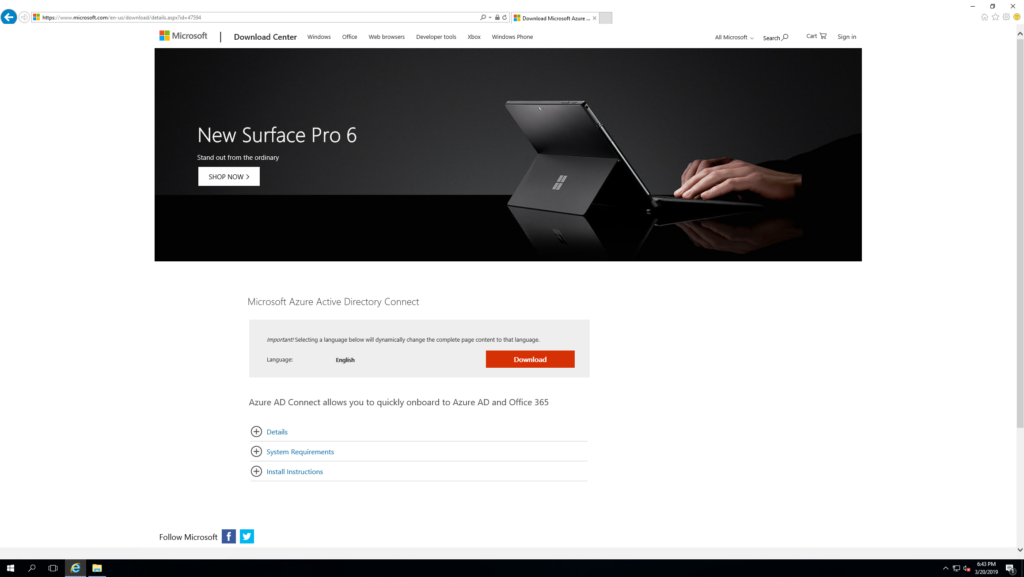
- Click on Download
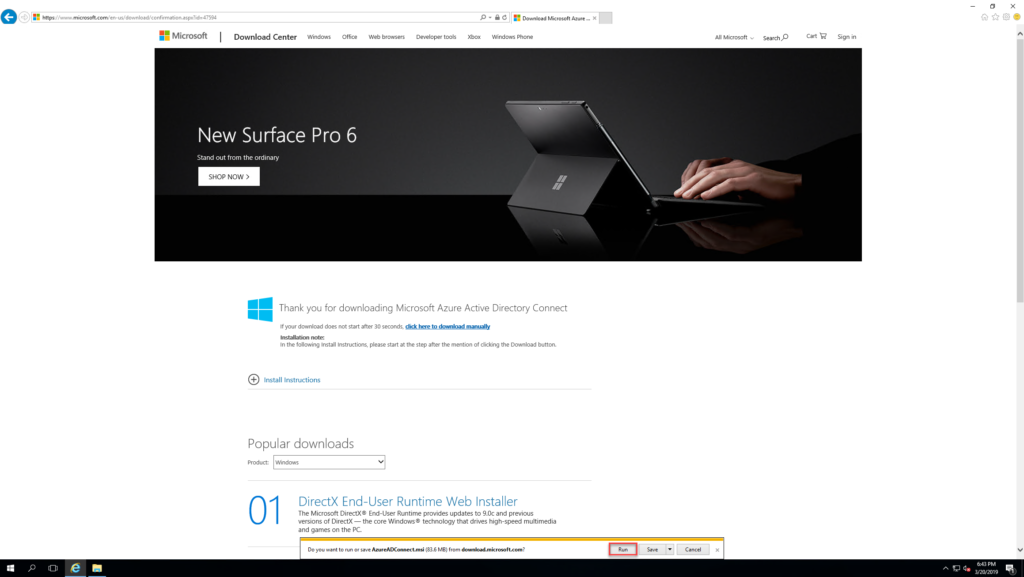
- Click on Run
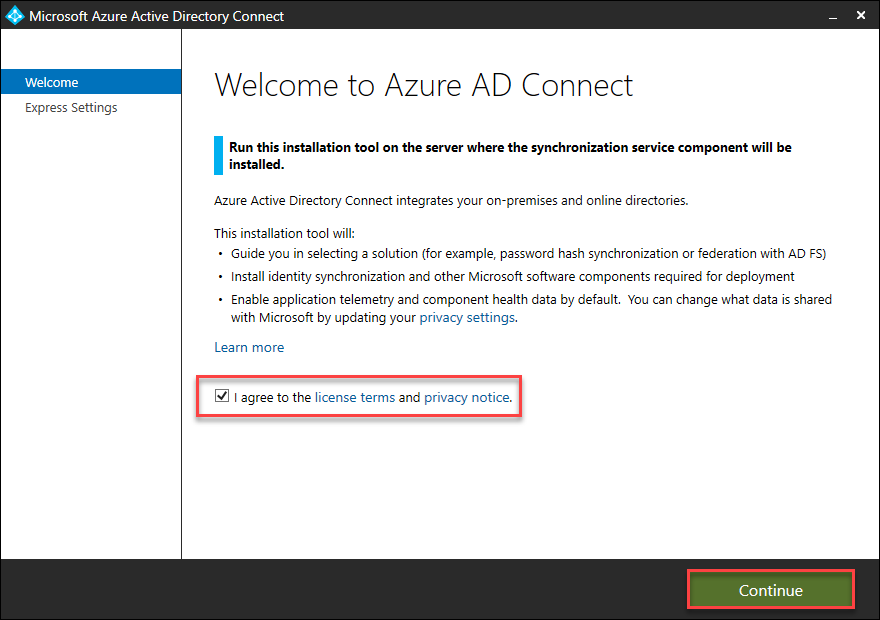
- Accept the license agreement and click on Continue
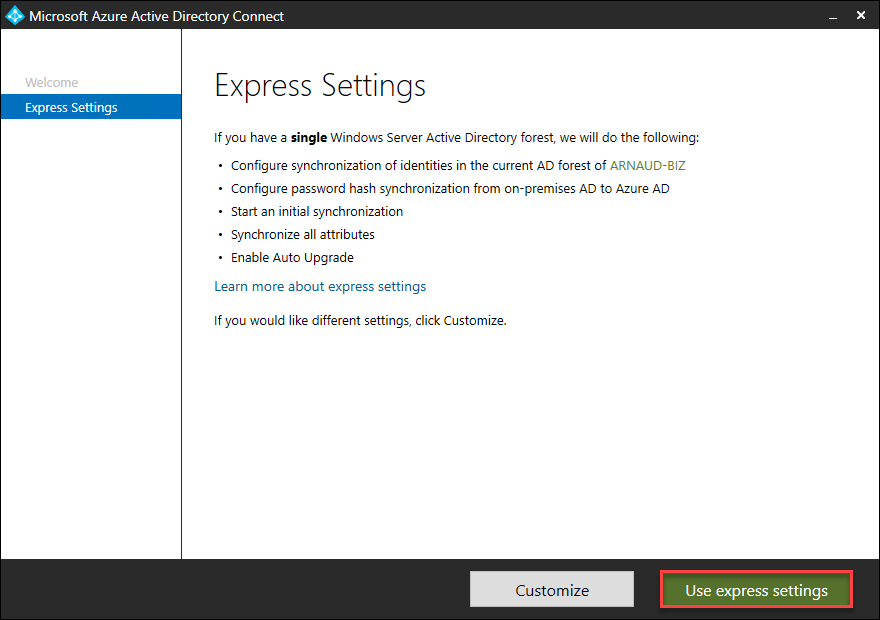
- Click on Use express settings
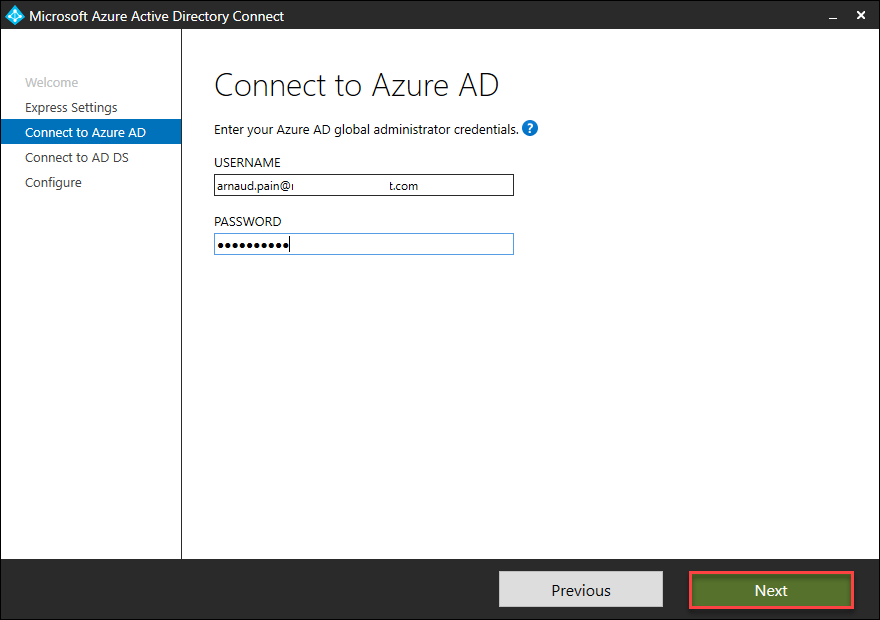
- Provide Azure AD global administrator credentials and click on Next
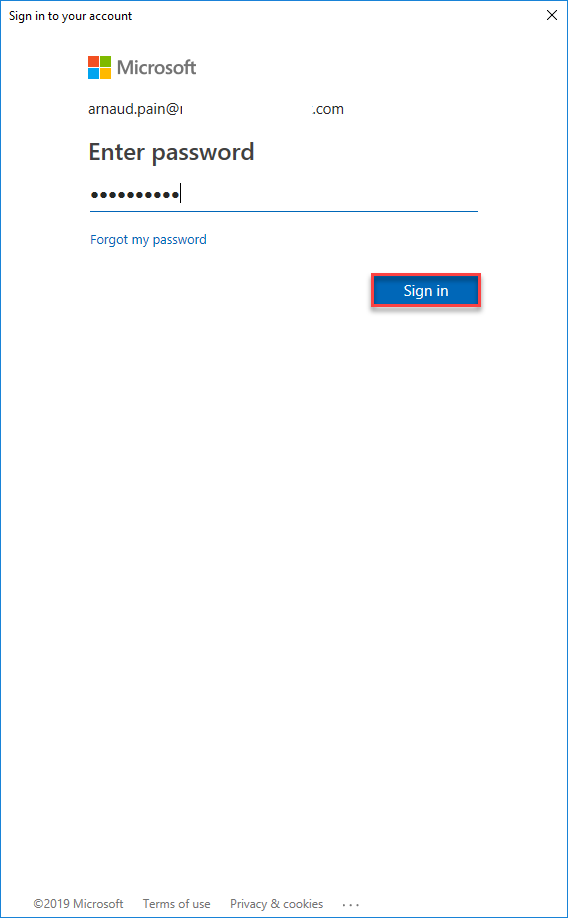
- Provide your password and click on Sign In
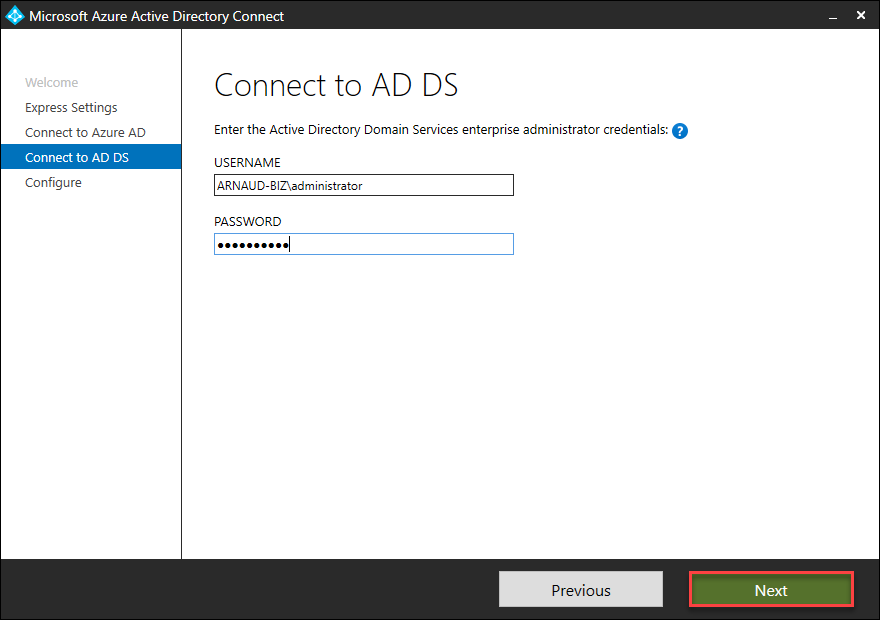
- Provide AD DS enterprise administrator credentials and click on Next
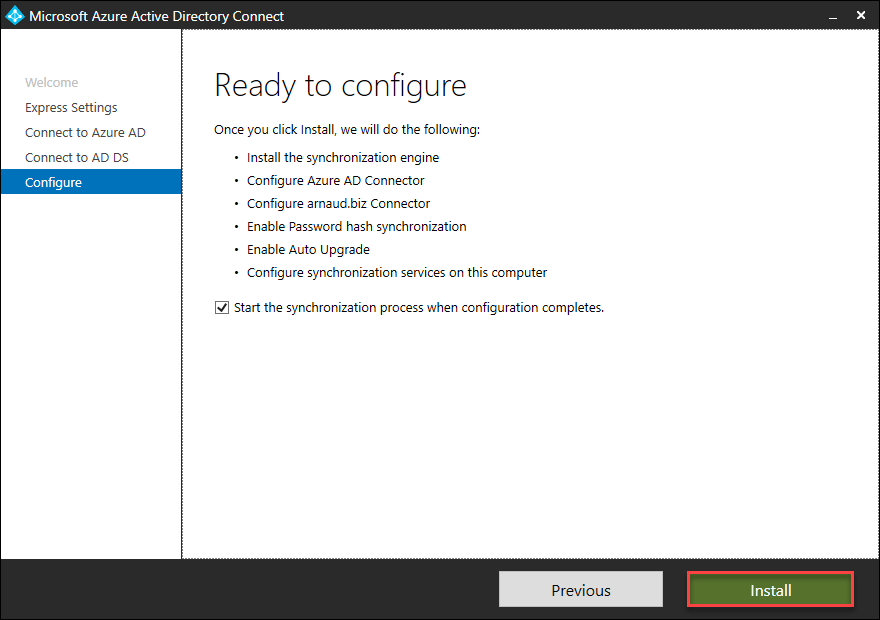
- Click on Install
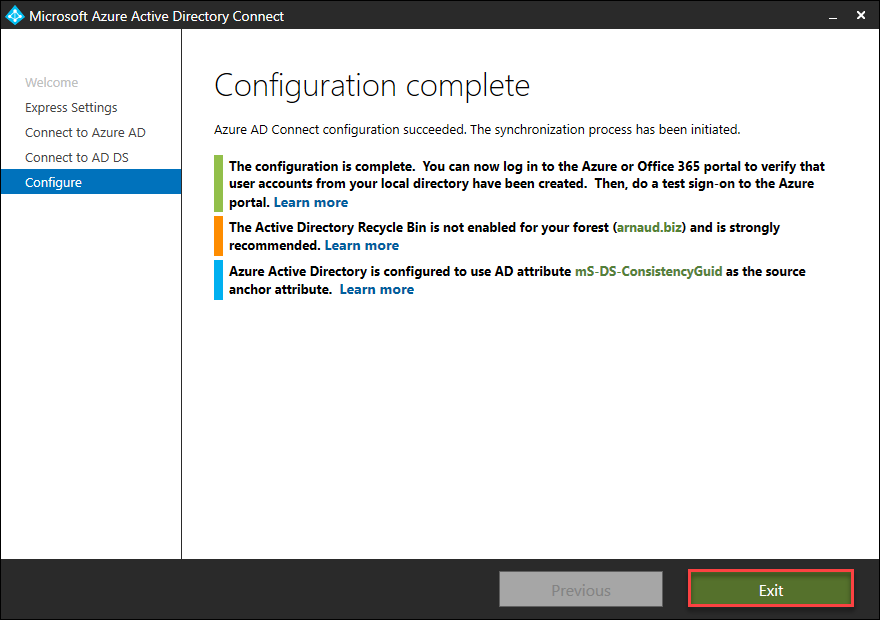
- Click on Exit
Validate AD Sync
To validate that everything is working correctly and that user from on-premise AD are synchronized in Azure, we will need to connect to Azure and go to Azure Active Directory > Users

- As you can see above, my local AD user arnaud.pain@arnaud.biz has been created in Azure AD.
Assign application to users
Now that connection and synchronization between on-premise AD and Azure are done we can assign application to users.
- Connect to your CEM Cloud account and go to Library

- Select an application, click on the menu and select Manage Subscribers
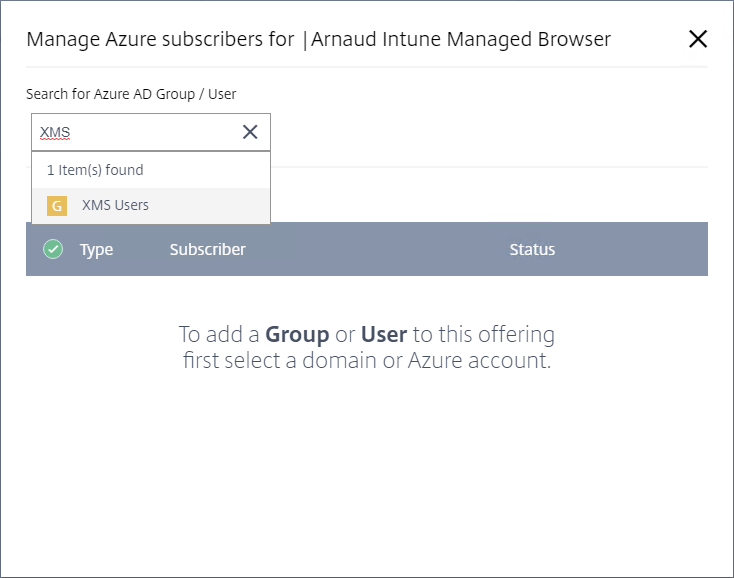
- Provide few letters to retrieve the group and click on it
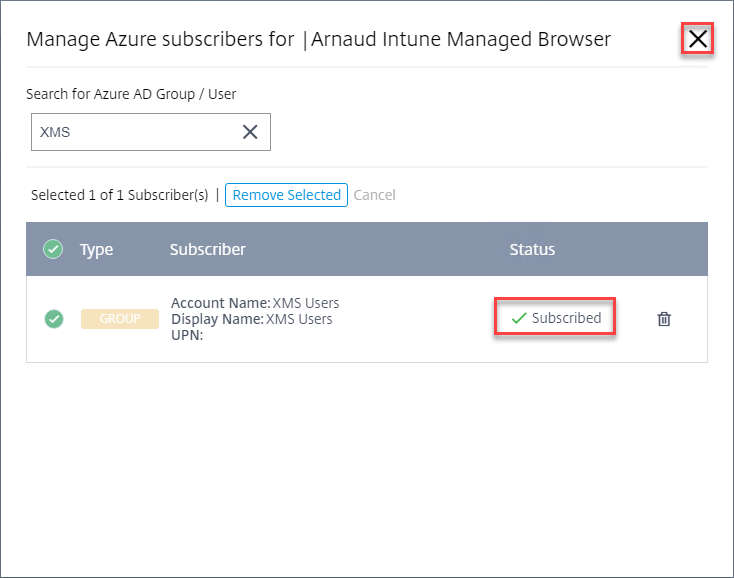
- As soon as the group is added and shown as Subscribed, click on the cross on the top right
- Do the same for the remaining applications
Validation

This is it for this part 2.
Part 3 is coming soon with more details and information on testing.
Stay tuned!